Hey there, fellow dog lovers! If you’re like me, you want to keep your furry friend’s teeth healthy and their breath fresh—without constantly running to the pet store for expensive treats. That’s where homemade dog dental sticks come in. Today, I’m going to walk you through a simple, healthy, and tasty recipe for Apple Cranberry Dog Dental Sticks. Not only are these treats great for your pup’s dental health, but they’re also packed with natural ingredients that boost overall wellness. Plus, I’ll share tips, common mistakes to avoid, and fun variations to keep things interesting.
Ready to make your dog’s smile brighter? Let’s dive into the world of homemade dental treats!
Why Choose Homemade Dog Dental Sticks?

Before we jump into the recipe, let’s talk about why homemade dental treats are a game-changer:
- Control Over Ingredients: No artificial preservatives, colors, or fillers.
- Fresh and Natural: Use real fruits and wholesome ingredients.
- Cost-Effective: Save money compared to store-bought dental chews.
- Customizable Flavors: Adjust ingredients to suit your dog’s taste and dietary needs.
- Enhanced Dental Health: Chewing on firm, natural treats helps reduce plaque and tartar buildup.
Now, let’s explore what makes these Apple Cranberry Dental Sticks not just delicious but also beneficial!
What Are Apple Cranberry Dog Dental Sticks?
In simple terms, these are crunchy, chewy treats designed to promote dental health while offering a burst of flavor. The key ingredients—apples and cranberries—are rich in antioxidants and vitamins, making these treats both tasty and nutritious.
Key Benefits:
- Natural Cleansing: Chewing helps remove plaque.
- Fresh Breath: Cranberries combat bacteria in the mouth.
- Nutritional Boost: Apples provide fiber and vitamin C.
- Low-fat and Low-sugar: Perfect for daily treats.
Ingredients and Materials Needed
Let’s start with the essentials. Here’s a detailed table to help you gather everything you need:
| Materials Needed | Quantity/Details | Purpose |
|---|---|---|
| Fresh Apples | 2 large apples | Main flavor, fiber, vitamin C |
| Dried Cranberries | 1/2 cup | Flavor, antioxidants, tartness |
| Rolled Oats | 1 cup | Texture, fiber, binding agent |
| Whole Wheat Flour | 1.5 cups | Structural integrity |
| Egg | 1 large | Binding agent, adds moisture |
| Water or Low-Sodium Chicken Broth | 1/4 cup | Adjust dough consistency |
| Coconut Oil (optional) | 1 tablespoon | Adds healthy fats, flavor |
Additional Tools:
- Food processor or blender
- Baking sheet
- Parchment paper
- Rolling pin
- Cookie cutter or knife
- Cooling rack
Tips for Success

- Use Organic Ingredients: Whenever possible, choose organic apples and cranberries to avoid pesticides.
- Adjust Texture: If your dough feels too sticky, add a bit more flour; if too dry, add a splash of water or broth.
- Size Matters: Cut treats into appropriately-sized pieces for your dog’s breed.
- Avoid Toxic Ingredients: Never include raisins, chocolate, or artificial sweeteners.
- Storage: Keep treats in an airtight container in the fridge for up to a week or freeze for longer shelf life.
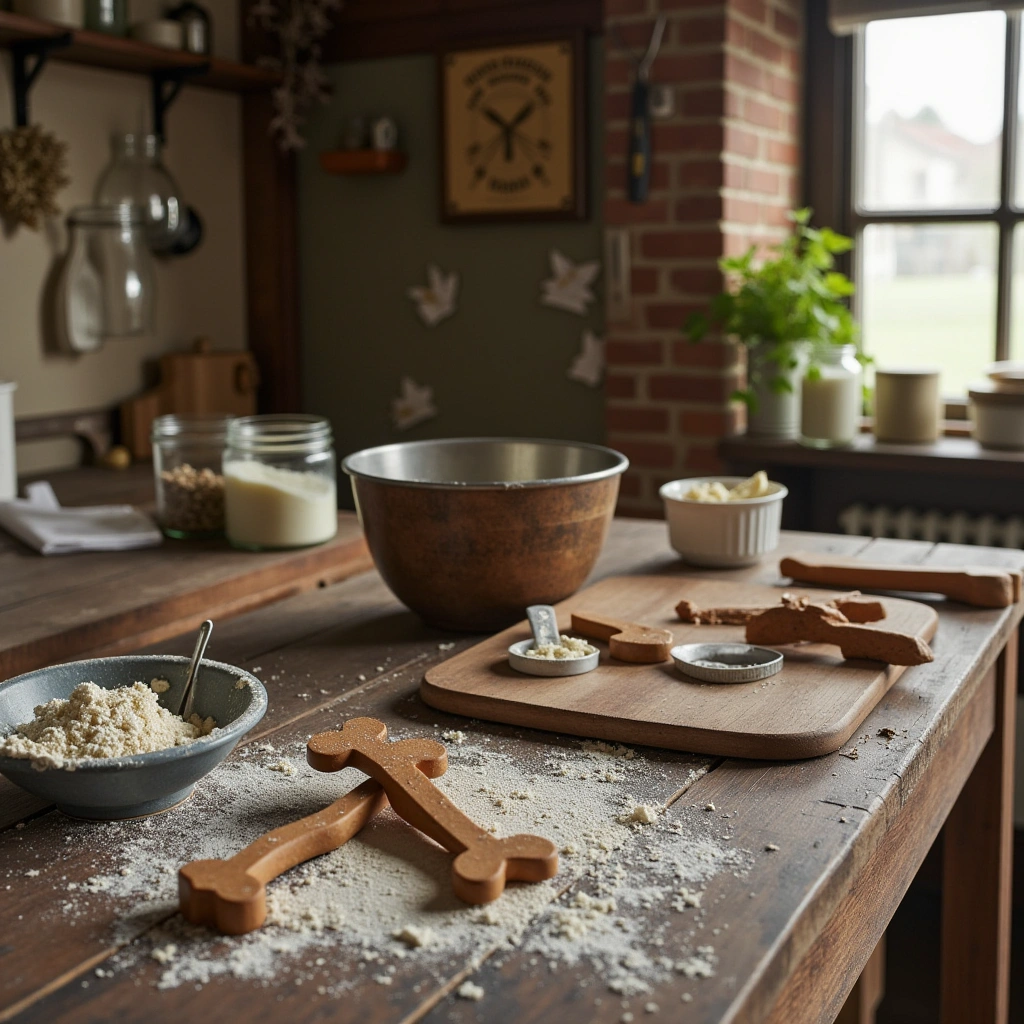
Step-by-Step Making Process

1. Prepare the Fruits
- Wash apples thoroughly.
- Remove the core and seeds.
- Slice apples into chunks.
- In a food processor, blend apples and cranberries until finely chopped or pureed, depending on your preferred texture.
2. Mix the Dry Ingredients
- In a large bowl, combine rolled oats and whole wheat flour.
- Mix well to ensure even distribution.
3. Combine Wet Ingredients
- In a separate bowl, whisk the egg.
- Add the apple-cranberry mixture.
- Mix in the coconut oil if using.
- Gradually add water or chicken broth to the wet mixture to loosen it up.
4. Form the Dough
- Pour the wet mixture into the dry ingredients.
- Mix thoroughly until a firm dough forms. If too sticky, sprinkle with a little more flour.
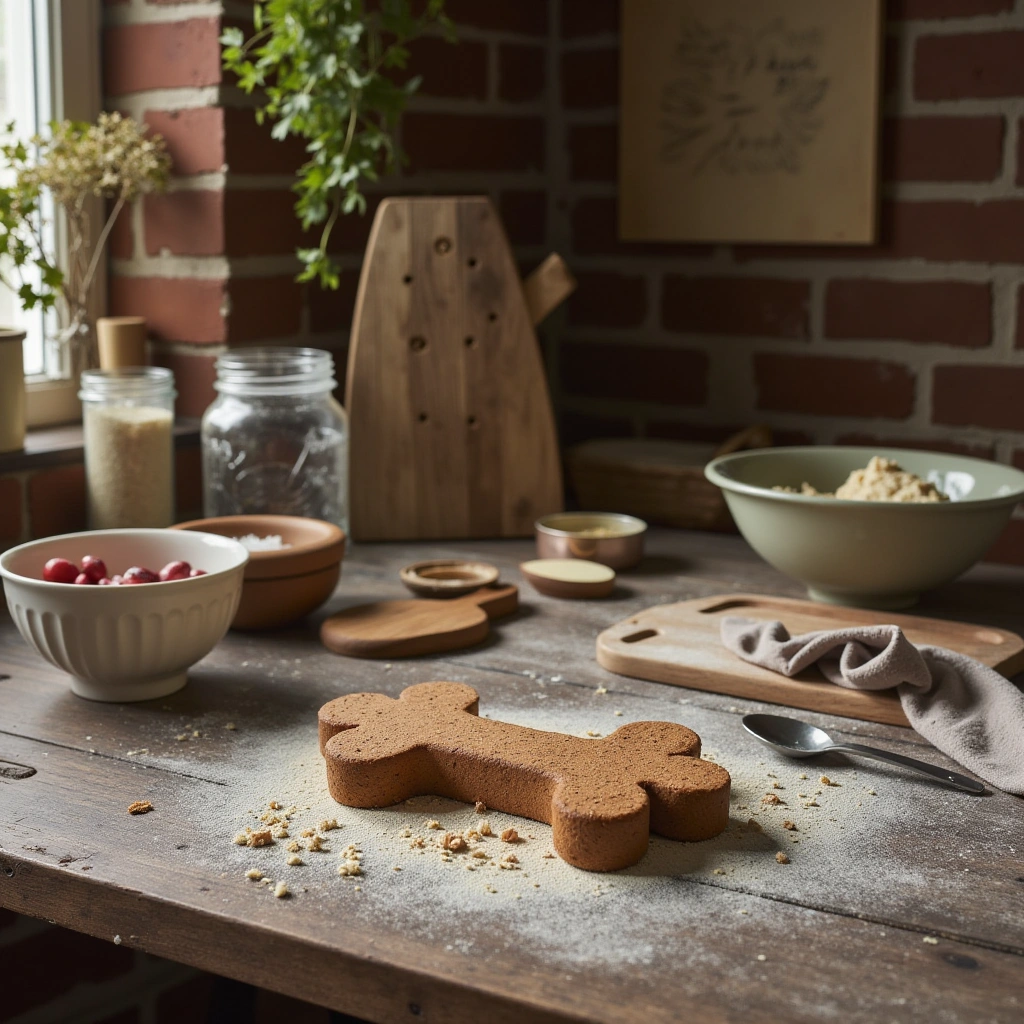
5. Roll and Cut
- Preheat your oven to 350°F (175°C).
- Line a baking sheet with parchment paper.
- Place the dough onto a floured surface.
- Roll out to about 1/4 inch thickness.
- Use a cookie cutter or knife to cut into strips, bones, or fun shapes.
6. Bake
- Arrange the cut treats on the prepared baking sheet.
- Bake for 20-25 minutes or until golden brown.
- For a crunchier texture, turn off the oven and let treats cool inside with the door slightly ajar.
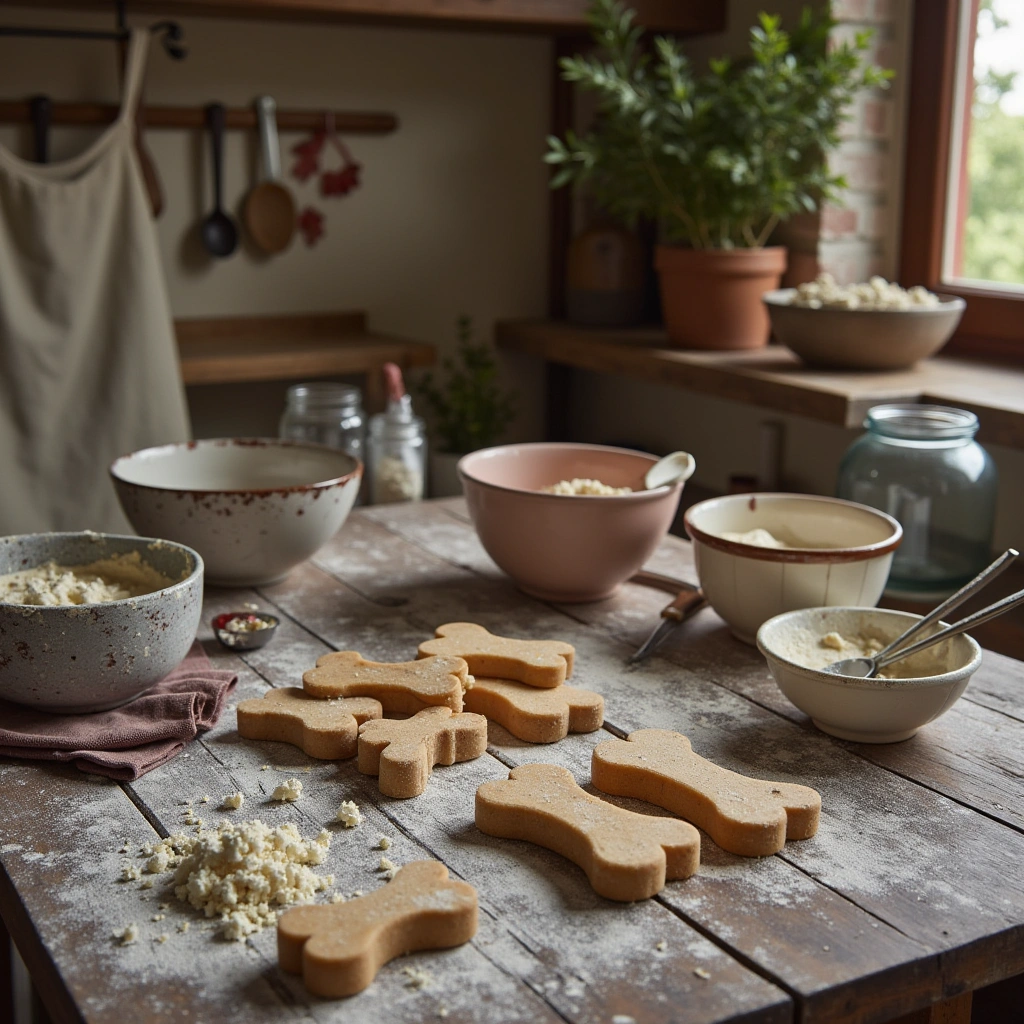
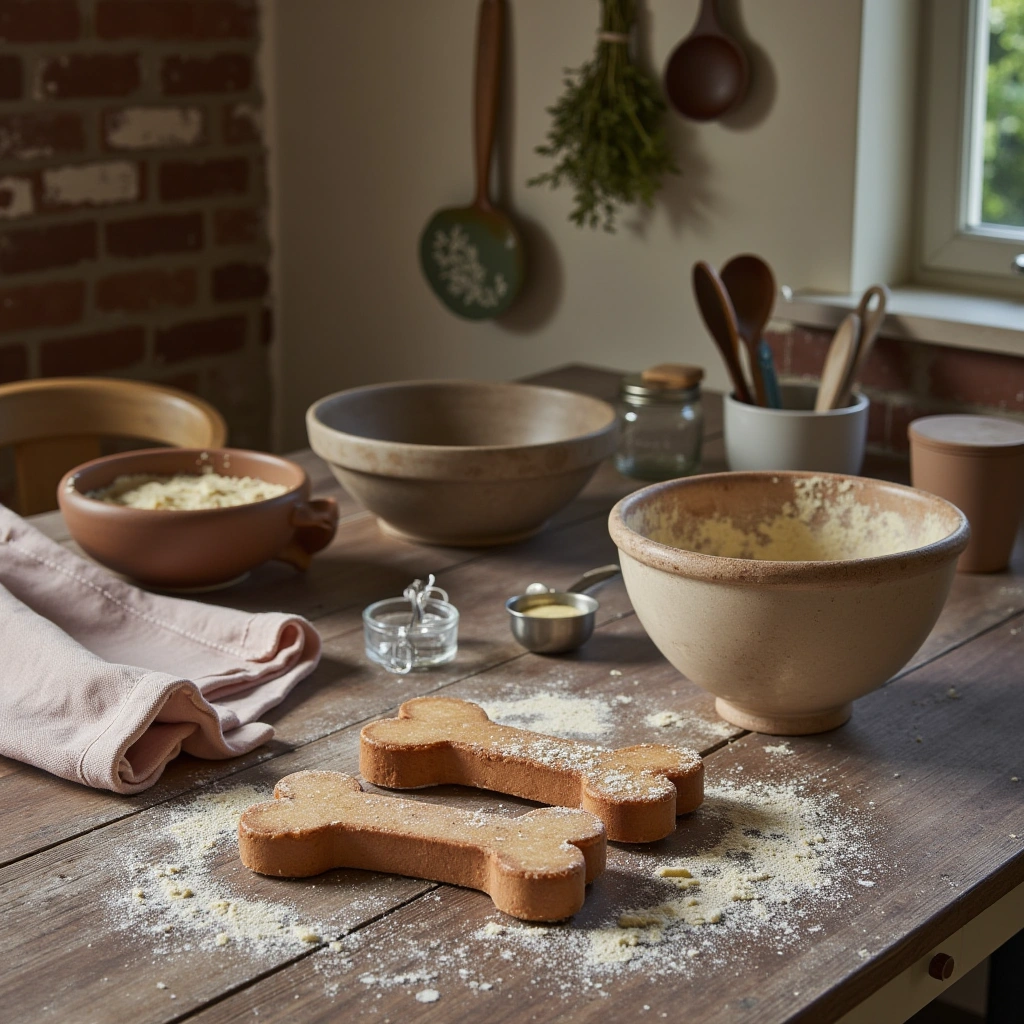
7. Cool and Store
- Let treats cool completely on a wire rack.
- Store in an airtight container in the fridge for up to a week or freeze for longer storage.
Common Mistakes and How to Avoid Them

| Mistake | Potential Issue | How to Avoid |
|---|---|---|
| Overly sticky dough | Difficult to roll out | Add more flour gradually |
| Underbaking | Treats remain soft and may spoil faster | Bake until golden and firm |
| Using ingredients harmful to dogs | Risk of toxicity | Avoid raisins, chocolate, artificial sweeteners |
| Not adjusting treat size | Choking hazard for small dogs | Cut treats into manageable sizes |
Variations to Keep Things Exciting
- Banana Cranberry Dental Sticks: Replace apples with mashed bananas for added sweetness.
- Carrot Cranberry Treats: Add grated carrots for extra fiber and vitamins.
- Pumpkin Cranberry Chews: Incorporate pureed pumpkin for a seasonal twist.
- Cheddar Cranberry Bites: Mix in a small amount of shredded cheese for savory flavor.
Final Thoughts and Action Points

Making your own dog dental treats like Apple Cranberry Dental Sticks is a fantastic way to ensure your pup’s dental health while giving them a tasty reward. These treats are easy to customize, cost-effective, and free from questionable ingredients found in many commercial options. Remember to always choose quality ingredients, watch portion sizes, and store treats properly.
So, why not give this recipe a try? Your dog will thank you with wagging tails and fresh breath! Keep experimenting with flavors and shapes to keep your furry friend excited for snack time. Happy baking—and here’s to healthier, happier pups!
Ready to start? Gather your ingredients, follow the steps, and watch your dog enjoy a treat that’s both good for their teeth and packed with natural goodness!