
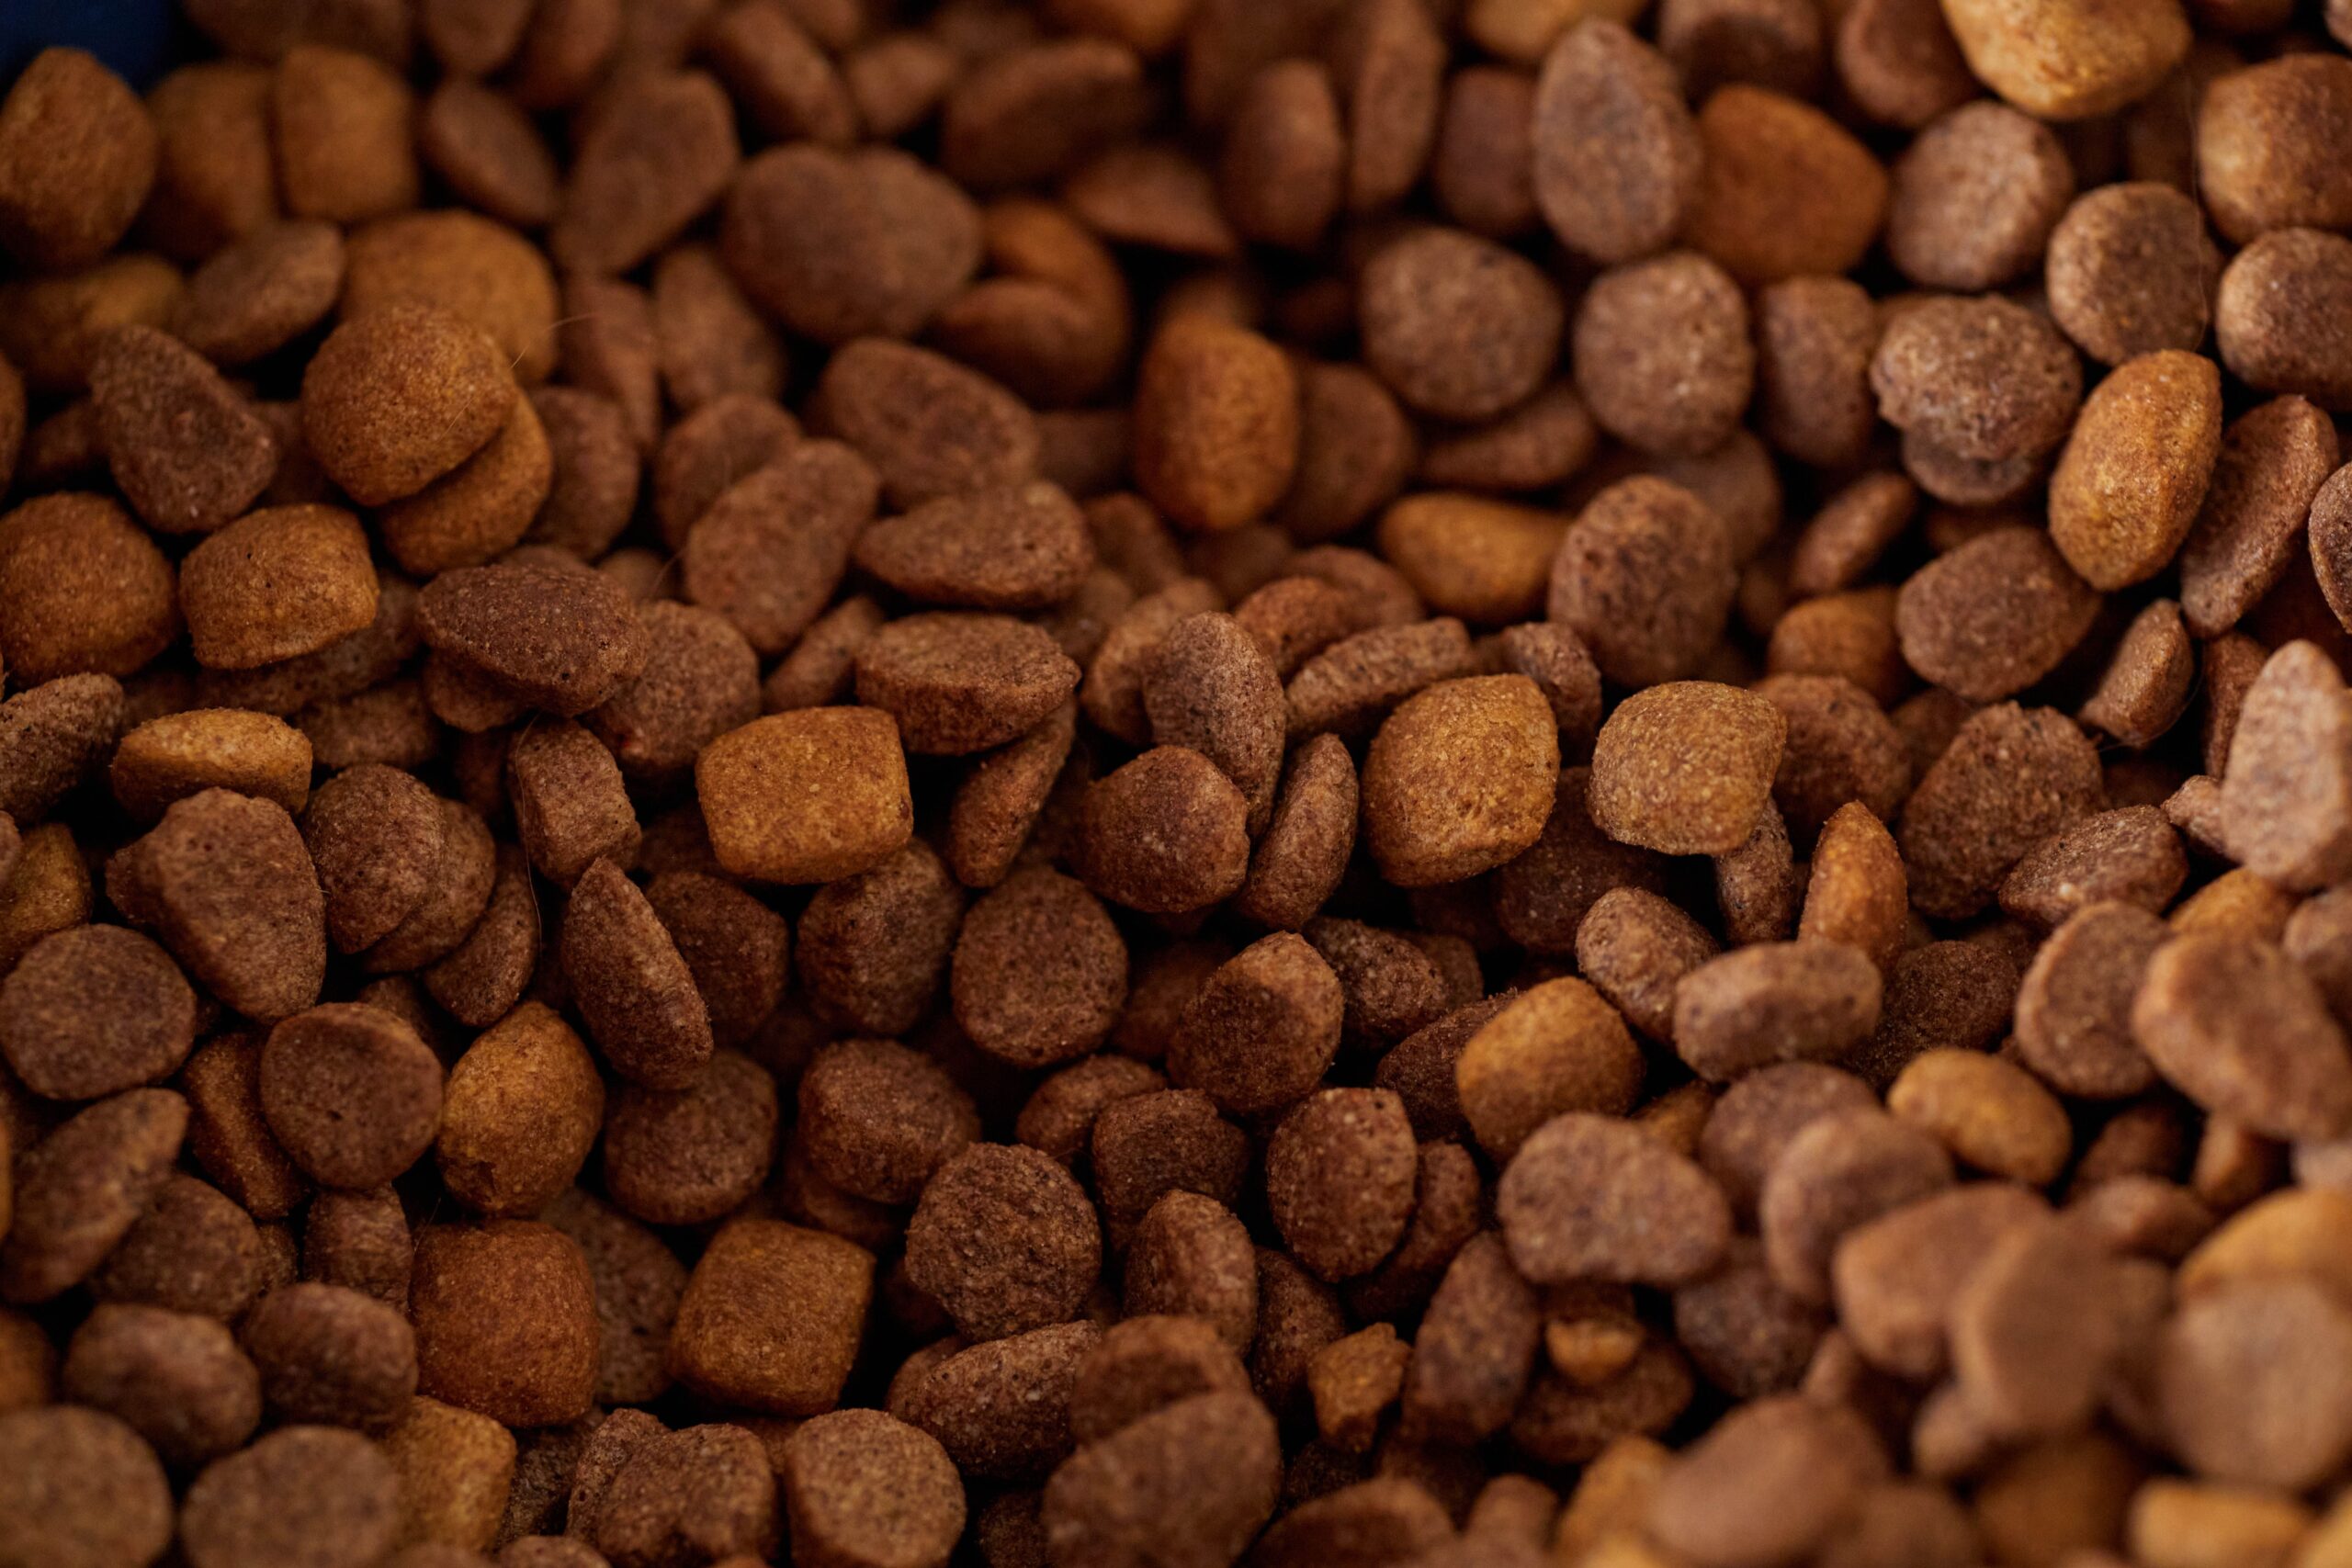
Ever stared at a bag of store-bought kibble and wondered what’s actually in it? I did too, and that’s exactly why I started making my own homemade dry dog food recipe at home. If you’re tired of mystery ingredients and want more control over what goes into your pup’s bowl, you’re in the right place.
I’ve noticed a lot of recipes floating around online skip the important stuff. They tell you to mix chicken and rice, toss it in the oven, and call it a day. But they don’t talk about nutritional balance, safe storage, or what happens when your “dry” food turns out chewy instead of crunchy. I’m going to fix that here. This guide covers everything from the science behind proper drying to what to do if your batch goes wrong.
What Exactly Is Homemade Dry Dog Food?
Let’s get on the same page first. Homemade dry dog food isn’t just leftover meatloaf you baked longer. It’s a specially formulated recipe designed to mimic commercial kibble, meaning it’s shelf-stable, low in moisture, and nutritionally complete.
The “dry” part matters more than people realize. Regular homemade dog food (the wet kind) spoils fast. Dry food, when made correctly, can last weeks in a sealed container because most of the moisture is removed. That moisture removal is what separates a proper dry dog food recipe from a baked treat.
I make mine using a mix of lean protein, complex carbs, and vet-approved supplements. It’s not complicated, but it does require attention to detail, especially if you want it to actually be healthy and not just homemade junk food shaped like kibble.
Key Terms You Should Know
Before we jump into the recipe, here are a few terms that’ll come up. I’m defining them here so you’re not left guessing later.
AAFCO — The Association of American Feed Control Officials. This group sets nutritional guidelines for pet food. A “complete and balanced” recipe should meet their standards for your dog’s life stage.
Moisture content — The percentage of water left in the food after drying. Commercial dry kibble usually sits around 10% or less. This is the number that determines shelf life.
Binder — An ingredient like egg or oat flour that holds the mixture together so it doesn’t crumble apart during baking or dehydrating.
Dehydrating — Removing moisture using low, consistent heat over a long period, usually with a dehydrator or a low-temp oven setting.
Rancidity — What happens when fats in the food break down and spoil, even if the food looks fine. This is common when homemade recipes use too much fat without proper storage.
Micronutrient supplement — Vitamins and minerals (like calcium or fish oil) added because home-cooked meals often lack what commercial food gets through fortification.
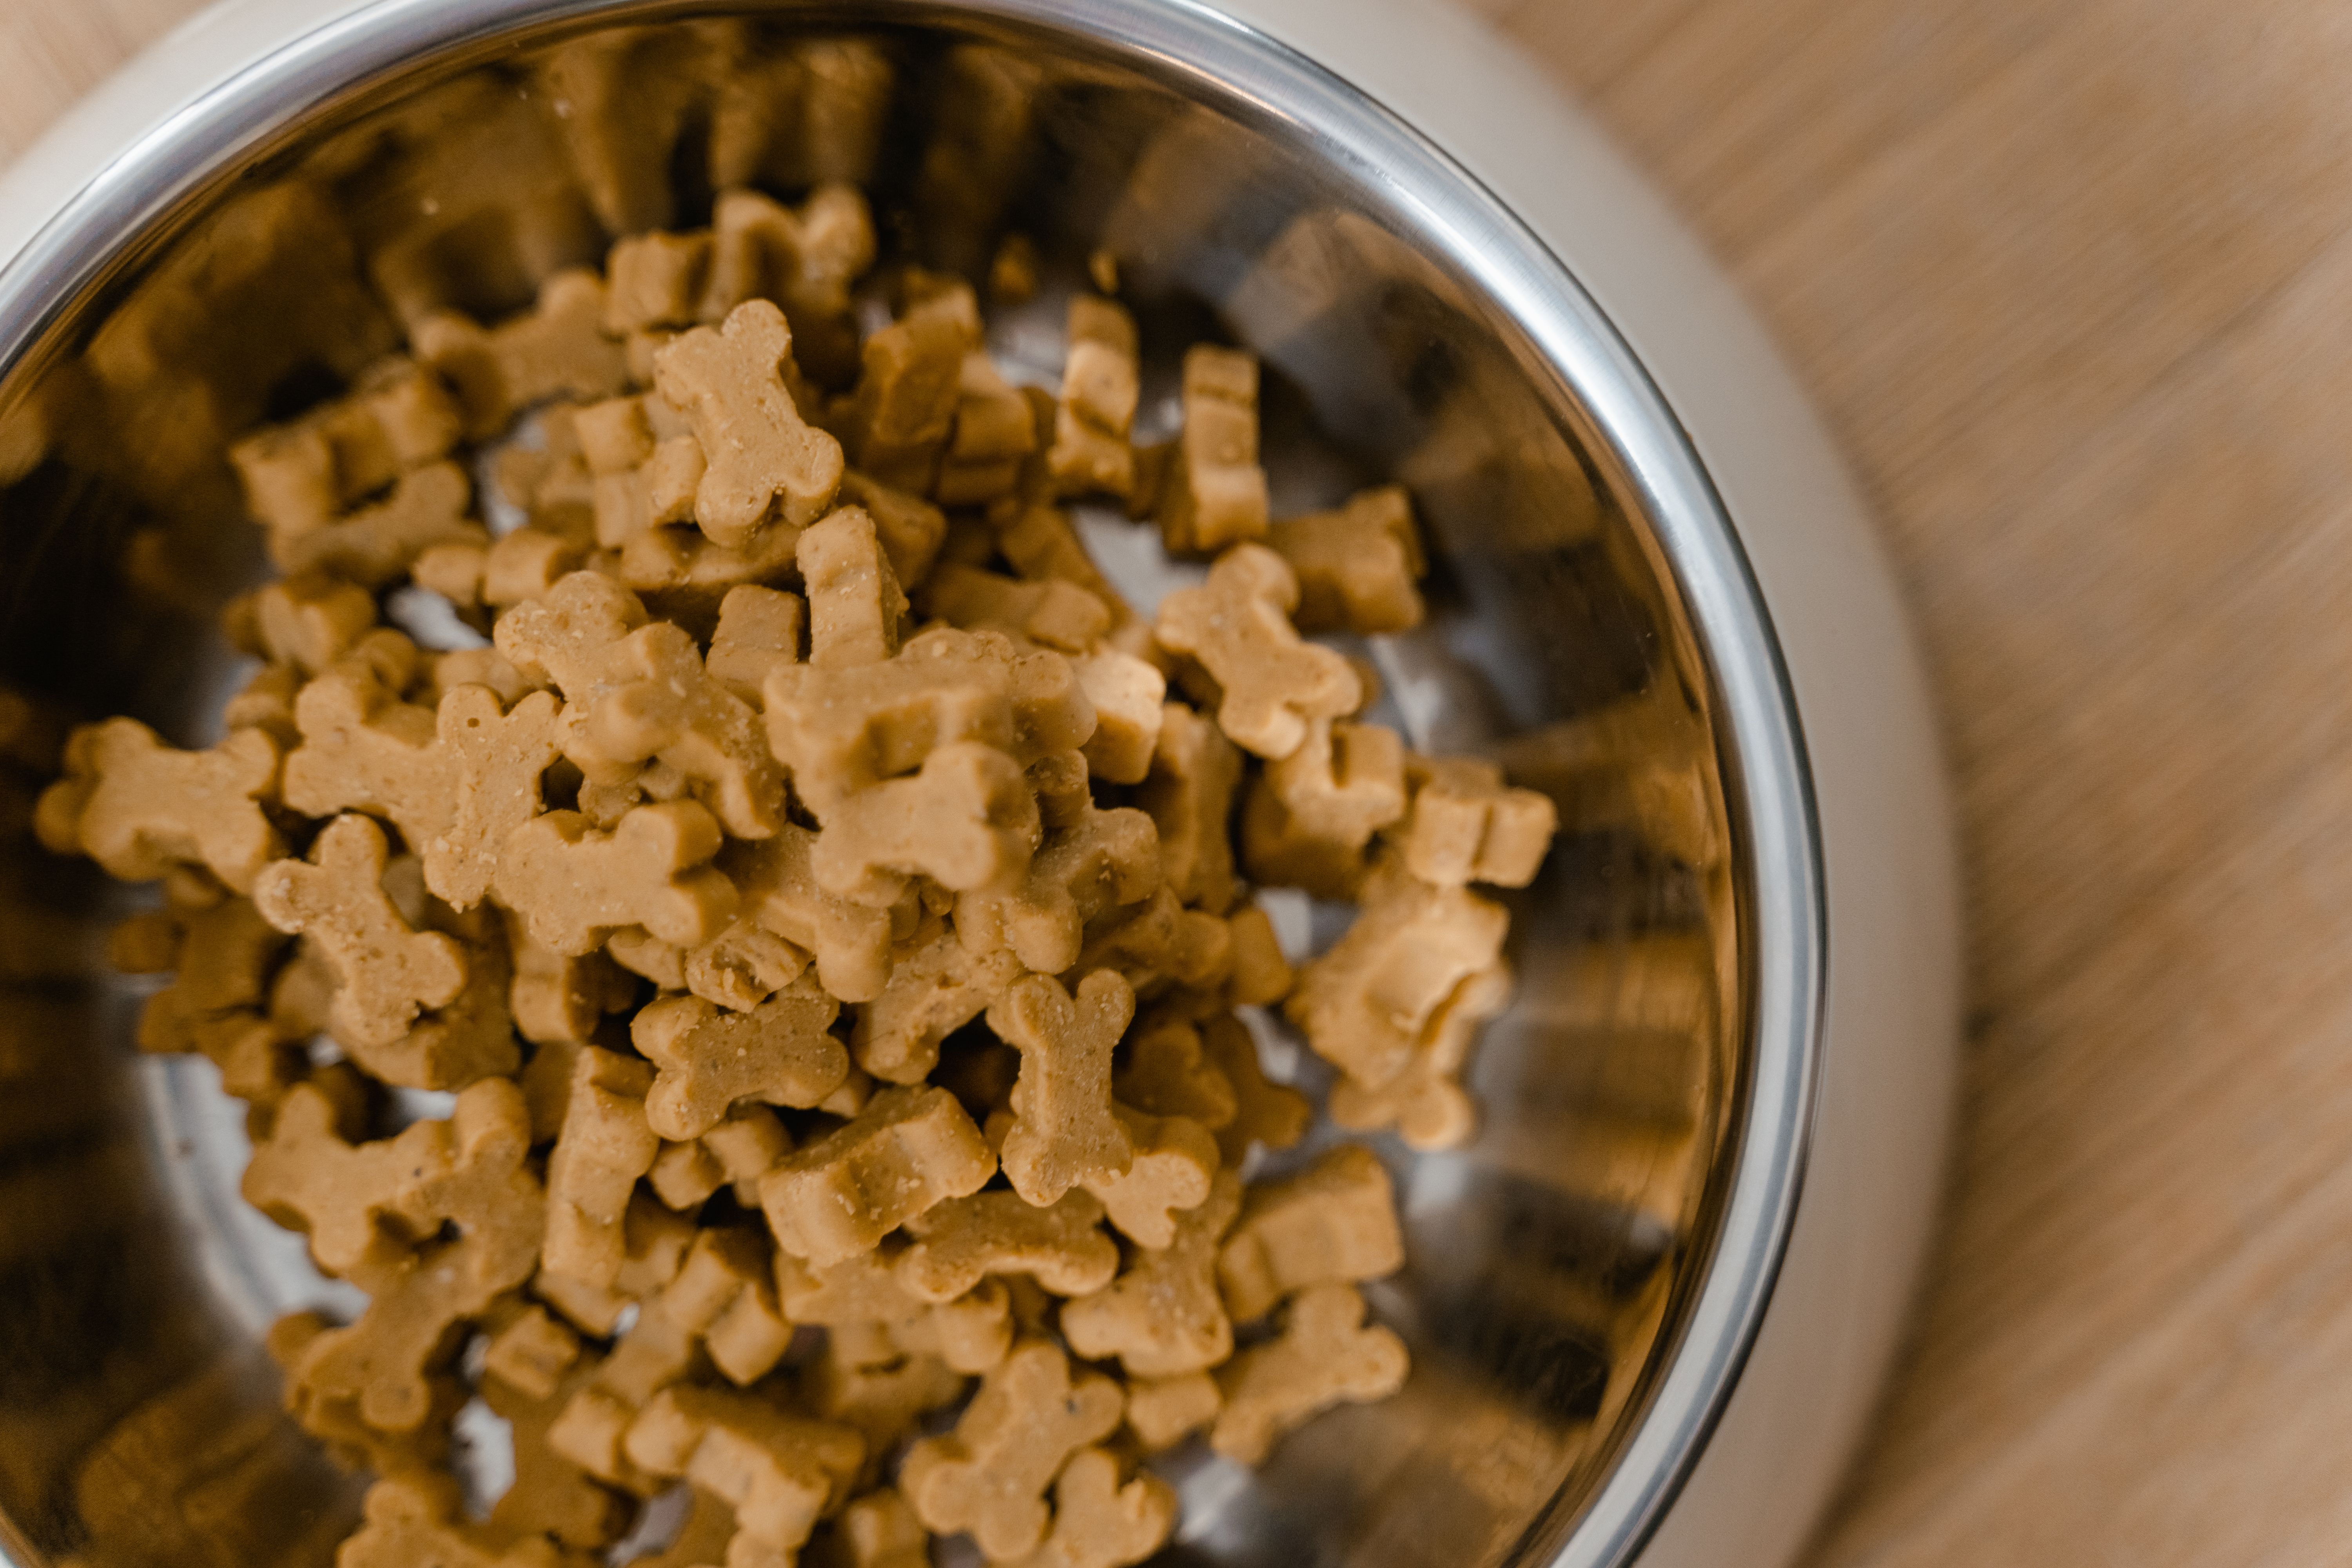
Ingredients You’ll Need
Here’s my go-to base recipe. It makes a decent-sized batch, enough to last a medium-sized dog about two to three weeks, depending on how much they eat daily.
- 3 cups lean ground turkey or chicken (cooked and drained)
- 2 cups rolled oats, finely ground
- 1 cup brown rice, cooked and cooled
- 1 cup pumpkin puree (plain, unsweetened)
- 2 eggs (acts as a binder and protein boost)
- 1/4 cup ground flaxseed
- 2 tablespoons fish oil
- 1 teaspoon powdered eggshell or calcium supplement
- 1/2 cup finely chopped carrots
- 1/2 cup finely chopped spinach (optional, but great for iron)
A quick note here — I’ve seen recipes online that completely skip the calcium supplement. That’s a mistake. Meat-heavy homemade diets are often calcium-deficient, and that’s a real problem for bone health over time. Don’t skip this part.
Step-by-Step Process
Alright, let’s get into the actual making of this stuff. I promise it’s easier than it sounds once you’ve done it once.
Step 1: Cook your protein. Boil or bake your ground turkey or chicken until fully cooked. Drain any excess fat, since too much grease will mess with the texture and shelf life later.
Step 2: Prepare your carbs. Cook the brown rice according to package instructions. Let it cool completely before mixing. Grind your oats in a blender or food processor until they’re a fine, flour-like texture.
Step 3: Mix the wet ingredients. In a large bowl, combine the pumpkin puree, eggs, fish oil, and flaxseed. Whisk until smooth.
Step 4: Combine everything. Add the cooked protein, rice, ground oats, calcium supplement, carrots, and spinach into the wet mixture. Mix thoroughly until you get a thick, dough-like consistency.
Step 5: Shape the mixture. Roll the dough into small, bite-sized balls or flatten it into a sheet about a quarter-inch thick on parchment paper. Thinner pieces dry faster and more evenly.
Step 6: Dry it out. Set your oven to its lowest setting, usually around 170–200°F. Place the shaped mixture on a baking sheet and bake for 3 to 4 hours, flipping halfway through. If you own a dehydrator, run it at 165°F for 6 to 8 hours instead. This slow method preserves more nutrients than blasting it at high heat.
Step 7: Check for dryness. The pieces should feel hard and snap cleanly when bent, not bendy or soft. If they’re still soft in the middle, keep drying in 30-minute increments until fully dry.
Step 8: Cool completely. Let the food cool on a wire rack for at least an hour before storing. Sealing warm food traps moisture, and that’s a fast track to mold.
Step 9: Store properly. Use an airtight container and keep it in a cool, dry place. For longer storage, freeze portions in sealed bags for up to three months.
Tips for Success
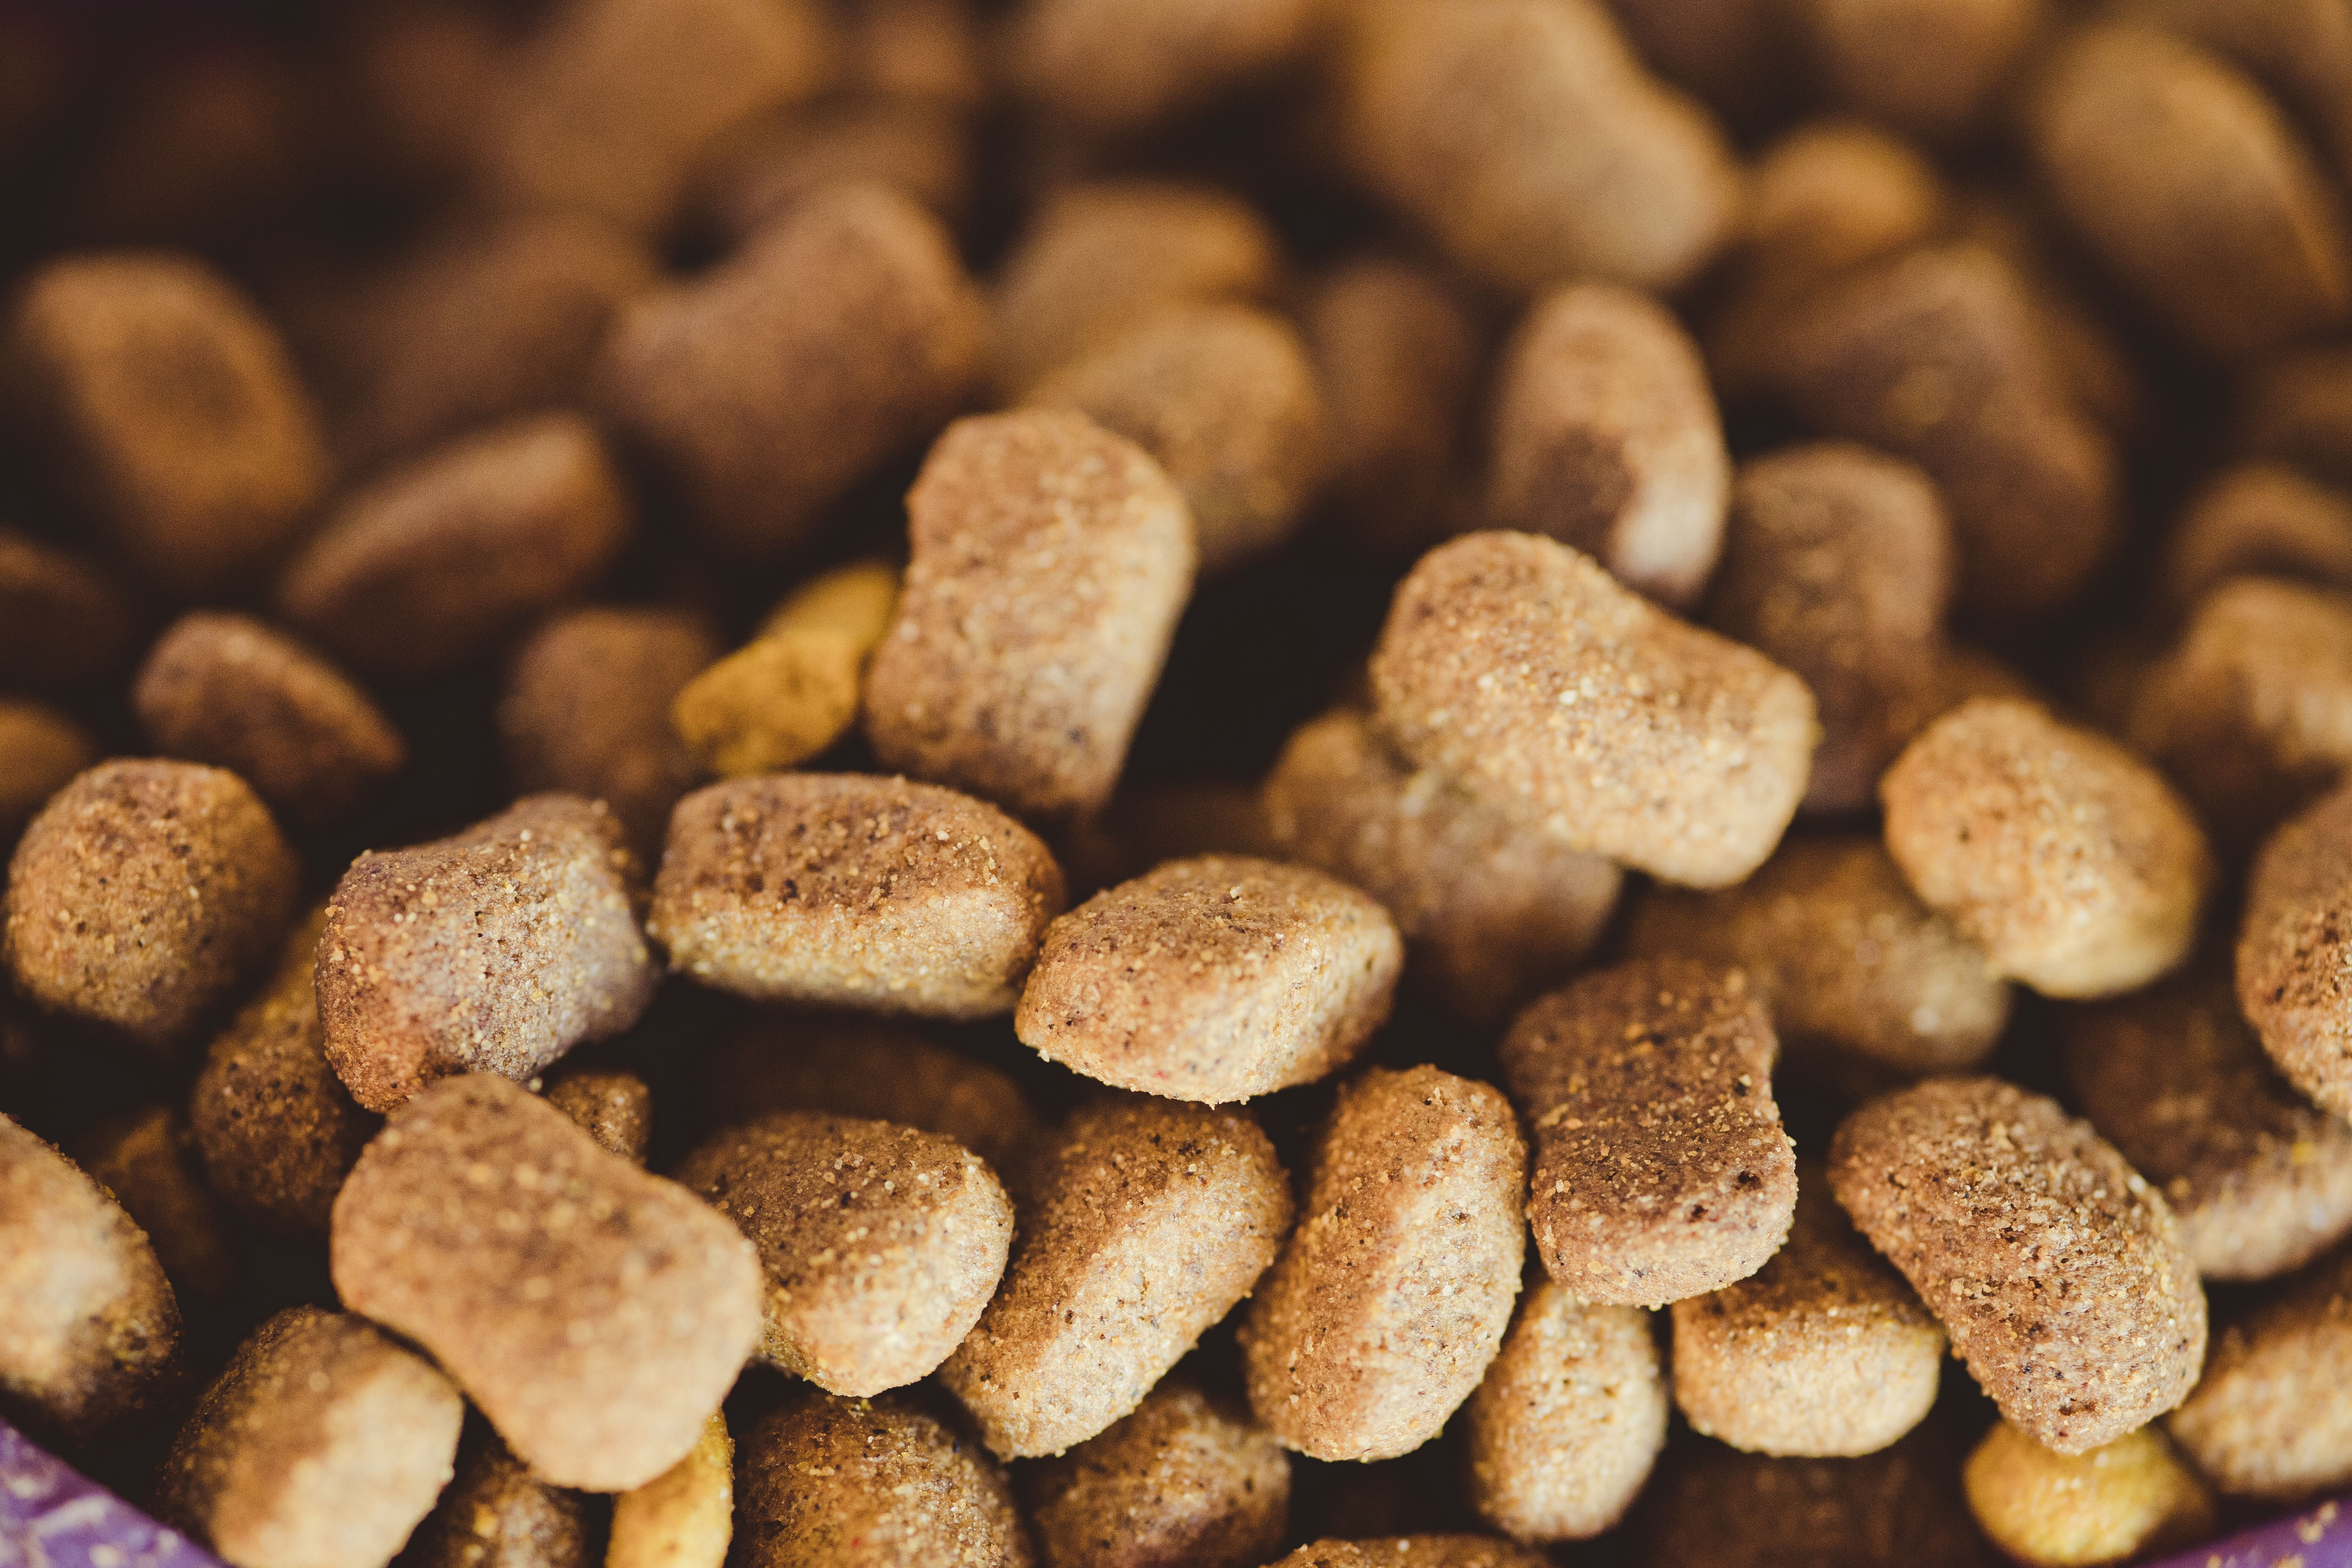
I’ve made this recipe more times than I can count, and here’s what actually makes a difference.
- Grind your oats finely. Whole oats don’t bind well and leave the texture crumbly.
- Always drain excess fat from your meat before mixing. Fat is the number one reason homemade dry food goes rancid early.
- Cut pieces evenly. Uneven sizes dry at different rates, leaving some pieces too moist.
- Test moisture with a food scale if you’re serious about consistency. Weigh a piece before and after drying to estimate moisture percentage.
- Talk to your vet before making homemade food your dog’s main diet. This recipe is a solid base, but individual dogs may need tweaks based on age, weight, or health conditions.
- Label your storage container with the date. Homemade food doesn’t have a printed expiration date, so you need to track it yourself.
Common Mistakes and How to Avoid Them
Let’s talk about where people mess up, because I’ve made a few of these mistakes myself early on.
Mistake: Not drying the food enough.
This is the biggest one. If there’s still moisture trapped inside, mold will grow within days, even in a sealed container. Fix: always do the “bend test.” If it’s flexible at all, it needs more time.
Mistake: Skipping the calcium supplement.
Homemade diets built mostly around muscle meat throw off the calcium-to-phosphorus ratio. Fix: always include a calcium source, whether it’s ground eggshell, bone meal, or a vet-recommended supplement.
Mistake: Using too much fat.
Fatty cuts of meat seem like a good idea for flavor, but fat shortens shelf life fast. Fix: stick to lean proteins and drain thoroughly.
Mistake: Storing food before it’s fully cooled.
Warm food creates condensation inside the container, which speeds up spoilage. Fix: be patient and let it cool at least an hour on a wire rack.
Mistake: Ignoring portion control.
Homemade dry food is often calorie-dense. Fix: check with your vet or use an online calorie calculator based on your dog’s weight and activity level.
Mistake: Treating this as a “set it and forget it” diet.
Nutritional needs change over time. Fix: reassess the recipe every few months, especially if your dog’s weight or energy level shifts.
Variations You Can Try
Once you’ve got the base recipe down, it’s fun to switch things up. Here are a few variations I’ve tested with good results.
- Fish-based version: Swap turkey for cooked salmon and add a bit of extra fish oil. Great for dogs with poultry allergies.
- Grain-free version: Replace oats and rice with mashed sweet potato and chickpea flour. Good for dogs sensitive to grains.
- Beef and veggie version: Use lean ground beef with peas, green beans, and diced zucchini for extra fiber.
- Senior dog version: Add turmeric and a joint supplement powder for dogs dealing with stiffness or arthritis.
- Puppy version: Increase protein ratio slightly and add a touch more calcium, since growing pups need more of both. Always confirm ratios with your vet first.
Wrapping It Up
Making your own dog food at home isn’t hard once you understand the basics. It just takes patience, the right ingredients, and a little attention to drying time. This homemade dry dog food recipe gives you full control over what your dog eats, without the guesswork that comes with store-bought bags.
I’ll be honest, the first batch I made wasn’t perfect. It was a little too soft, and I learned the hard way about proper drying. But once I got the process down, it became a normal part of my routine, and my dog’s clearly happier (and healthier) for it. Give this recipe a shot, tweak it to fit your dog’s needs, and you’ll never look at a bag of kibble the same way again.