
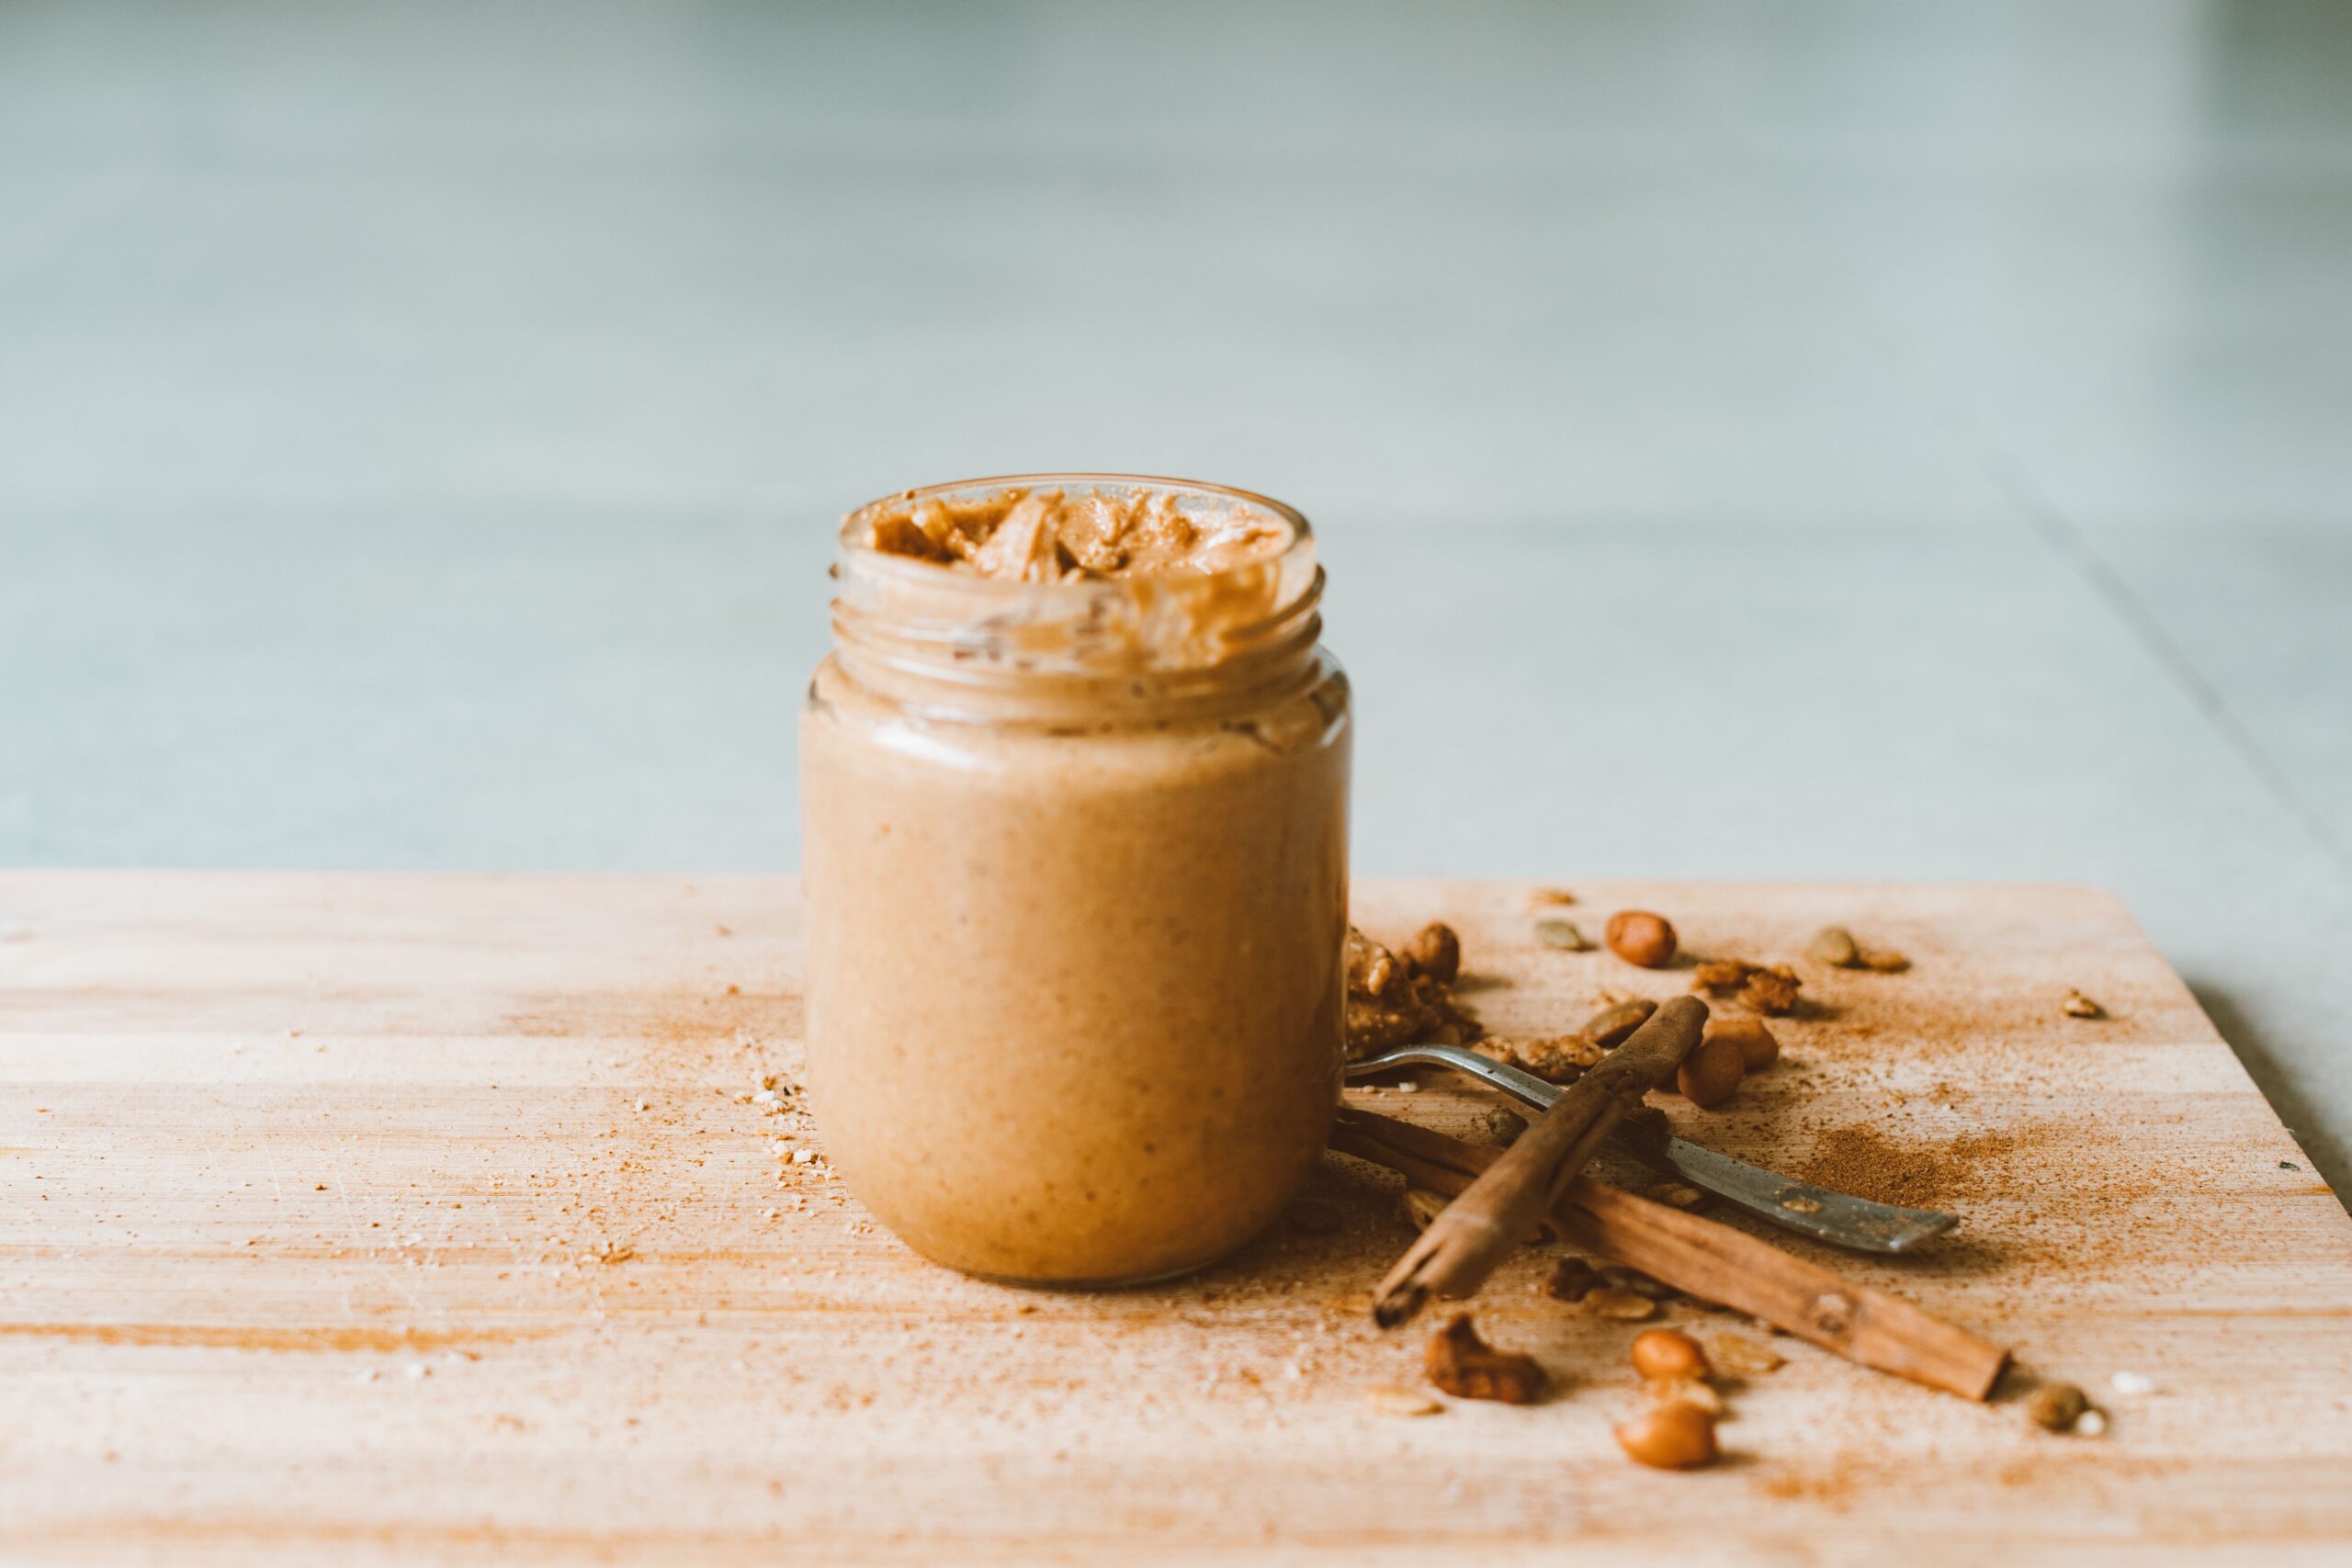
Ever caught your dog staring at you with those big, hopeful eyes while you’re making a snack? I know that look all too well. That’s exactly why I started making peanut butter and applesauce dog treats at home. They’re simple, safe, and honestly? My dog goes bananas for them.
If you’ve been searching for a treat recipe that’s both healthy and easy to whip up, you’re in the right spot. I’m going to walk you through everything—the good stuff, the mistakes to dodge, and some tricks I learned the hard way.
What Are Peanut Butter and Applesauce Dog Treats?
So what exactly makes these treats special? It’s the combo. Peanut butter brings protein and healthy fats. Applesauce adds natural sweetness and fiber. Together, they create a treat that’s tasty, filling, and gentle on your dog’s tummy.
I love this recipe because it uses ingredients most of us already have in our kitchens. No fancy trips to specialty pet stores needed. Just flour, peanut butter, applesauce, and maybe an egg. That’s it.
These treats work great for training sessions, everyday snacking, or even as a little reward after vet visits. My dog definitely knows when I’m reaching for the treat jar.
Key Terms You Should Know
Before we jump into the recipe, let’s clear up some terms you’ll see throughout this guide.
Xylitol
: A sugar substitute found in some peanut butter brands. It’s extremely toxic to dogs, even in tiny amounts. Always check labels before buying peanut butter for your pup.
Unsweetened Applesauce
: Applesauce with no added sugars or sweeteners. This is the only type safe for dogs since added sugar can cause weight gain and digestive issues.
Binder
: An ingredient that holds the dough together. In this recipe, eggs and peanut butter both act as binders.
Rolling Pin Method
: A technique where you roll dough to an even thickness before cutting shapes. This ensures treats bake evenly.
Airtight Container
: A sealed storage container that keeps air out. This helps treats stay fresh longer and prevents them from going stale too fast.
Ingredients You’ll Need
Here’s what goes into making a batch of these treats:
- 2 cups whole wheat flour (or oat flour for grain-sensitive dogs)
- 1/2 cup natural peanut butter (xylitol-free, always)
- 1/2 cup unsweetened applesauce
- 1 large egg
- 1/4 cup water (add more if dough feels dry)
- 1 teaspoon cinnamon (optional, but dogs seem to love the smell)
That’s the whole list. No weird additives. No hard-to-find items.
Step-by-Step Making Process
Alright, let’s get into the actual baking. I’ll break this down so nothing gets confusing.
Step 1: Preheat Your Oven
Set your oven to 350°F (175°C). Line a baking sheet with parchment paper. This step matters more than people think—cold ovens mess with baking times and can leave treats undercooked in the middle.
Step 2: Mix the Wet Ingredients
In a large bowl, combine peanut butter, applesauce, and the egg. Stir until smooth. I usually use a whisk here because it breaks up the peanut butter faster than a spoon.
Step 3: Add the Dry Ingredients
Slowly mix in the flour and cinnamon (if using). Stir until a dough starts forming. It’ll look shaggy at first—that’s normal.
Step 4: Knead the Dough
Turn the dough onto a floured surface. Knead it for about two minutes until it feels smooth and holds together well. If it’s too sticky, add a bit more flour, one tablespoon at a time.
Step 5: Roll It Out
Using a rolling pin, flatten the dough to about 1/4 inch thickness. Thicker treats take longer to bake and might stay chewy in the center, so keep this even.
Step 6: Cut Into Shapes
Grab a cookie cutter—bone shapes are classic, but honestly, any shape works. Even just cutting squares with a knife does the job fine.
Step 7: Bake
Place the cut treats on your lined baking sheet, leaving a little space between each one. Bake for 20-25 minutes, or until edges turn golden brown.
Step 8: Cool Completely
This step gets skipped way too often. Let treats cool fully on a wire rack before storing. Warm treats trapped in a container create moisture, which leads to mold. Nobody wants that.
Nutritional Breakdown (Per Treat, Approximate)
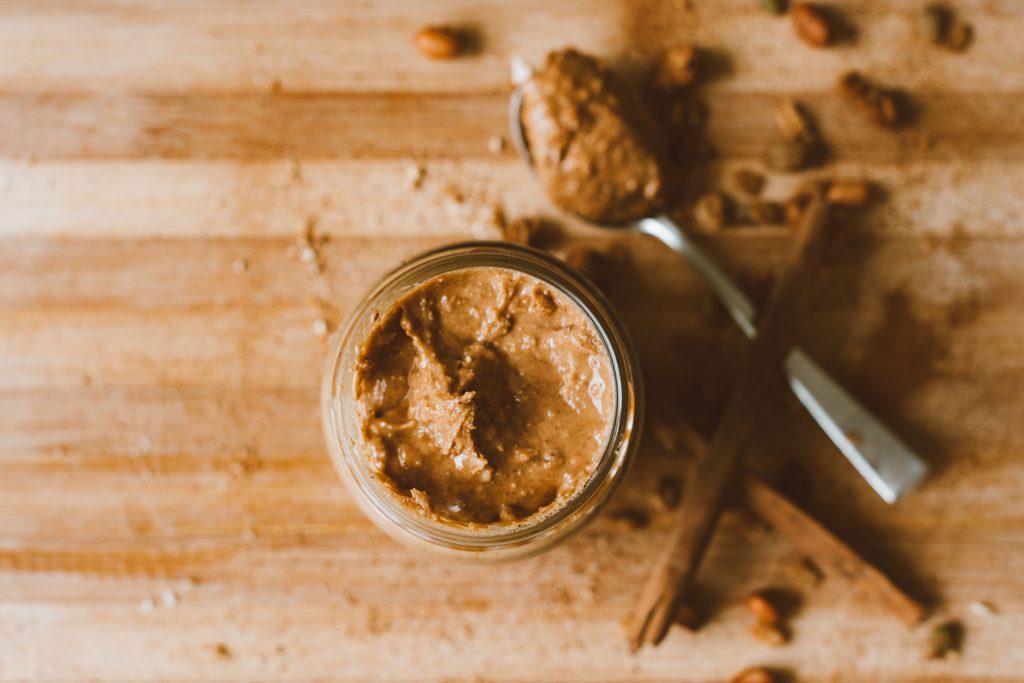
Understanding what your dog is eating matters. Here’s a rough estimate based on a batch of 24 treats:
- Calories: 35-40 per treat
- Protein: 1.5 grams
- Fat: 1.8 grams
- Fiber: 0.5 grams
These numbers shift depending on treat size and exact ingredients used, but it gives you a solid ballpark. These treats work well as occasional snacks, not full meal replacements.
Tips for Success
I’ve made these treats more times than I can count. Here’s what actually makes a difference:
- Always check peanut butter labels for xylitol before buying. Some “natural” brands sneak it in.
- Use room-temperature peanut butter. Cold peanut butter straight from the fridge doesn’t mix smoothly.
- Don’t overwork the dough. Overmixing makes treats tough instead of crumbly.
- Store treats in the fridge if you added fresh applesauce with no preservatives—they’ll last longer that way.
- Test one treat before storing the whole batch. Sometimes oven temps vary, and you want to catch undercooked centers early.
Common Mistakes and How to Avoid Them
Even simple recipes have pitfalls. Here’s where things usually go wrong.
Mistake: Using peanut butter with xylitol
This one’s dangerous, not just annoying. Xylitol poisoning in dogs happens fast and can be fatal. Solution? Read every label, every single time, even if you’ve bought that brand before. Companies change formulas without much warning.
Mistake: Skipping the cooling step
I get it, waiting is boring when treats smell amazing. But storing warm treats leads to soggy, moldy batches within days. Solution: Let them cool at least an hour on a wire rack.
Mistake: Rolling dough too thick
Thick treats often stay raw in the middle while looking done outside. Solution: Stick to that 1/4 inch guideline, and use a ruler if you need to.
Mistake: Adding sweetened applesauce
Extra sugar isn’t good for dogs and can contribute to obesity or dental problems over time. Solution: Double-check the label says “unsweetened” before tossing it in your cart.
Mistake: Overbaking
Leaving treats in too long makes them rock-hard, which isn’t great for smaller dogs or older pups with weaker teeth. Solution: Set a timer and check treats at the 20-minute mark first.
Similar Variations You Can Try
Once you’ve nailed the basic recipe, switching things up gets fun. Here are some variations I’ve tested:
- Pumpkin Swap: Replace applesauce with pumpkin puree for a fall-friendly version packed with fiber.
- Banana Version: Mash a ripe banana instead of applesauce for a different natural sweetness.
- Grain-Free Option: Use almond flour or coconut flour instead of wheat flour for dogs with grain sensitivities.
- Frozen Treats: Skip baking altogether. Freeze the raw dough in small silicone molds for a cool summer snack.
- Added Crunch: Mix in finely chopped carrots or oats for extra texture and nutrients.
- Soft Chew Version: Reduce baking time to 15 minutes for a softer, chewier treat—perfect for senior dogs or picky eaters.
Each variation keeps the same basic structure but changes up flavors and textures, so you’re not stuck making the same treat every single time.
Storage Guide
- Room Temperature: Store in an airtight container for up to 5 days.
- Refrigerated: Keeps fresh for about 2 weeks.
- Frozen: Lasts up to 3 months. Just thaw before serving.
Always check for any signs of mold or unusual smell before giving treats to your dog, especially if they’ve been stored a while.
Wrapping It Up
Making peanut butter and applesauce dog treats at home isn’t complicated, and honestly, it feels pretty rewarding watching your dog enjoy something you made yourself. You control every ingredient, which means no hidden sugars, preservatives, or sketchy additives sneaking into your pup’s diet.
Give this recipe a shot this week. Grab your ingredients, preheat that oven, and get ready for some serious tail wagging. Your dog’s going to think you’re a genius—and really, with peanut butter and applesauce dog treats this good, maybe you are.