Hey pet parents! If you’re like me, you want to spoil your furry friends with healthy, tasty treats that you can make right in your own kitchen. Not only is it fun, but homemade dog treats also give you control over ingredients, ensuring your pup gets only the best. Today, I’ll walk you through everything you need to know—from ingredient choices to step-by-step recipes—so you can confidently whip up treats that your dog will love.
Why Make Homemade Dog Treats?
Before jumping into recipes, let’s talk about why homemade treats are worth your time:
- Healthier Ingredients: No preservatives, artificial flavors, or fillers.
- Customization: Tailor recipes to your dog’s dietary needs or allergies.
- Freshness: Treats made at home are fresher and more appealing.
- Cost-Effective: Often cheaper than store-bought options, especially in bulk.
- Fun Bonding Activity: Baking treats can be a delightful bonding experience.
Essential Materials & Ingredients for Homemade Dog Treats
Creating great treats starts with having the right tools and ingredients. Here’s a detailed list to get you started:
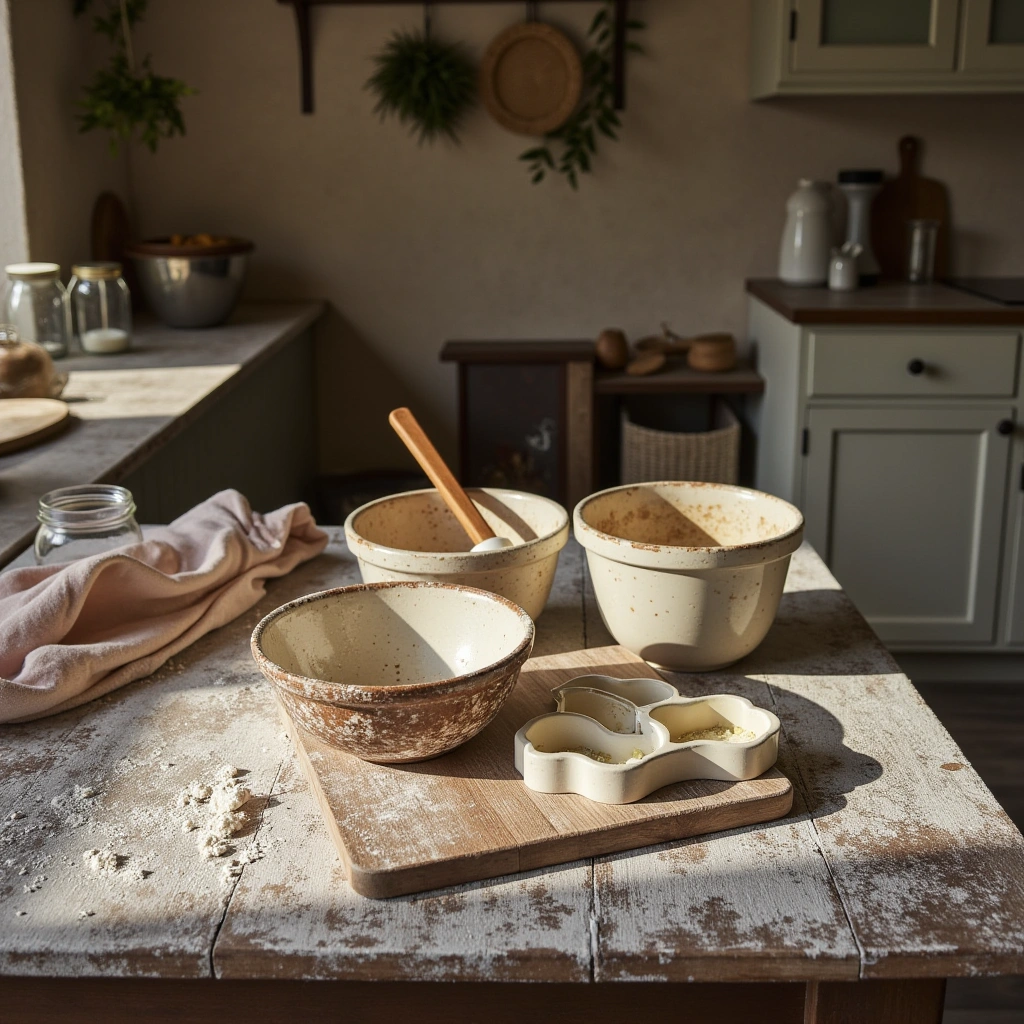
Materials Needed
| Item | Description | Quantity/Size | Notes |
|---|---|---|---|
| Mixing bowls | Various sizes for mixing ingredients | 2-3 bowls | Preferably stainless steel or glass |
| Rolling pin | To roll out dough | 1 | Essential for shaping treats |
| Cookie cutters | Fun shapes or plain rounds | Assorted sizes | Choose dog-friendly shapes (bones, paws) |
| Baking sheets | Flat trays for baking | 2-3 sheets | Line with parchment paper for easy cleanup |
| Parchment paper | Non-stick surface to prevent sticking | Several sheets | Use for baking treats |
| Oven | For baking treats | Standard size | Preheat as per recipe instructions |
| Cooling racks | To cool treats after baking | 1-2 racks | Prevents sogginess |
| Measuring cups & spoons | Accurate measurement of ingredients | Complete set | Essential for consistency |
| Food processor (optional) | To blend ingredients smoothly | 1 | Useful for pureeing or mixing |
Ingredients
| Ingredient | Role | Typical Amounts (per batch) | Notes |
|---|---|---|---|
| Whole wheat flour | Base for dough | 2 cups | Opt for organic if possible |
| Oats | Adds fiber and texture | 1 cup | Use rolled oats for easier blending |
| Peanut butter | Flavor enhancer and healthy fats | ½ cup | Ensure xylitol-free for safety |
| Eggs | Binds ingredients together | 2 large | Helps dough hold shape |
| Chicken or beef broth | Adds flavor; choose low sodium | ½ cup | Use homemade or dog-safe brands |
| Banana or sweet potato | Natural sweetener and moisture | ½ cup mashed | Adds flavor and nutrients |
| Carrots or apple slices | Optional: Adds crunch and nutrients | ¼ cup grated or chopped | Avoid seeds and cores |
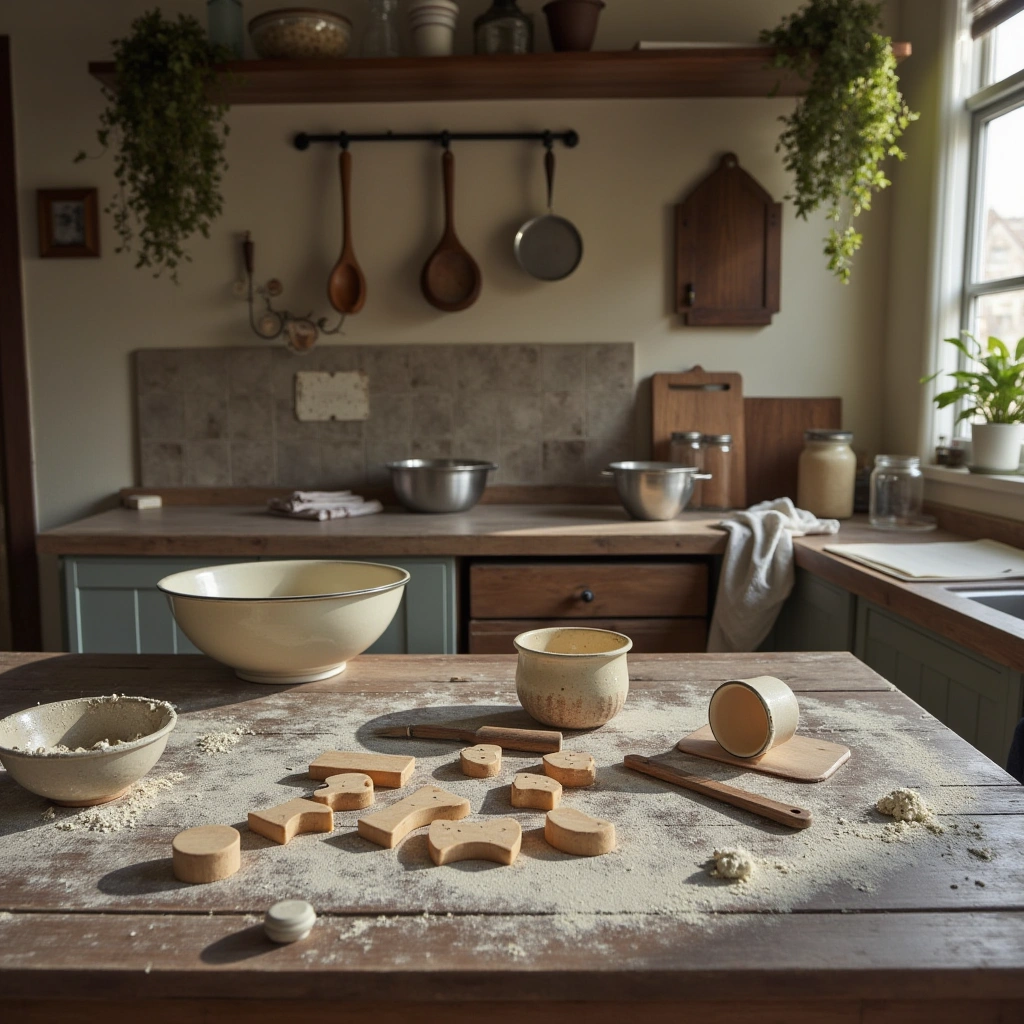
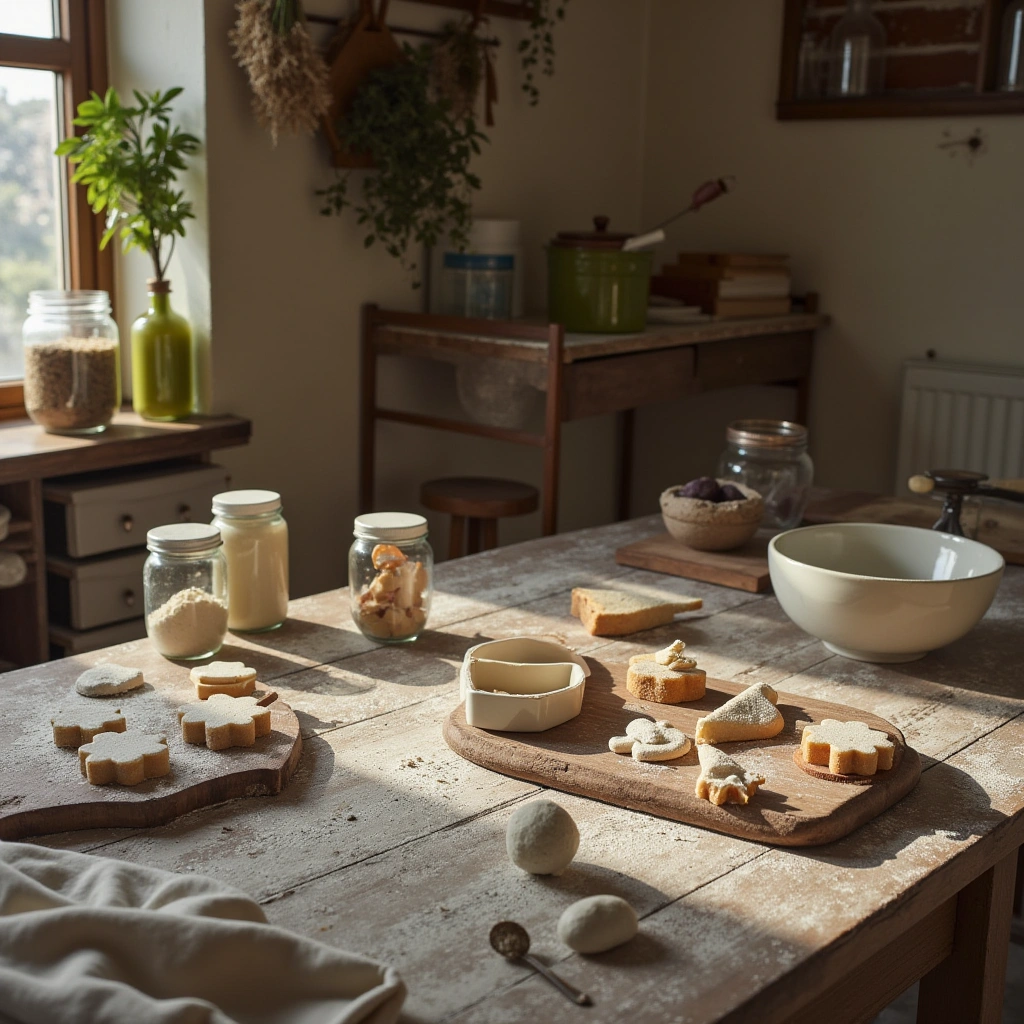
Step-by-Step Guide to Making Homemade Dog Treats
Now that you’ve gathered your tools and ingredients, let’s get baking! Here’s a simple yet versatile recipe you can customize.
Basic Dog Treats Recipe
Ingredients:
- 2 cups whole wheat flour
- 1 cup rolled oats
- ½ cup peanut butter (xylitol-free)
- 2 eggs
- ½ cup chicken broth
- ½ mashed banana
Instructions:
- Preheat your oven. Set it to 350°F (175°C). Line your baking sheets with parchment paper.
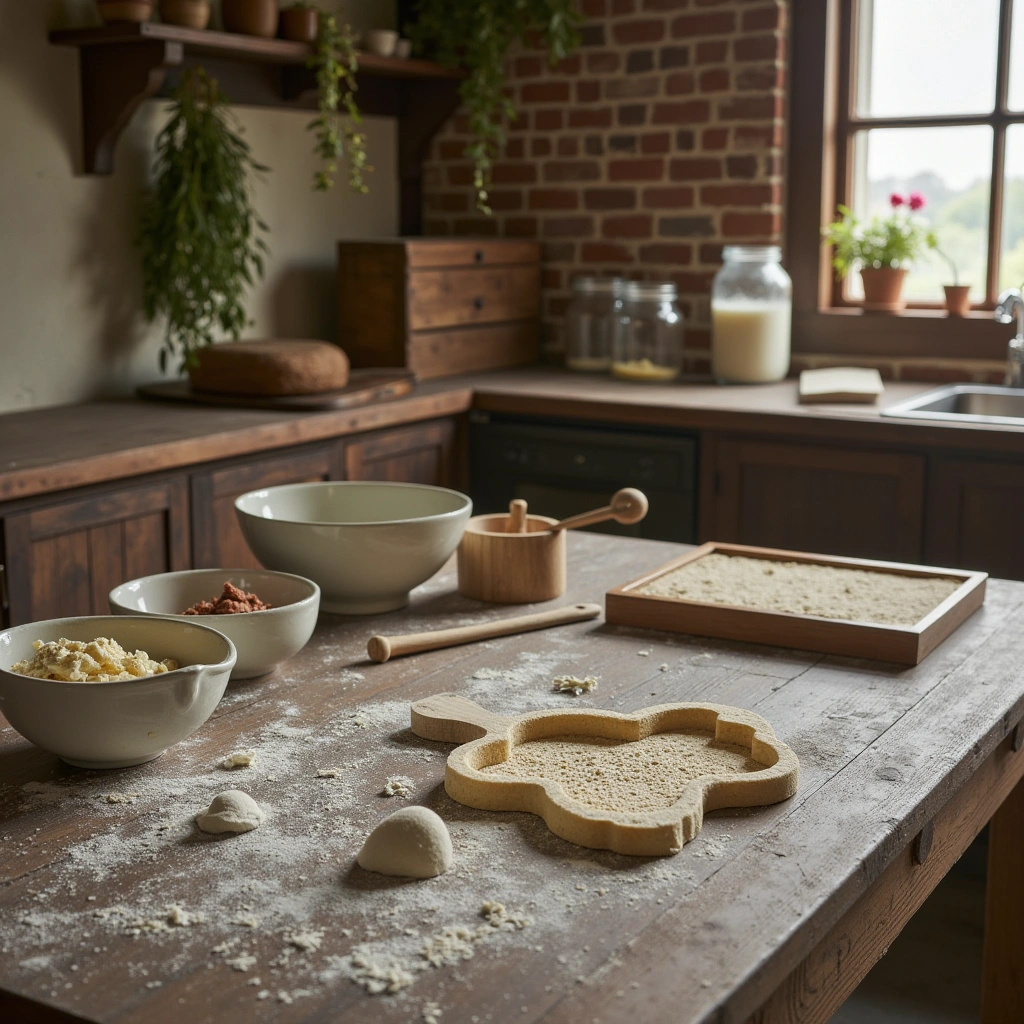
- Mix dry ingredients. In a large bowl, combine whole wheat flour and oats.
- Add wet ingredients. Stir in peanut butter, eggs, chicken broth, and mashed banana. Mix until a dough forms.
- Knead the dough. Turn onto a lightly floured surface and knead for 2-3 minutes until smooth.
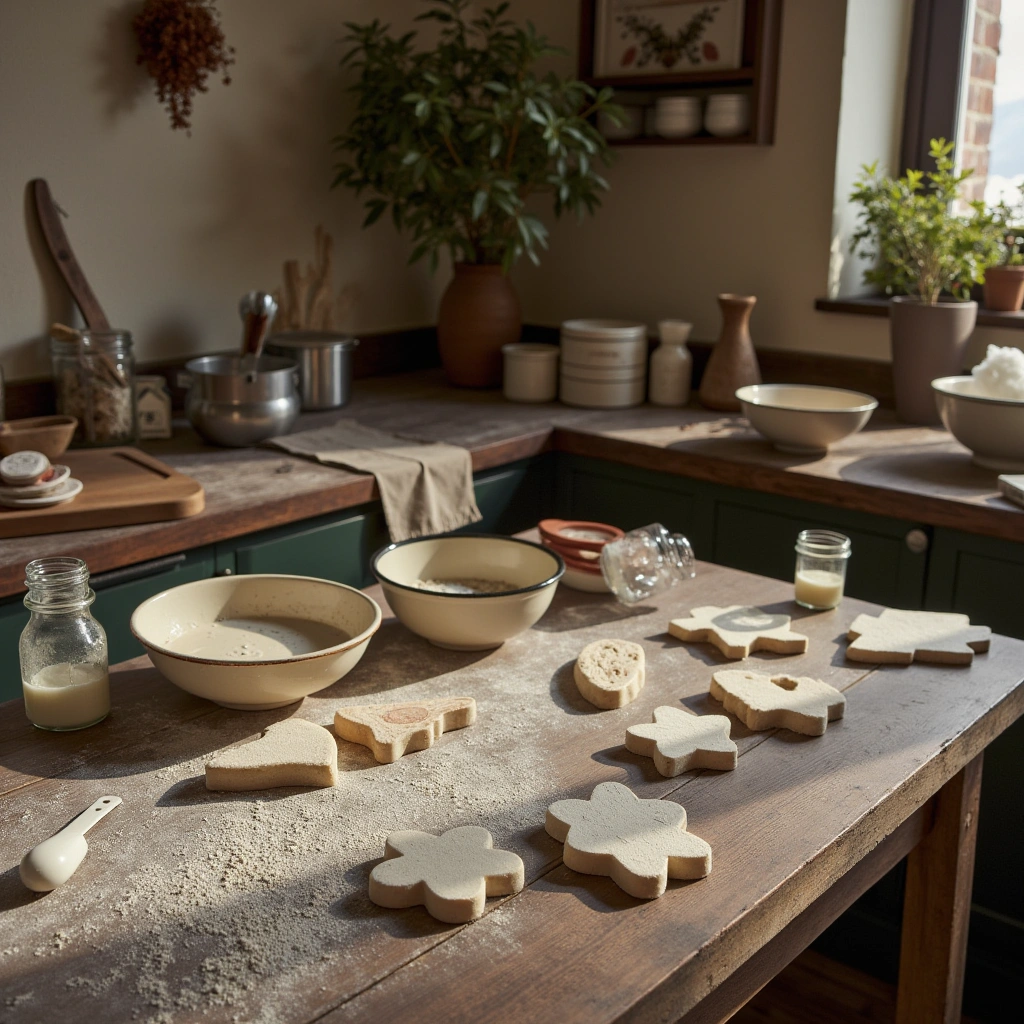
- Roll out the dough. Use a rolling pin to flatten to about ¼ inch thickness.
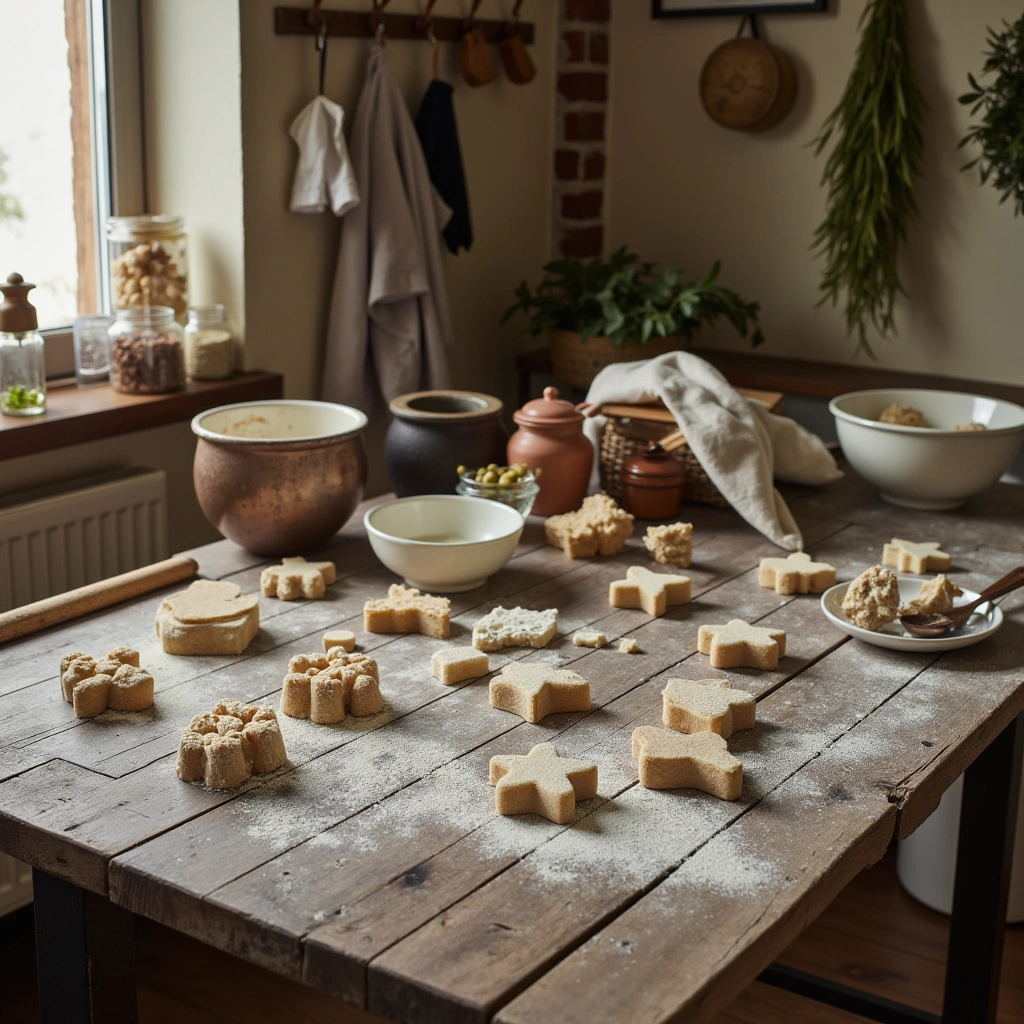
- Cut out treats. Use cookie cutters to shape your desired treats.
- Bake. Place cutouts on prepared baking sheets and bake for 15-20 minutes or until golden brown.
- Cool. Transfer treats to cooling racks and let them cool completely before offering to your pup.
Tips for Success

- Ingredient Quality Matters: Use organic and natural ingredients for the healthiest treats.
- Adjust Consistency: If dough is sticky, add a little more flour; if too dry, add a splash of broth.
- Storage: Keep treats in an airtight container. They last about a week at room temperature or up to a month in the freezer.
- Portion Control: Cut treats into appropriate sizes based on your dog’s size to prevent overfeeding.
Common Mistakes and How to Avoid Them
| Mistake | Solution |
|---|---|
| Using high-sugar or artificial ingredients | Stick to natural, dog-safe ingredients |
| Overbaking treats | Keep an eye on the oven; treat color is a good indicator |
| Not measuring ingredients properly | Use measuring cups/spoons for consistency |
| Using ingredients harmful to dogs | Avoid onions, garlic, xylitol, grapes, chocolate |
| Skipping cooling step | Always cool treats to prevent sogginess and burns |
Variations to Keep Things Interesting
Bored with the same treats? Try these tasty variations:
- Sweet Potato & Cinnamon Chews: Add mashed sweet potato and a pinch of cinnamon.
- Pumpkin & Carrot Biscuits: Mix in pureed pumpkin and shredded carrots.
- Cheddar & Bacon Bites: Incorporate shredded cheddar cheese and crumbled cooked bacon.
- Frozen Treats: Freeze small portions of yogurt with fruit for a cooling snack.
Summary & Final Thoughts

Making homemade dog treats is a rewarding way to pamper your pup with healthy, tasty snacks. With the right tools, ingredients, and a little bit of love, you can create endless variations that suit your dog’s preferences and dietary needs. Remember to keep ingredients safe and treat sizes appropriate. Baking treats at home not only saves money but also strengthens the bond between you and your furry friend.
So grab your ingredients, get baking, and watch your pup delight in every bite! And don’t forget—healthy treats are the way to a happy, happy dog.
Now that you’re equipped with all these tips and recipes, it’s time to get baking! Your dog will thank you with wagging tails and joyful licks.