
Ever wonder how to spoil your furry friend with healthy, tasty treats? Well, you’re in the right place! Today, I’ll show you how to make homemade dog treats using pumpkin—a super nutritious ingredient packed with benefits for your pup. Not only are these treats easy to prepare, but they also give you full control over what your dog is munching on, avoiding preservatives and fillers found in store-bought options. Plus, pumpkin is excellent for digestion and overall health, making these treats a win-win.
In this guide, I’ll walk you through everything—from gathering ingredients to baking tips—so you can create the perfect pumpkin treats your dog will love. Ready? Let’s dive in!
Why Use Pumpkin in Dog Treats?
Pumpkin isn’t just a fall flavor; it’s a canine superfood! Here’s why incorporating pumpkin into your homemade dog treats is a smart choice:
- Rich in fiber: Helps regulate digestion and prevents constipation.
- High in vitamins: Contains A, C, E, and antioxidants that boost immune health.
- Low in calories: A healthy treat option for weight management.
- Source of beta-carotene: Promotes healthy skin and coat.
- Supports urinary health: Natural diuretic properties help flush toxins.
Note: Always use plain, cooked, or canned pumpkin—avoid pumpkin pie filling with added sugars or spices, which can be harmful to dogs.
Materials Needed
| Item | Quantity | Notes |
|---|---|---|
| Pumpkin (canned or fresh) | 1 cup | Pure pumpkin, not pie filling |
| Whole wheat flour | 2 cups | Can substitute with oat or rice flour for gluten-free options |
| Rolled oats | ½ cup | Optional, adds texture and fiber |
| Eggs | 2 large | For binding and nutrition |
| Peanut butter (unsweetened, xylitol-free) | ¼ cup | For flavor and moisture |
| Water | As needed | To adjust dough consistency |
| Baking sheet | 1 | For baking treats |
| Parchment paper | 1 sheet | To prevent sticking |
| Cookie cutter (optional) | 1 | For fun shapes |
Material Details in Table
| Ingredient / Tool | Purpose | Notes |
|---|---|---|
| Pumpkin | Main flavor, health benefits | Use plain, canned or cooked fresh pumpkin |
| Flour | Base for dough | Whole wheat or alternatives |
| Rolled oats | Texture, fiber | Optional, for added crunch |
| Eggs | Binding agent | Keeps treats together |
| Peanut butter | Flavor enhancer | Make sure it’s xylitol-free |
| Water | Dough consistency | Needed if dough is too stiff |
| Baking sheet & parchment | Baking surface | Ensures treats don’t stick |
Step-by-Step Guide to Making Pumpkin Dog Treats
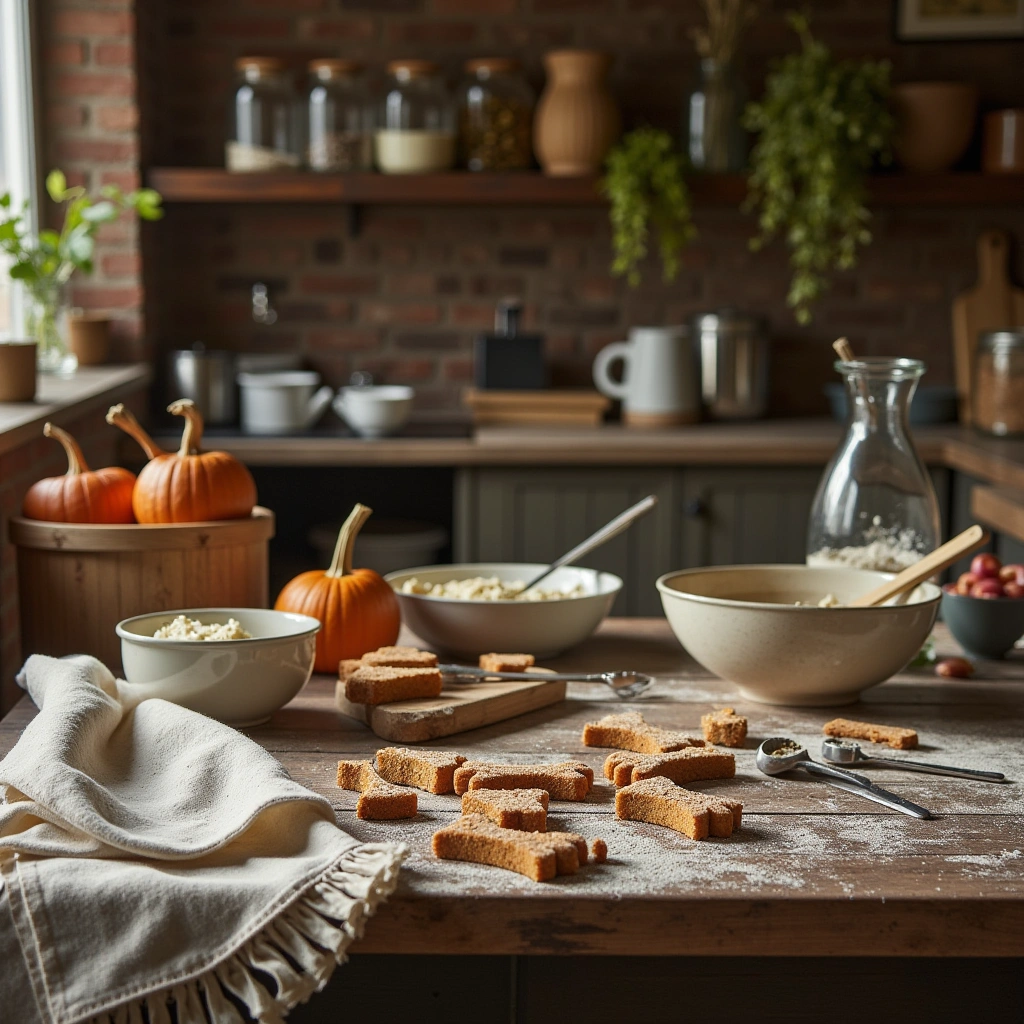
Step 1: Prepare Your Ingredients
Start by gathering all your ingredients. If you’re using fresh pumpkin, cook and mash it until smooth. Canned pumpkin is a quick and easy alternative. Always ensure it’s plain pumpkin—no added sugars or spices.
Step 2: Mix Wet Ingredients
In a large mixing bowl, combine:
- 1 cup of pumpkin
- 2 eggs
- ¼ cup of peanut butter
Stir until smooth and well-blended.
Step 3: Add Dry Ingredients
Gradually add:
- 2 cups of whole wheat flour
- ½ cup rolled oats (if using)
Mix with the wet ingredients until a dough forms. If the dough is too sticky, add more flour a tablespoon at a time. If too dry, add a little water, one teaspoon at a time.
Step 4: Knead and Roll
Lightly flour your work surface. Turn out the dough and knead it a few times until smooth. Roll the dough to about ¼ inch thickness.
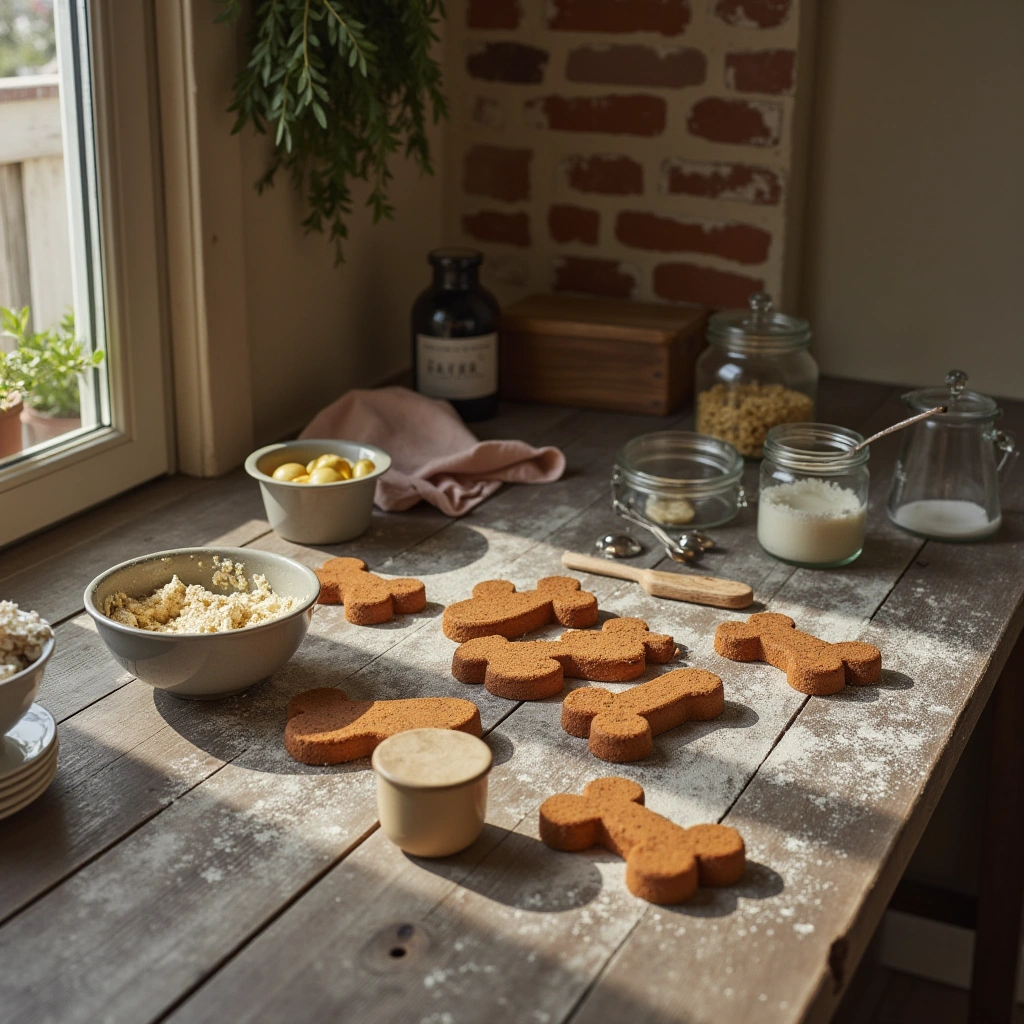
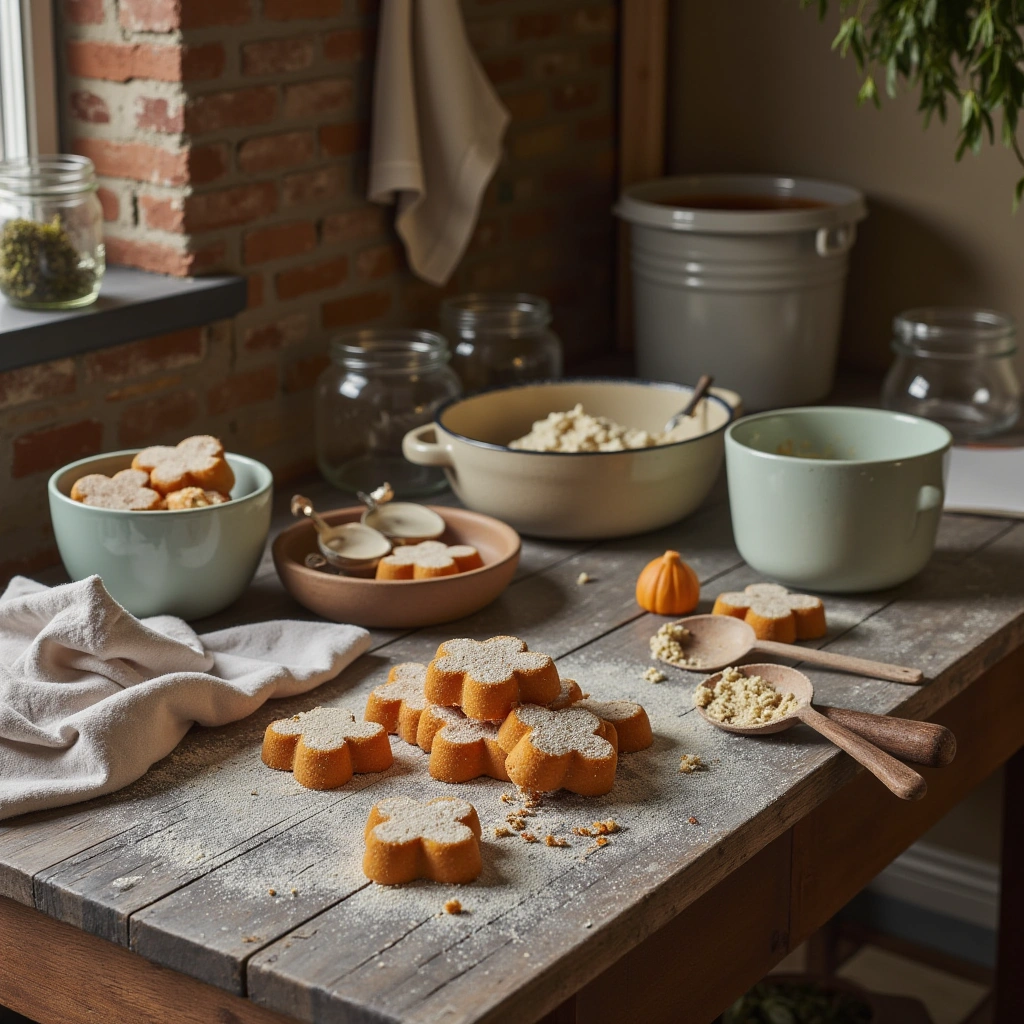
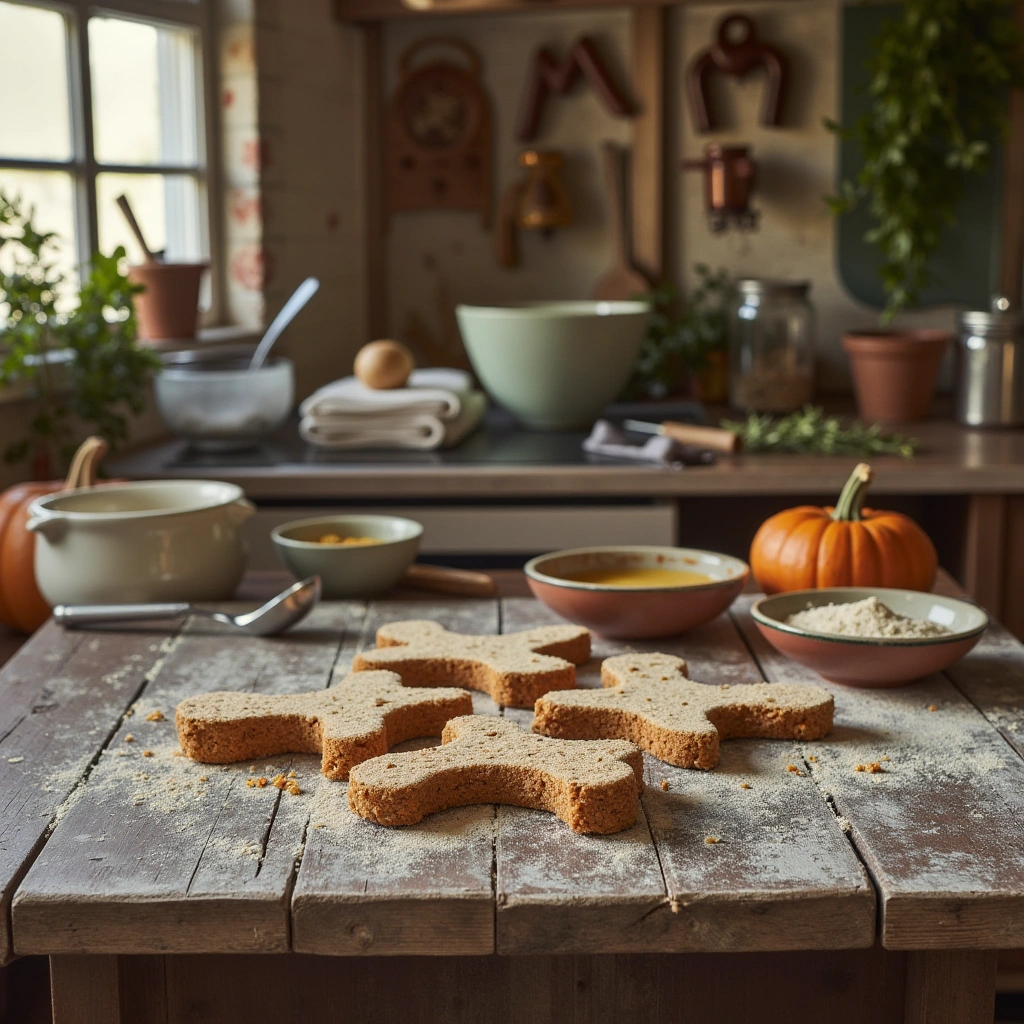
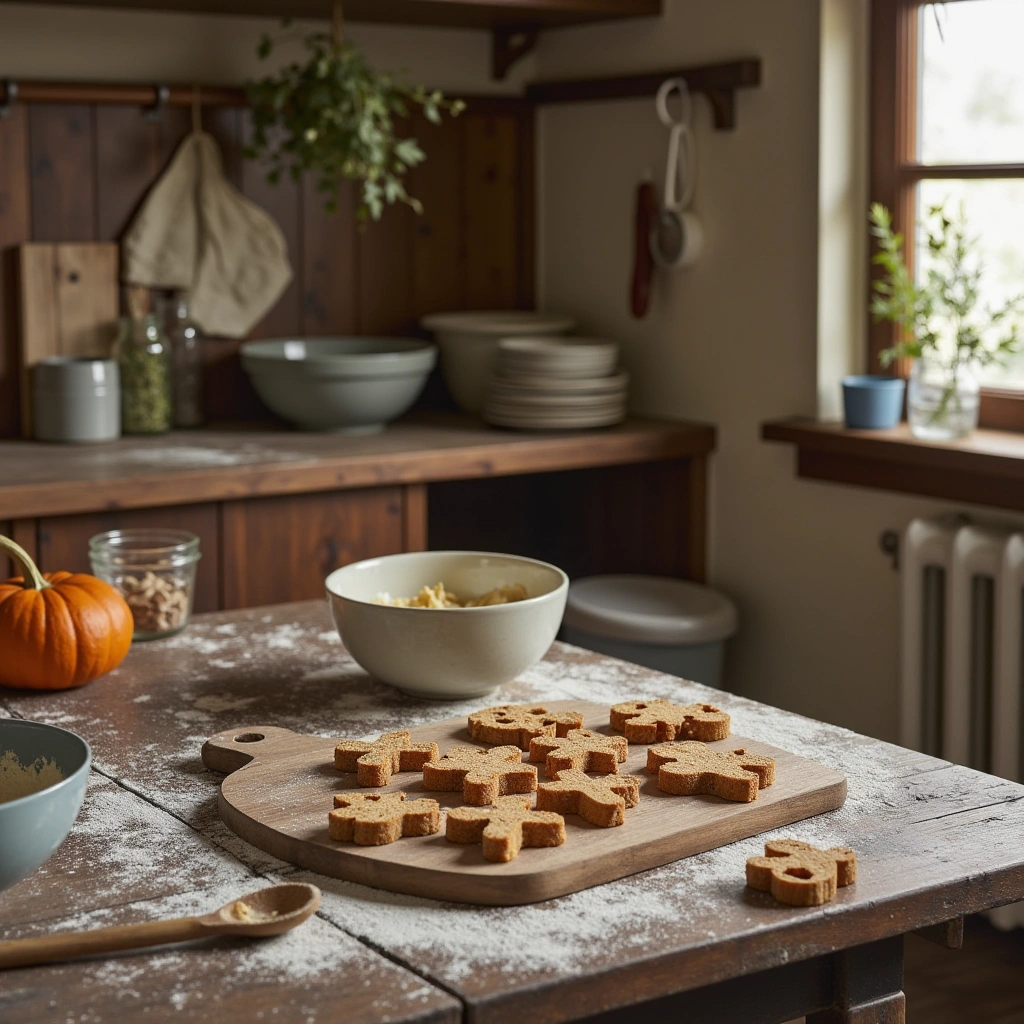
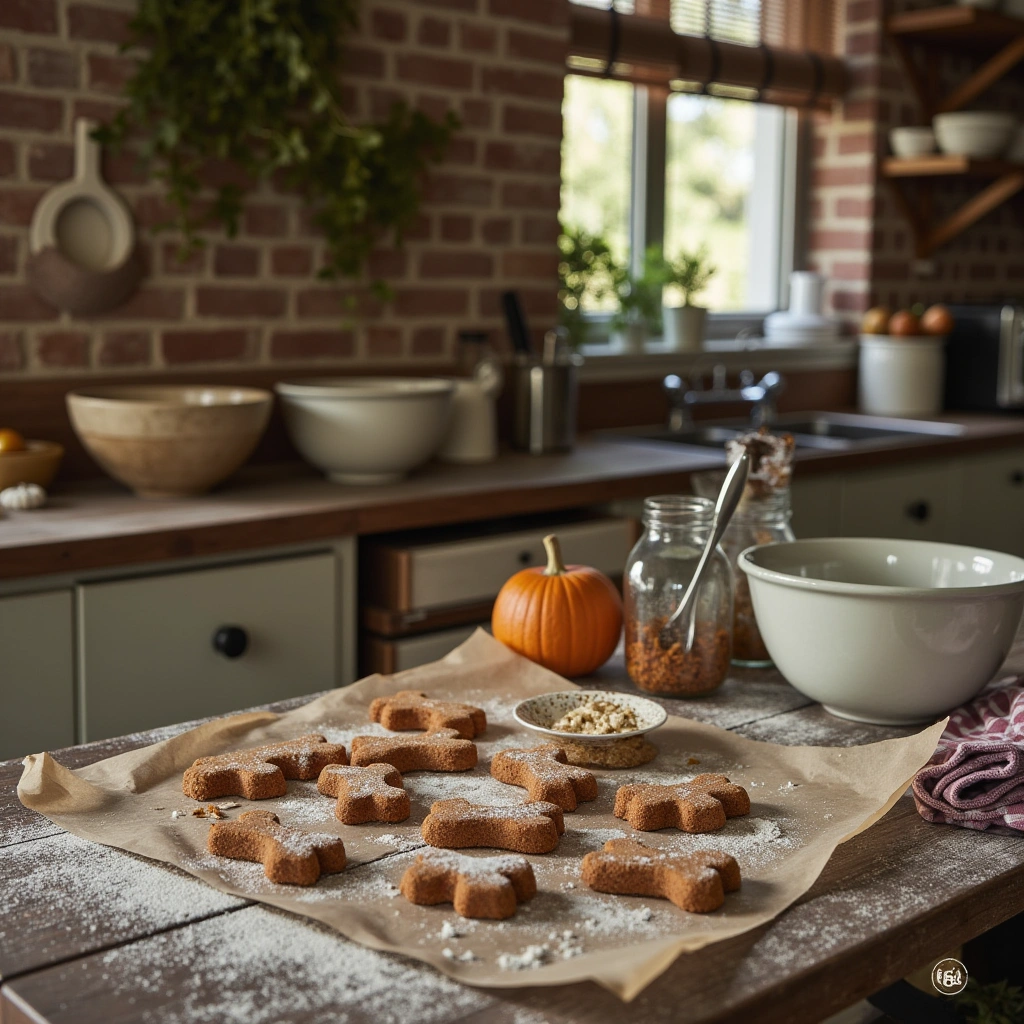
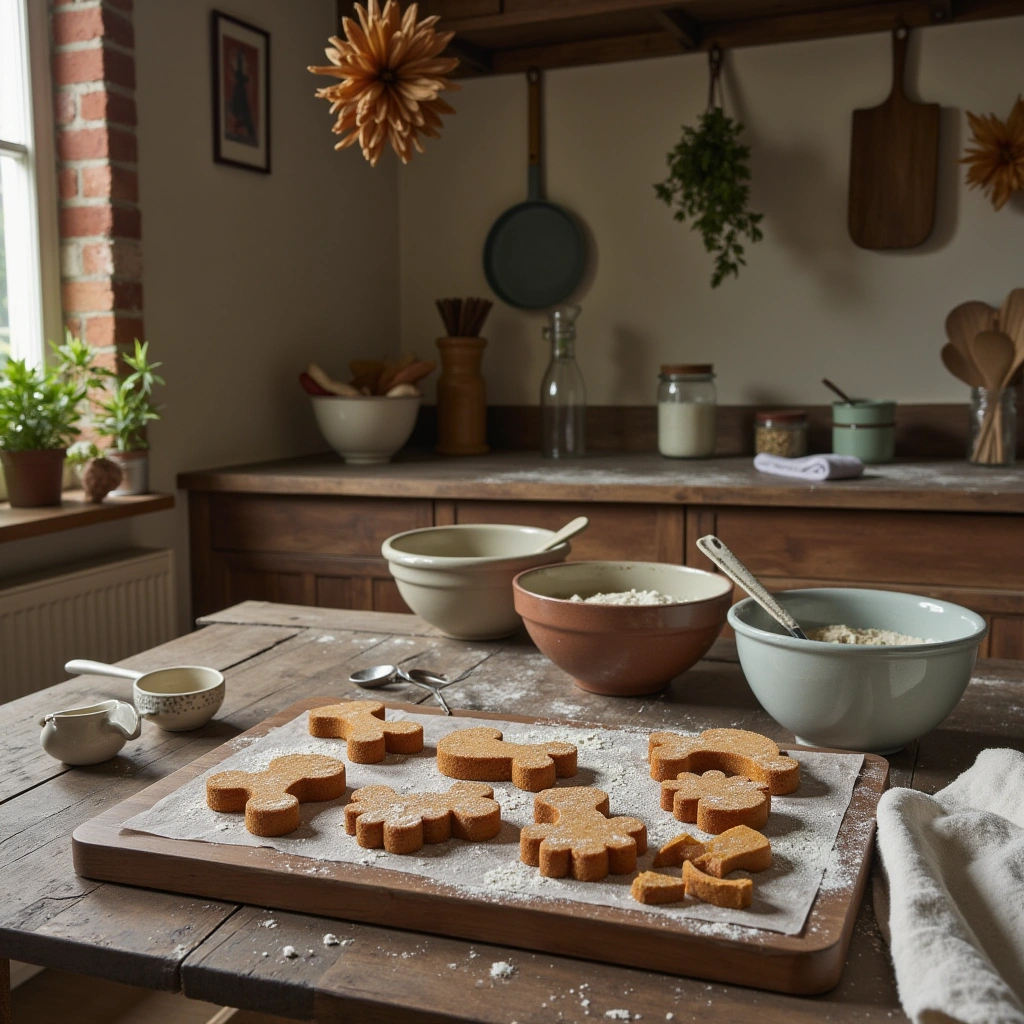
Step 5: Cut Out Treats
Use cookie cutters to shape the treats into fun shapes—bones, stars, or simply squares. Transfer them to your prepared baking sheet lined with parchment paper.
Step 6: Bake
Preheat your oven to 350°F (175°C). Bake the treats for 20–25 minutes or until golden brown and firm. Keep an eye on them to prevent burning.
Step 7: Cool and Store
Allow the treats to cool completely on a wire rack. Store in an airtight container at room temperature for up to a week or in the fridge for longer freshness. For extended storage, freeze treats in a zip-top bag.
Tips for Success
- Use fresh or canned pumpkin: Both work well, but canned pumpkin saves time.
- Choose dog-safe ingredients: Avoid adding sugar, salt, or spices like cinnamon or nutmeg.
- Test dough consistency: The dough should be rollable but not sticky.
- Customize shape and size: Adjust baking time for smaller or larger treats.
- Maintain freshness: Keep treats stored properly to prevent mold.
Common Mistakes and How to Avoid Them
| Mistake | Solution |
|---|---|
| Using pumpkin pie filling | Use plain pumpkin—no added sugar or spices. |
| Overmixing the dough | Mix just until ingredients are combined to prevent tough treats. |
| Not rolling uniformly | Roll dough to even thickness for consistent baking. |
| Overbaking | Keep an eye on treats after 20 minutes to prevent burning. |
| Storing improperly | Keep treats in airtight containers and refrigerate if needed. |
Variations and Add-Ins
Want to spice things up? Here are some fun variations:
- Sweet potato treats: Substitute pumpkin with cooked mashed sweet potatoes.
- Cheddar cheese: Add shredded cheddar for a cheesy flavor dogs love.
- Carrots: Finely chopped or shredded carrots can boost nutrients.
- Fresh herbs: A touch of parsley can freshen breath.
- Different flours: Use oat, rice, or almond flour for dietary needs.
Summary & Final Thoughts
Making homemade dog treats with pumpkin is a fantastic way to pamper your pup while ensuring they eat healthy, natural ingredients. These treats are simple to prepare, customizable, and packed with benefits that support digestion, immunity, and overall health. Remember to use dog-safe ingredients, avoid spices and sugars, and store treats properly to keep them fresh.
So, next time you’re craving an easy, nutritious snack for your dog, give this pumpkin treat recipe a try. Your furry friend will thank you with wagging tails and happy paws!
Happy baking and wagging tails! Feel free to experiment with flavors and shapes—your dog will love the extra love in every bite.