Are you tired of buying store-bought dog treats filled with preservatives and artificial flavors? Want to spoil your furry friend with wholesome, nutritious snacks? Well, you’re in luck! Today, I’ll walk you through a super easy, healthy, and delicious recipe for homemade carrot oat dog treats. Not only are these treats packed with beneficial ingredients, but they’re also simple to prepare, cost-effective, and tailored to your dog’s dietary needs.
In this comprehensive guide, I’ll cover everything you need to know—from choosing the right ingredients to baking tips, common pitfalls, and fun variations. So, grab your apron, and let’s start baking some treats your pup will love!
Why Choose Homemade Carrot Oat Dog Treats?

Homemade treats are a fantastic way to control what goes into your dog’s snacks. Carrots and oats are especially popular for their health benefits:
- Carrots: Rich in beta-carotene, fiber, and vitamins A, C, and K, carrots support good vision, healthy skin, and a shiny coat.
- Oats: A gentle, gluten-free grain loaded with soluble fiber, which aids digestion and helps maintain stable blood sugar levels.
Plus, making treats at home allows you to avoid artificial preservatives, colors, and flavorings that are often found in commercial options.
Ingredients and Materials Needed

Before diving into the recipe, let’s gather all the essentials. Here’s a detailed list of ingredients and tools, along with their descriptions:
Materials Needed
| Item | Description | Quantity/Size |
|---|---|---|
| Fresh Carrots | Use organic if possible for maximum nutrition | 2 cups, grated |
| Rolled Oats (Old-Fashioned) | Classic oats that blend well into dough, rich in fiber | 2 cups |
| Whole Wheat Flour | Adds structure; opt for gluten-free if your dog has sensitivities | 1 cup |
| Eggs | Acts as a binder, adds protein | 2 large |
| Olive Oil or Coconut Oil | Healthy fats for coat and skin health | 2 tablespoons |
| Water or Dog-Friendly Broth | To adjust dough consistency | 1/4 to 1/2 cup |
| Optional: Honey or Maple Syrup | For a hint of sweetness, only if your vet approves | 1 teaspoon (optional) |
Additional Tools
- Mixing bowls
- Grater (for carrots)
- Measuring cups and spoons
- Baking sheet
- Parchment paper or silicone baking mat
- Rolling pin
- Cookie cutter (optional, for fun shapes)
- Oven
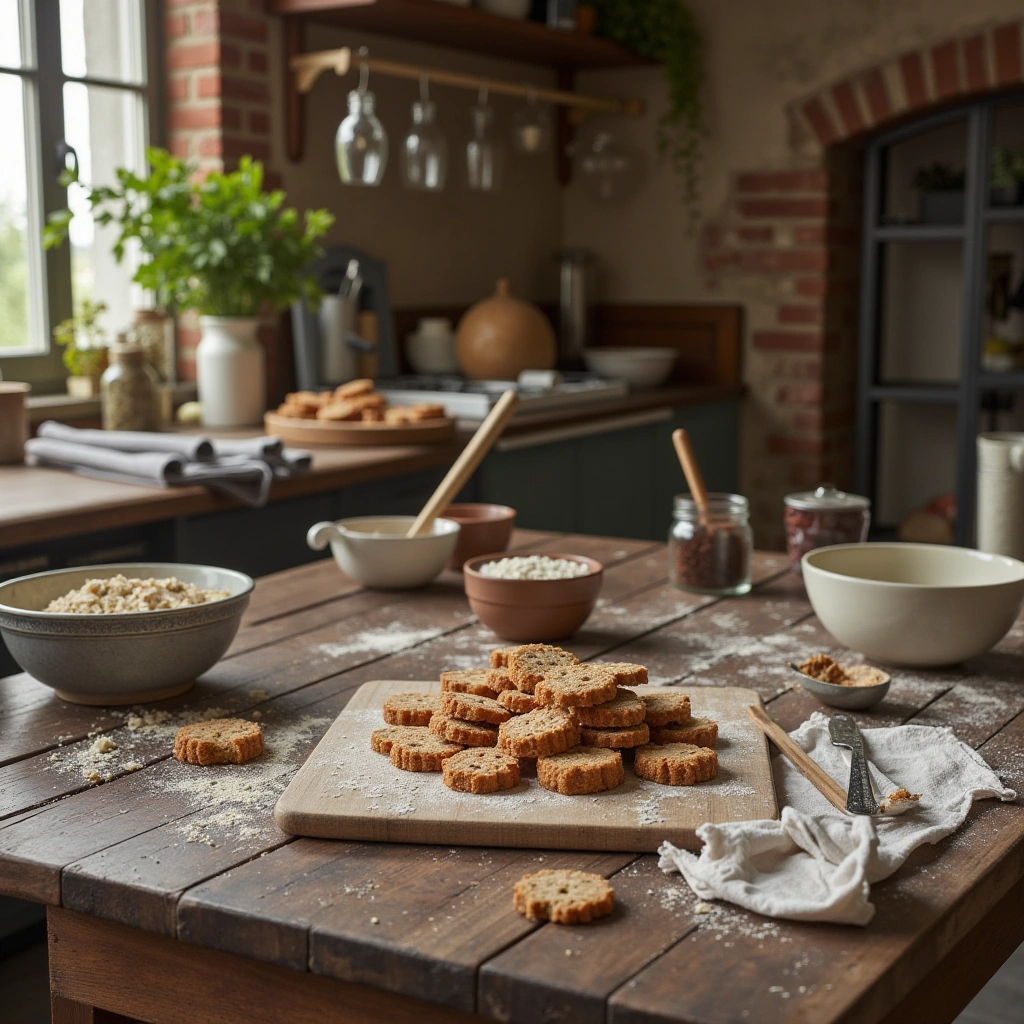
Step-by-Step: How to Make Carrot Oat Dog Treats

Follow these clear, detailed steps to whip up a batch of healthy treats your dog will adore.
Step 1: Prepare Your Ingredients
- Grate the Carrots: Use a fine grater to shred the carrots. Fresh, organic carrots are best for maximum flavor and nutrition.
- Preheat the Oven: Set your oven to 350°F (175°C). Line your baking sheet with parchment paper or a silicone baking mat to prevent sticking.
Step 2: Mix the Dry Ingredients
- In a large mixing bowl, combine 2 cups of rolled oats, 1 cup of whole wheat flour, and a pinch of salt if desired.
- Stir until evenly distributed.
Step 3: Incorporate the Wet Ingredients
- Make a well in the center of your dry mixture.
- Add 2 beaten eggs, 2 tablespoons of olive or coconut oil, and the grated carrots.
- Gradually pour in water or broth as needed, a little at a time, until the mixture forms a firm, workable dough. The dough should be moist but not sticky.
Step 4: Knead the Dough
- Use your hands or a spoon to knead the mixture until it’s well combined.
- If the dough is too sticky, sprinkle a little more flour.
- If it’s too dry, add a splash more water or broth.
Step 5: Roll Out and Cut
- Lightly flour your work surface and rolling pin.
- Roll the dough to about 1/4 inch thickness.
- Use cookie cutters to cut into fun shapes or simply slice into small squares for easy feeding.
Step 6: Bake
- Place the cut treats on the prepared baking sheet.
- Bake for about 20-25 minutes or until the edges are golden brown.
- For crunchier treats, you can leave them in the oven with the door slightly ajar for an extra 10 minutes.
Step 7: Cool and Store
- Let the treats cool completely on a wire rack.
- Store in an airtight container at room temperature for up to a week, or refrigerate for longer freshness.
- For extended storage, freeze treats in portions.
Tips for Success

- Use fresh ingredients for maximum flavor and nutrients.
- Adjust the moisture as needed—dough should be firm but pliable.
- Cut treats uniformly for even baking.
- Experiment with shapes—use cookie cutters to make paw prints, bones, or your dog’s favorite shapes.
- Test the treats for hardness—if too soft, bake a few extra minutes.
- Introduce new treats gradually to ensure your dog tolerates them well.
Common Mistakes and How to Avoid Them

| Mistake | Solution |
|---|---|
| Dough is too sticky or dry | Adjust with small amounts of water or flour as needed |
| Not preheating the oven | Always preheat for consistent baking results |
| Overbaking or underbaking | Keep an eye on the treats; remove when edges turn golden |
| Using ingredients your dog can’t tolerate | Always check for allergies; avoid ingredients like onions or garlic |
Variations to Try

Want to mix things up? Here are some fun and healthy variations:
- Sweet Potato Oats: Substitute grated sweet potato for carrots.
- Peanut Butter Treats: Add 1-2 tablespoons of natural peanut butter (without xylitol).
- Herb-Infused: Mix in a pinch of parsley or basil for added flavor.
- Cheesy: Sprinkle a little shredded cheese into the dough for a savory twist.
- Fruits & Veggies: Incorporate apples or zucchini for extra nutrition.
Summary and Final Thoughts

Making your own carrot oat dog treats is a rewarding way to pamper your pup while ensuring they get wholesome, natural ingredients. These treats are customizable, easy to make, and perfect for training or just showing love. Remember, always introduce new treats gradually and consult your vet if your dog has specific dietary needs.
So, next time you’re craving a healthy, homemade snack for your furry friend, give this recipe a try! Your dog will thank you with wagging tails and happy licks. Happy baking!
Ready to start? Gather your ingredients and enjoy the process of creating nutritious treats that will keep your pup healthy and happy!