Hey there, dog lovers! If you’re anything like me, you love spoiling your furry friend with tasty, healthy treats. Today, I’m going to walk you through an easy, foolproof recipe for making homemade dog treats with peanut butter. Not only are these treats super delicious for your pup, but they’re also free of weird preservatives and fillers you find in store-bought options. Plus, I’ll share tips, common mistakes to avoid, and fun variations to keep your pup’s tail wagging.
Why Make Homemade Dog Treats with Peanut Butter?

Peanut butter is a classic dog treat ingredient for good reason. It’s rich in protein, healthy fats, and vitamins that are great for your dog’s coat, skin, and energy. When combined with simple ingredients, peanut butter creates a tasty, chewy, and satisfying treat that dogs adore.
Benefits of Homemade Dog Treats:
- Control over ingredients: No preservatives or artificial flavors.
- Customizable flavors: Add ingredients your dog loves.
- Cost-effective: Cheaper than store-bought treats.
- Fun to make: A simple activity that strengthens your bond.
What You Need: Materials and Ingredients

Before we jump into the recipe, let’s gather everything you’ll need.
Materials Needed:
| Item | Description | Quantity |
|---|---|---|
| Mixing bowl | For combining ingredients | 1 |
| Measuring cups | To measure ingredients accurately | 1 set |
| Spoon or spatula | For mixing | 1 |
| Rolling pin | To flatten dough | 1 |
| Cookie cutters | Optional, for shaping | Various sizes |
| Baking sheet | To bake the treats | 1 |
| Parchment paper | Prevents sticking | 1 sheet |
| Cooling rack | To cool treats | 1 |
Ingredients:
| Ingredient | Purpose | Notes |
|---|---|---|
| Whole wheat flour | Base for dough | For fiber and nutrients |
| Rolled oats | Adds texture and fiber | Use gluten-free if needed |
| Peanut butter | Main flavor | Ensure it contains no xylitol or added sugars |
| Eggs | Binds ingredients | Adds protein |
| Water or chicken broth | Adjust dough consistency | Use low-sodium broth for healthier treats |
Note: Always check your dog’s allergies before introducing new ingredients.
Step-by-Step: How to Make Homemade Dog Treats with Peanut Butter

Step 1: Prepare Your Workspace
- Clear your countertop.
- Preheat your oven to 350°F (175°C).
- Line your baking sheet with parchment paper.
Step 2: Mix the Base Ingredients
- In your mixing bowl, combine:
- 2 cups of whole wheat flour
- 1 cup of rolled oats
- 1/2 cup of peanut butter (preferably natural and unsweetened)
- 2 beaten eggs
- Use a spoon or spatula to mix until the ingredients start to come together.
Step 3: Adjust the Dough
- Slowly add water or chicken broth, one tablespoon at a time.
- Knead the mixture until it forms a firm, pliable dough.
- If the dough is too sticky, sprinkle in a bit more flour. If too dry, add a splash more water.
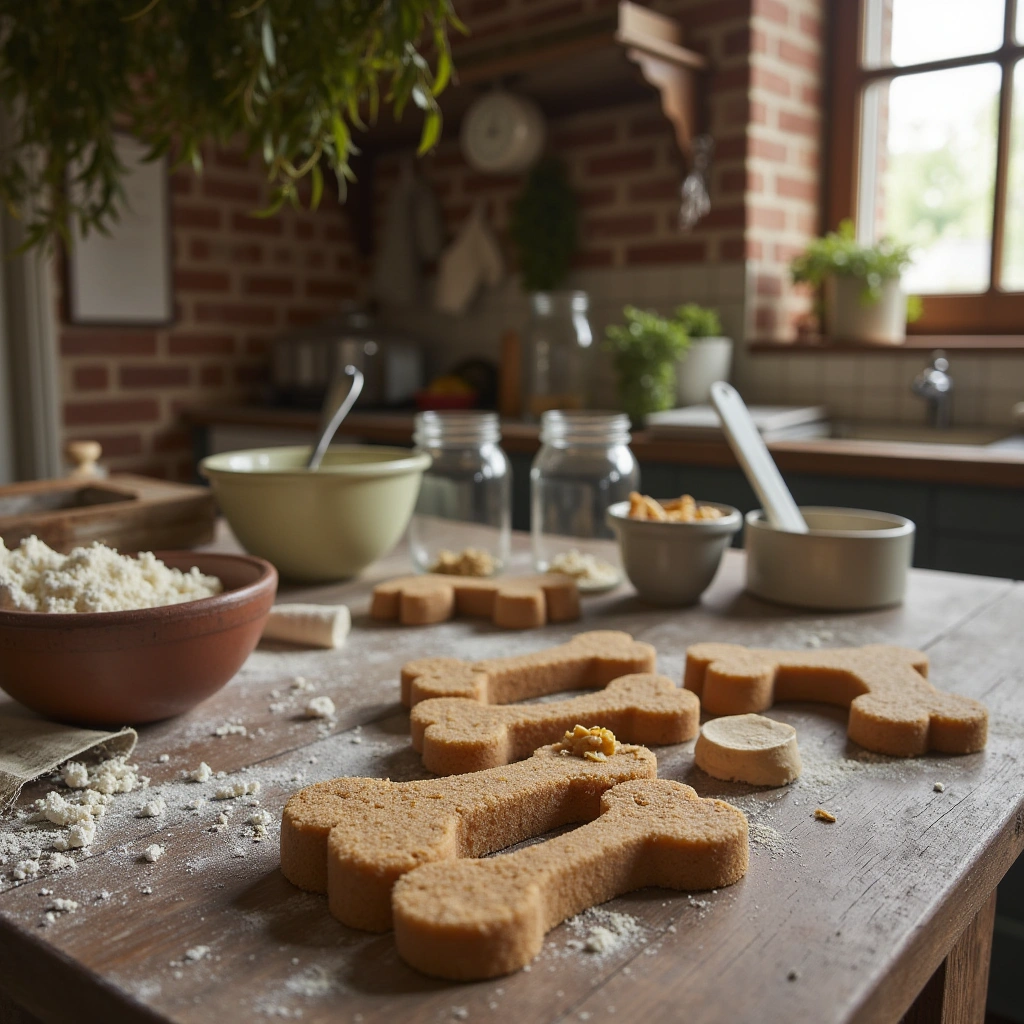
Step 4: Roll Out and Shape
- Lightly flour your surface.
- Roll out the dough to about 1/4-inch thickness.
- Use cookie cutters to cut into fun shapes—bones, stars, circles—or simply cut into small squares with a knife.
Step 5: Bake
- Place the shaped treats onto the prepared baking sheet.
- Bake for 15-20 minutes, or until golden brown and firm.
- Keep an eye on them; baking times may vary by oven.
Step 6: Cool and Store
- Let the treats cool on a wire rack.
- Store in an airtight container for up to one week or freeze for longer storage.
Tips for Success

- Use natural peanut butter: Always check labels for xylitol, which is toxic to dogs.
- Adjust ingredients for allergies: Substitute oats with rice flakes or coconut flour if needed.
- Get creative with shapes: Use cookie cutters or even shape by hand for added fun.
- Test treats for texture: They should be hard but not brittle—perfect for gnawing.
- Batch bake: Make a large batch and freeze for quick snacks.
Common Mistakes and How to Avoid Them

| Mistake | Solution |
|---|---|
| Using store-bought peanut butter with added sugar or xylitol | Always choose natural or unsweetened peanut butter without artificial sweeteners |
| Overworking the dough | Mix until just combined; overworking can make treats tough |
| Baking treats too long | Check at 15 minutes; remove once golden to avoid burning |
| Not cooling treats properly | Cooling prevents breakage and ensures treats set correctly |
Variations and Customizations

- Sweet Potato Treats: Add mashed sweet potato for extra flavor and nutrients.
- Pumpkin Treats: Mix in canned pumpkin for added moisture and vitamins.
- Cheesy Treats: Incorporate shredded cheese for a savory twist.
- Dental Chews: Make longer, rope-like treats for dogs to gnaw on, helping with dental health.
Final Words: Making Treats a Regular Part of Your Dog’s Diet

Homemade dog treats with peanut butter are a fantastic way to pamper your pup while ensuring they get healthy, natural ingredients. Remember, moderation is key—these treats should complement a balanced diet, not replace meals. With a little effort and love, you can whip up batches of delicious treats that your dog will love and that you can feel good about feeding.
Now, go ahead! Grab those ingredients and surprise your furry friend with a batch of homemade peanut butter treats. Happy baking!
Remember, always consult your veterinarian before introducing new treats into your dog’s diet, especially if your pup has allergies or health concerns.