Are you tired of feeding your dog store-bought treats filled with preservatives, artificial flavors, and questionable ingredients? If so, you’re not alone! Many pet owners crave healthier, safer, and tastier options for their furry friends. The good news? Making homemade dog treats is easier than you think, and your pup will thank you for it. In this comprehensive guide, I’ll walk you through everything you need to know—from ingredient selection to tips for perfect treats—so you can create delicious, nutritious snacks right in your own kitchen.
Why Make Homemade Dog Treats?

Before diving into recipes, let’s chat about why homemade treats are a game-changer:
- Control Over Ingredients: You choose wholesome, natural ingredients, avoiding fillers, artificial flavors, and preservatives.
- Tailored Nutrition: Customize treats to suit your dog’s dietary needs, allergies, or preferences.
- Cost-Effective: Making treats at home often costs less than buying premium store-bought options.
- Fun and Rewarding: It’s a great bonding activity and a way to show your dog love.
What to Consider When Making Dog Treats

Creating treats that are safe, healthy, and appealing involves understanding some basics:
Key Nutritional Factors
- Protein: Supports muscle health and energy.
- Healthy Fats: Promote shiny coats and energy.
- Fiber: Aids digestion.
- Vitamins and Minerals: Essential for overall health.
Ingredients to Use and Avoid
| Use | Avoid |
|---|---|
| Lean meats (chicken, turkey, beef) | Chocolate, grapes, raisins |
| Whole grains (oats, brown rice) | Onions, garlic, chives |
| Vegetables (carrots, sweet potatoes, peas) | Artificial sweeteners (xylitol) |
| Fruits (apples, blueberries, bananas) | Macadamia nuts |
| Natural oils (olive, coconut) | Excess salt or sugar |
Always consult your vet if your dog has specific health conditions or allergies.
Materials Needed for Homemade Dog Treats

Having the right tools makes the process smooth. Here’s a detailed list:
| Material | Purpose | Quantity | Notes |
|---|---|---|---|
| Baking sheet | To bake treats | 1 | Preferably non-stick or lined with parchment |
| Rolling pin | To roll out dough | 1 | For even thickness |
| Cookie cutters | To shape treats | Various | Heart, bone, paw shapes are popular |
| Mixing bowls | To prepare dough | 2-3 | Different sizes for mixing ingredients |
| Measuring cups/spoons | Precise measurement | As needed | For accuracy |
| Parchment paper | Prevent sticking | 1 roll | Optional but helpful |
| Oven | For baking | 1 | Set to the required temperature |
| Cooling rack | To cool treats | 1 | Keeps treats crispy |
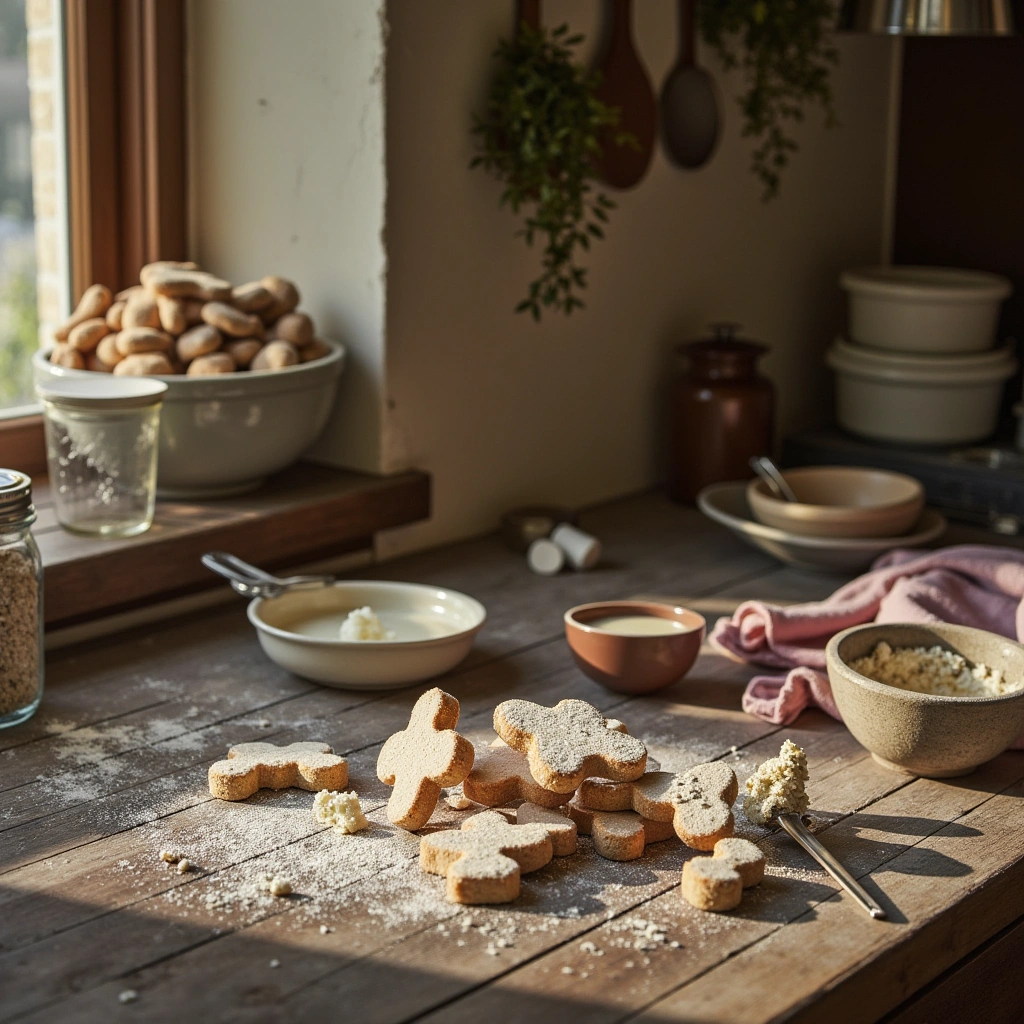
Step-by-Step Guide to Making Basic Dog Treats

Let’s get into the fun part—making your first batch! I’ll walk you through a simple, nutritious recipe that’s perfect for beginners.
Ingredients
| Ingredient | Quantity | Notes |
|---|---|---|
| Rolled oats | 1 cup | Can be ground into flour for smoother texture |
| Peanut butter (unsweetened, xylitol-free) | 1/2 cup | Make sure it’s dog-safe |
| Egg | 1 | Binds ingredients together |
| Carrots (grated) | 1/2 cup | Adds crunch and nutrients |
| Water | 1/4 cup | Adjust as needed for dough consistency |
Instructions
-
Preheat the Oven: Set it to 350°F (175°C). Line your baking sheet with parchment paper.
-
Prepare the Oats: If you prefer a smoother treat, pulse the oats in a blender until they turn into flour.
-
Mix Ingredients: In a large bowl, combine the oat flour, peanut butter, egg, grated carrots, and water. Mix until a dough forms. If it’s too sticky, add a little more oats; if too dry, add a splash more water.
-
Roll Out the Dough: Place the dough on a lightly floured surface. Roll it out to about 1/4 inch thick.
-
Cut Shapes: Use cookie cutters to cut out fun shapes. Transfer them to your prepared baking sheet.
-
Bake: Place in the oven and bake for 15-20 minutes or until golden brown.
-
Cool: Remove from oven and let treats cool completely on a wire rack before offering to your pup.
Storage Tips
- Keep treats in an airtight container.
- They can last up to a week at room temperature or longer if refrigerated.
- For extended storage, freeze treats and thaw as needed.
Tips for Success

- Use Fresh Ingredients: Always select fresh, high-quality ingredients for the best flavor and nutrition.
- Adjust Consistency: Dough should be pliable but not sticky. Adjust with oats or water.
- Experiment with Flavors: Add herbs like parsley or turmeric for extra health benefits.
- Portion Control: Keep treats small—preferably bite-sized—to prevent overfeeding.
- Test for Allergies: Introduce new treats gradually, especially if your dog has known allergies.
Common Mistakes and How to Avoid Them

| Mistake | How to Avoid |
|---|---|
| Overbaking treats | Keep an eye on baking time; treats burn quickly. |
| Using harmful ingredients | Check labels and avoid toxic items like chocolate, grapes, or onions. |
| Not measuring properly | Use measuring cups/spoons for consistency. |
| Ignoring your dog’s preferences | Pay attention to what your pup enjoys and adjust recipes accordingly. |
| Skipping cooling stage | Warm treats can be crumbly; cooling helps firm them up. |
Variations and Creative Twists

Looking to spice things up? Here are some fun variations:
- Sweet Potato Chews: Thinly slice sweet potatoes, bake at 250°F for 2-3 hours until crispy.
- Bone-Shaped Treats: Use bone-shaped cookie cutters and add a sprinkle of cinnamon or parsley.
- Fruity Treats: Incorporate mashed bananas or blueberries into your dough.
- Training Treats: Make small, crunchy bites perfect for training sessions.
- Grain-Free Options: Use almond or coconut flour instead of oats for grain sensitivities.
Wrapping It Up

Making homemade dog treats is a simple, rewarding way to spoil your pup with healthy, delicious snacks. With just a few ingredients, some basic tools, and a little creativity, you can craft treats that are better for your dog—and better for your wallet. Remember to keep ingredients natural, portion sizes appropriate, and treats stored properly.
Now, why not try your hand at making a batch today? Your furry friend will love you even more for it! Happy baking!
In the end, homemade dog treats are more than just snacks—they’re a heartfelt way to show your dog how much you care. So go ahead, get creative, and enjoy the process!