Are you tired of buying store-bought dog treats filled with preservatives and artificial flavors? Do you want to spoil your pup with healthy, homemade snacks? If yes, then you’re in the right place! Today, I’ll walk you through everything you need to know about making delicious and nutritious peanut butter oat dog treats right in your kitchen. Not only are these treats super easy to make, but they also let you control the ingredients, ensuring your dog gets only the best.
In this comprehensive guide, I’ll cover the ingredients, preparation steps, tips for success, common mistakes to avoid, and even some fun variations. Plus, I’ll share some science-backed benefits of each ingredient so you can feel confident that your homemade treats are good for your dog.
Why Make Homemade Dog Treats?

Before we dive into the recipe, let’s talk about why homemade treats are a game-changer:
- Control over ingredients: No preservatives, artificial flavors, or fillers.
- Customizable: Adjust flavors and textures to suit your dog’s preferences and dietary needs.
- Cost-effective: Save money compared to premium store-bought treats.
- Bonding time: Making treats can be a fun activity that strengthens your bond with your pup.
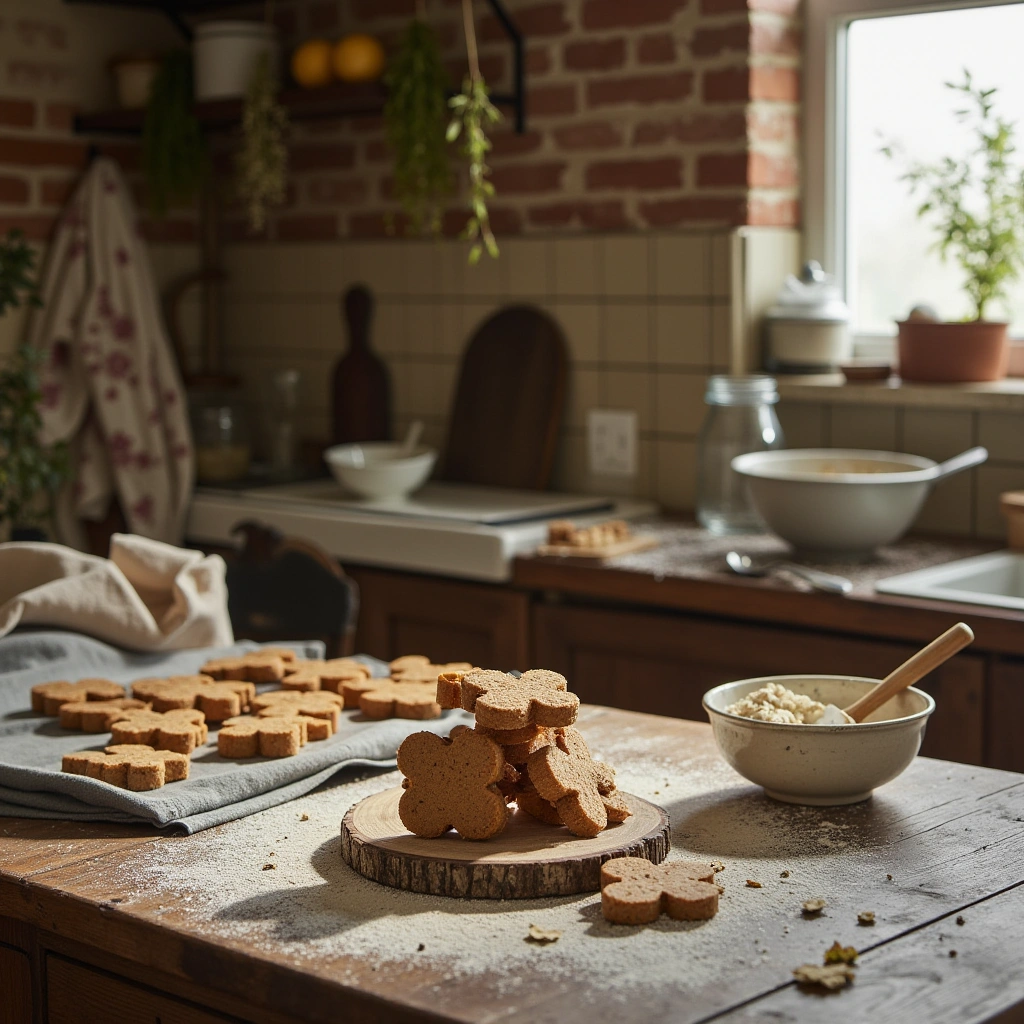
The Homemade Peanut Butter Oat Dog Treats: A Delicious and Healthy Choice

These peanut butter oat treats are a favorite among dogs and their owners alike. They’re packed with wholesome ingredients like oats and natural peanut butter, which provide fiber, healthy fats, and protein—essential for your dog’s overall health.
What Are These Treats?
Simply put, these are oven-baked snacks made from natural peanut butter, oats, and a few other wholesome ingredients. They’re crunchy, satisfying, and packed with flavor that dogs love.
Key Ingredients and Their Benefits

Let’s understand what makes this recipe so nutritious:
| Ingredient | Role in the Recipe | Benefits for Dogs | Notes |
|---|---|---|---|
| Peanut Butter | Main flavor and fat source | Rich in protein, healthy fats, vitamin E | Use natural, xylitol-free peanut butter to avoid toxicity |
| Oats | Base binder and fiber source | Promotes digestion, provides energy | Use rolled oats or quick oats; avoid instant oats with added flavors |
| Eggs | Binding agent | High-quality protein, amino acids | Use fresh eggs for best results |
| Carrots (optional) | Adds sweetness and nutrients | Rich in beta-carotene and fiber | Grated carrots for added crunch |
| Honey (optional) | Natural sweetener | Small amounts are safe and can provide antioxidants | Use sparingly; not suitable for dogs with allergies |
Materials Needed: The Essential List

| Item | Quantity | Purpose | Notes |
|---|---|---|---|
| Rolled oats | 2 cups | Main dry ingredient | Can substitute with quick oats |
| Natural peanut butter | 1 cup | Flavor and fat | Ensure it’s xylitol-free |
| Eggs | 2 large | Binds ingredients | Preferably organic or free-range |
| Carrots (optional) | 1 cup, grated | Adds nutrients and flavor | Fresh and finely grated |
| Honey (optional) | 1 tablespoon | Natural sweetener | Use sparingly |
| Baking sheet | 1 | Baking and cooling | Line with parchment paper |
| Cookie cutter or knife | As needed | Shaping the treats | Use fun shapes for pups! |
Step-by-Step Making Process

1. Prepare Your Workspace
Start by gathering all ingredients and equipment. Preheat your oven to 350°F (175°C). Line your baking sheet with parchment paper.
2. Mix the Dry Ingredients
In a large mixing bowl, combine the rolled oats and grated carrots (if using). Mix well to distribute evenly.
3. Add Wet Ingredients
In a separate bowl, whisk the eggs. Then, add the peanut butter and honey. Mix until smooth and well combined.
4. Combine Everything
Pour the wet mixture into the dry ingredients. Stir thoroughly until a dough forms. If the dough feels too sticky, add a little more oats; if too dry, add a splash of water or more eggs.
5. Shape the Treats
Using your hands or cookie cutters, shape the dough into small, flat treats. Aim for about 1/4 to 1/2 inch thickness for easy baking and chewing.
6. Bake
Place the shaped treats on the prepared baking sheet. Bake for 15-20 minutes or until golden brown and firm.
7. Cool and Store
Remove from the oven and let the treats cool completely on a wire rack. Once cooled, store them in an airtight container for up to two weeks or freeze for longer storage.
Tips for Success

- Use natural peanut butter: Always check labels to ensure there are no artificial sweeteners like xylitol, which is toxic to dogs.
- Adjust consistency: If your dough is too sticky, add more oats; if too dry, add a little water or an extra egg.
- Shape creatively: Use cookie cutters for fun shapes, or cut into small squares for easy handling.
- Test for allergies: If your dog has allergies, substitute ingredients like carrots or use different nut butters.
- Bake in batches: Make a large batch and store in the fridge or freezer for quick treats on busy days.
Common Mistakes and How to Avoid Them

| Mistake | Solution | Explanation |
|---|---|---|
| Using xylitol-containing peanut butter | Always read labels | Xylitol is highly toxic to dogs, even in small amounts. |
| Overbaking treats | Keep an eye on the clock | Overbaked treats can become too hard for your dog to chew. |
| Not cooling completely | Let treats cool fully | Hot treats can be a burn risk and may crumble when stored. |
| Ignoring portion sizes | Stick to small treats | Overfeeding treats can lead to weight gain. Treats should be no more than 10% of daily calorie intake. |
Variations to Mix Things Up

- Pumpkin Peanut Butter Treats: Replace some of the peanut butter with canned pumpkin for added fiber and vitamins.
- Banana and Oat Treats: Mash a ripe banana into the wet mixture for natural sweetness and potassium.
- Apple Cinnamon Treats: Add a teaspoon of cinnamon and small apple pieces for flavor and antioxidants.
- Cheesy Version: Mix in a tablespoon of shredded cheese for extra flavor.
Final Thoughts: Making Treat Time Special

Homemade peanut butter oat dog treats are a fantastic way to reward your pup while ensuring they’re eating wholesome, natural ingredients. Not only are they easy to make, but they also give you peace of mind knowing exactly what your dog is munching on.
So, next time you’re looking for a quick, healthy, and tasty treat, give this recipe a try. Your furry friend will thank you with wagging tails and happy barks! Remember, homemade treats are a supplement to a balanced diet—not a replacement—so always feed treats in moderation.
Ready to get baking? Grab your ingredients and treat your pup to a batch of these delicious peanut butter oat goodies today!