
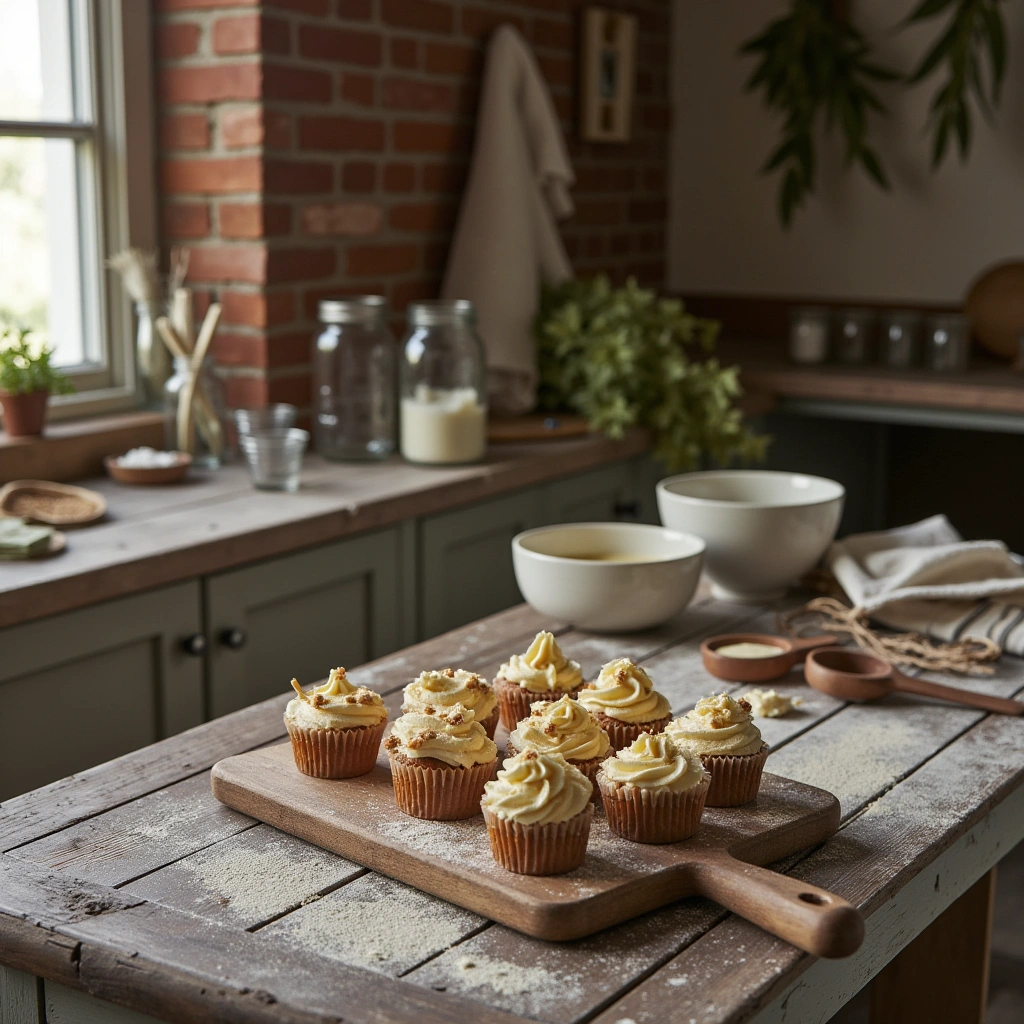
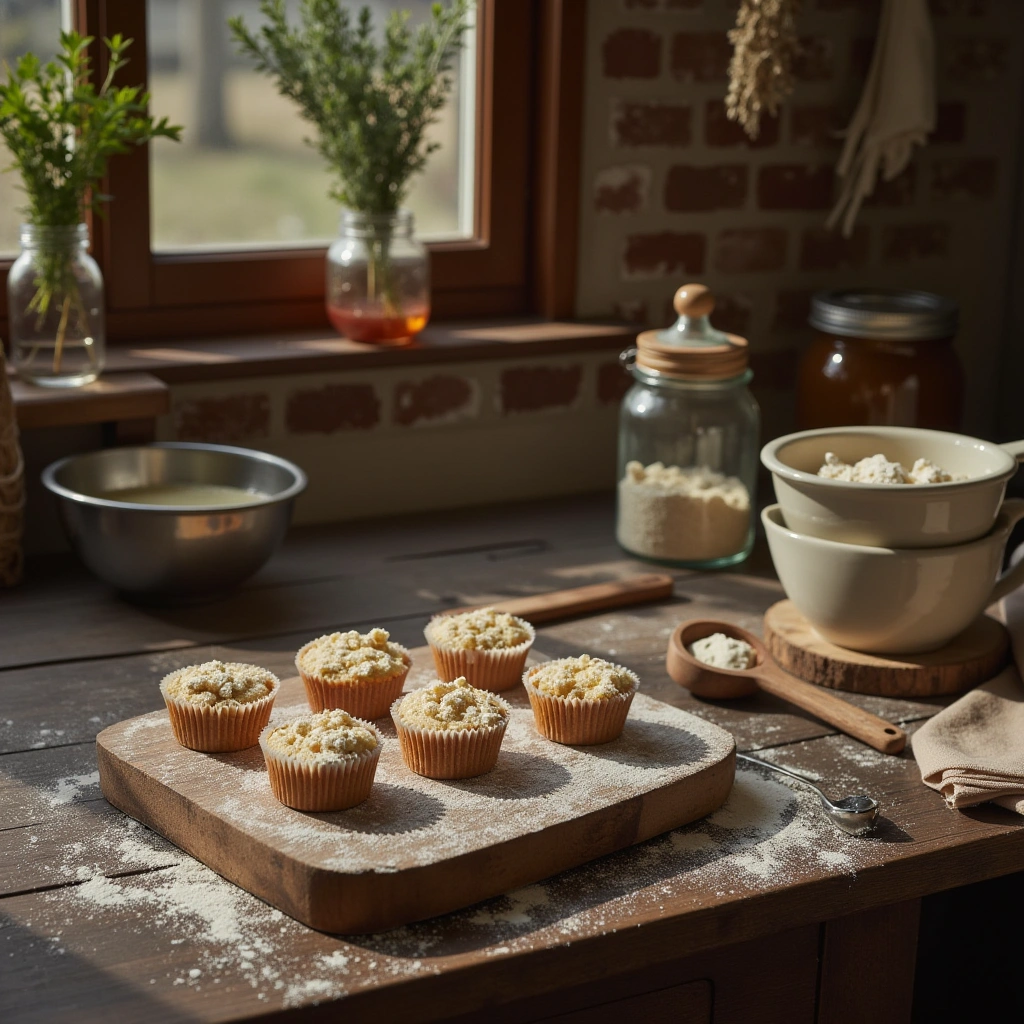
Ever wondered how to pamper your pup with a special treat that’s both tasty and healthy? Dog cupcakes are not only adorable but also a fun way to show your furry friend some extra love. Unlike regular cupcakes, these are crafted with dog-friendly ingredients, ensuring safety and nutrition. This comprehensive guide will walk you through everything you need to know—from ingredient choices to baking tips—so you can whip up the perfect dog cupcake every time.
Why Make Dog Cupcakes at Home?
Making dog cupcakes at home offers several benefits:
- Healthier ingredients: You control what goes in, avoiding preservatives, artificial flavors, or harmful additives often found in store-bought treats.
- Customizable flavors: Tailor recipes to your dog’s taste and dietary needs.
- Fun activity: Baking together can be a delightful bonding experience.
- Presentation: Cute cupcakes make special occasions or everyday treats more festive and memorable.
What Are Dog Cupcakes?
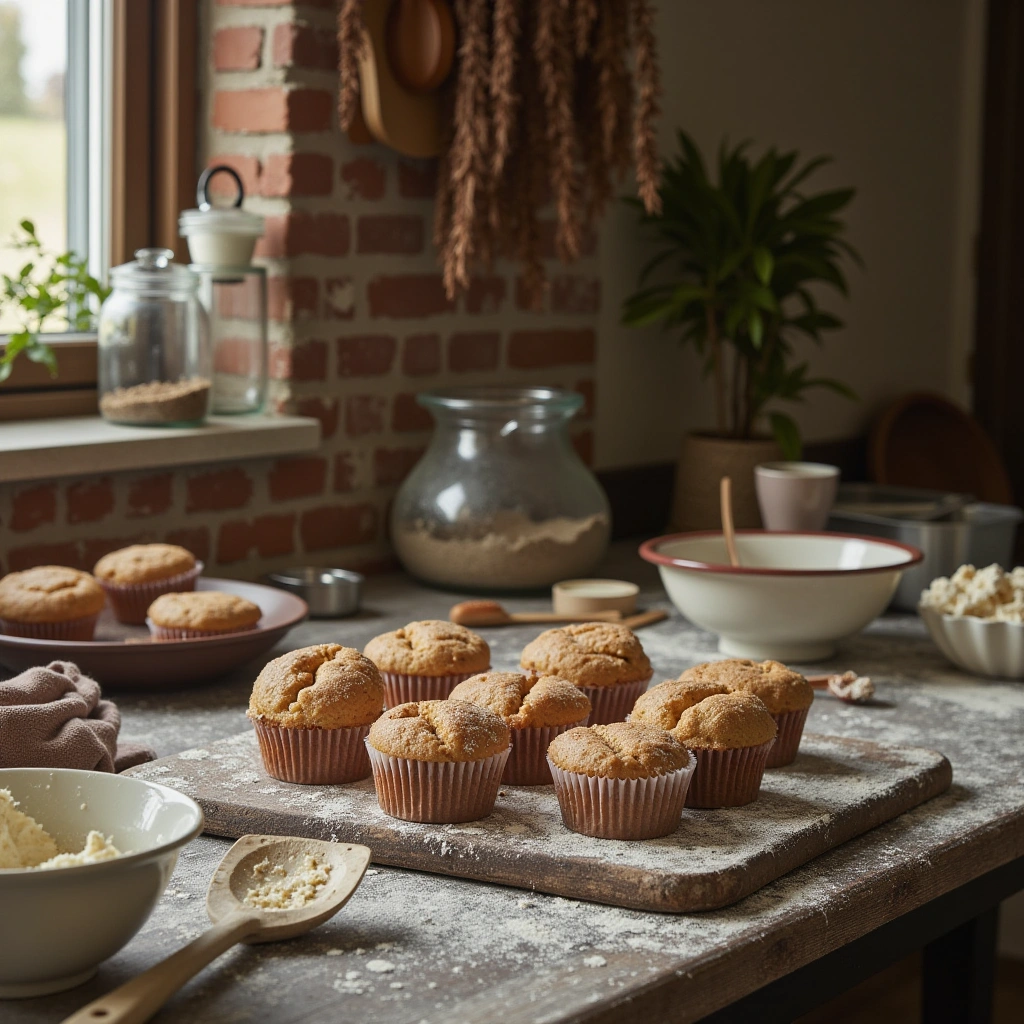
Dog cupcakes are mini cakes made specifically for dogs, using ingredients safe for canine consumption. They look like regular cupcakes but skip the sugar, chocolate, and artificial flavorings that are toxic to dogs. Instead, they feature wholesome ingredients like oats, peanut butter, pumpkin, and sweet potatoes.
Key Features of Dog Cupcakes:
| Feature | Description |
|---|---|
| Dog-friendly | Made with ingredients safe for canine health. |
| Nutrient-rich | Incorporate vitamins, fiber, and healthy fats. |
| Portion control | Small, manageable sizes ideal for treats or celebrations. |
| Customizable | Easy to adapt for allergies or dietary restrictions. |
Ingredients & Materials Needed
Before we start baking, let’s gather everything you’ll need.
Materials Needed
| Item | Quantity | Notes |
|---|---|---|
| Oats (rolled or quick) | 1 ½ cups | Use gluten-free oats if needed |
| Ripe Banana | 1 large | Acts as a natural sweetener and binder |
| Natural Peanut Butter | ½ cup | Ensure it has no xylitol or added sugars |
| Pumpkin Puree | ½ cup | Canned or homemade, adds flavor and nutrients |
| Egg | 1 large | Binds ingredients together |
| Baking Powder | 1 teaspoon | Helps cupcakes rise, use aluminum-free |
| Honey (optional) | 1 teaspoon | For extra sweetness, optional |
| Dog-safe Frosting | ½ cup | Made from Greek yogurt or canned pumpkin |
Additional Optional Ingredients
- Sweet potato puree
- Carrots, shredded
- Blueberries or apples (small pieces)
- Cinnamon (a pinch, if your dog tolerates it)
Tips for Success
- Choose quality ingredients: Always opt for natural, unsweetened, and xylitol-free peanut butter.
- Use ripe bananas: They add sweetness naturally, reducing the need for added sugars.
- Adjust texture: For dogs with allergies or sensitivities, substitute oats with rice flour or coconut flour.
- Portion control: Keep cupcakes small—about the size of a mini muffin—to prevent overfeeding.
- Storage: Keep cupcakes in an airtight container in the fridge for up to 5 days or freeze for longer storage.
Common Mistakes & How to Avoid Them
| Mistake | How to Avoid It |
|---|---|
| Using chocolate or harmful ingredients | Always double-check ingredient labels—avoid chocolate, xylitol, raisins, and artificial sweeteners. |
| Overfeeding treats | Remember, treats should be less than 10% of your dog’s daily calorie intake. |
| Not adjusting for allergies or sensitivities | Know your dog’s dietary restrictions and modify ingredients accordingly. |
| Overmixing batter | Mix until just combined; overmixing can make cupcakes dense. |
| Skipping cooling time | Let cupcakes cool completely before frosting or serving to prevent melting or spoilage. |
Step-by-Step: How to Make Dog Cupcakes
Step 1: Preheat & Prepare
- Preheat your oven to 350°F (175°C).
- Line a mini muffin tin with silicone or paper liners.
Step 2: Mix Wet Ingredients
- In a large bowl, mash the banana until smooth.
- Add peanut butter, pumpkin puree, and egg. Mix well until combined.
Step 3: Combine Dry Ingredients
- In a separate bowl, blend oats and baking powder.
- Gradually add dry mixture into wet ingredients, stirring until just combined.
- If the batter is too thick, add a tablespoon of water or unsweetened applesauce.
Step 4: Fill Muffin Tins
- Spoon the batter into the prepared muffin tins, filling each about ¾ full.
Step 5: Bake
- Bake for 15-20 minutes or until a toothpick inserted into the center comes out clean.
- Remove from oven and let cool in the tin for 5 minutes, then transfer to a wire rack.
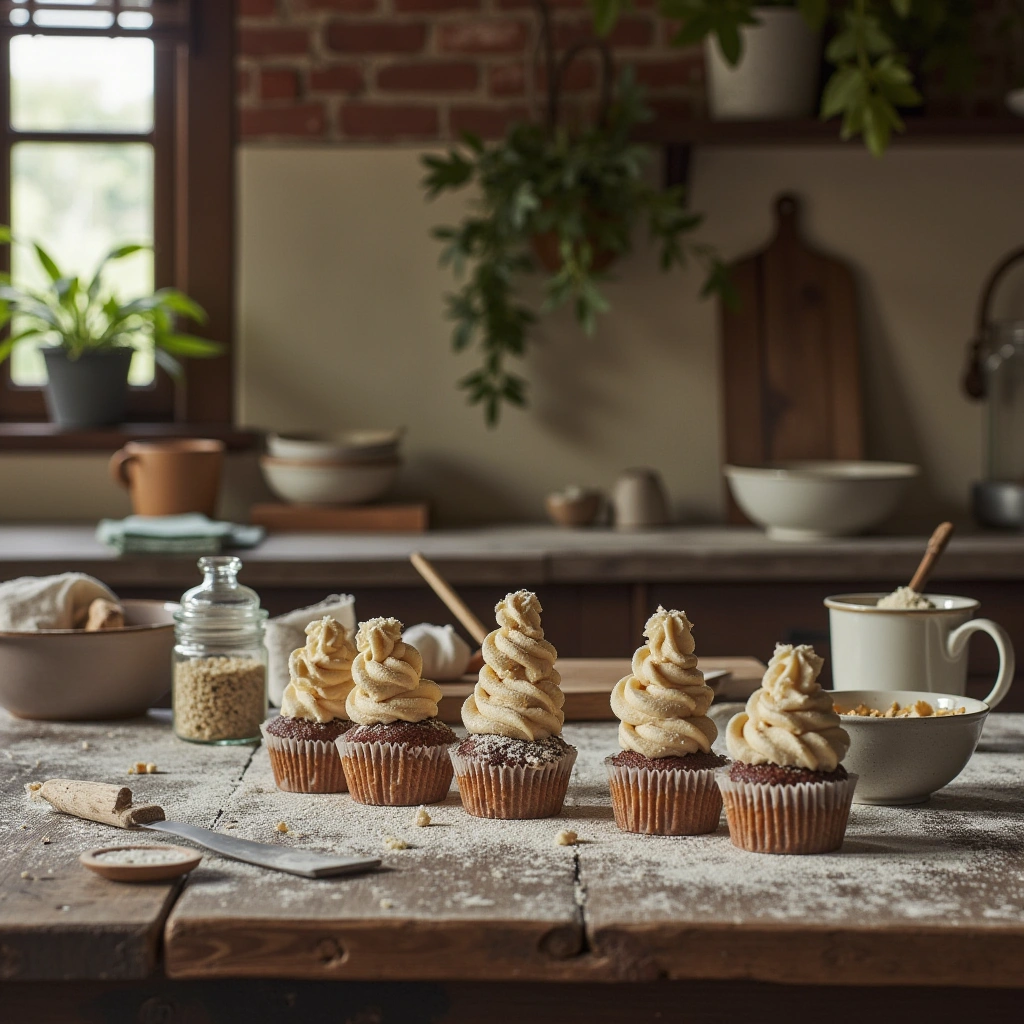
Step 6: Add Frosting & Decorate
- Once cooled, frost with Greek yogurt or canned pumpkin.
- For extra flair, add small dog-safe toppings like blueberries or shredded carrots.
Step 7: Serve & Store
- Serve in small portions, especially if your dog is prone to weight gain.
- Store leftovers in an airtight container in the fridge or freeze for up to 3 months.
Variations & Creative Twists
- Peanut Butter & Banana: Classic combo, simple and tasty.
- Sweet Potato & Carrot: Adds fiber and vibrant color.
- Blueberry & Oat: Rich in antioxidants and flavor.
- Pumpkin & Cinnamon: Warm, cozy flavor for fall treats.
- Cheesy Version: Mix in a bit of shredded cheese for extra flavor.
Summary & Final Tips
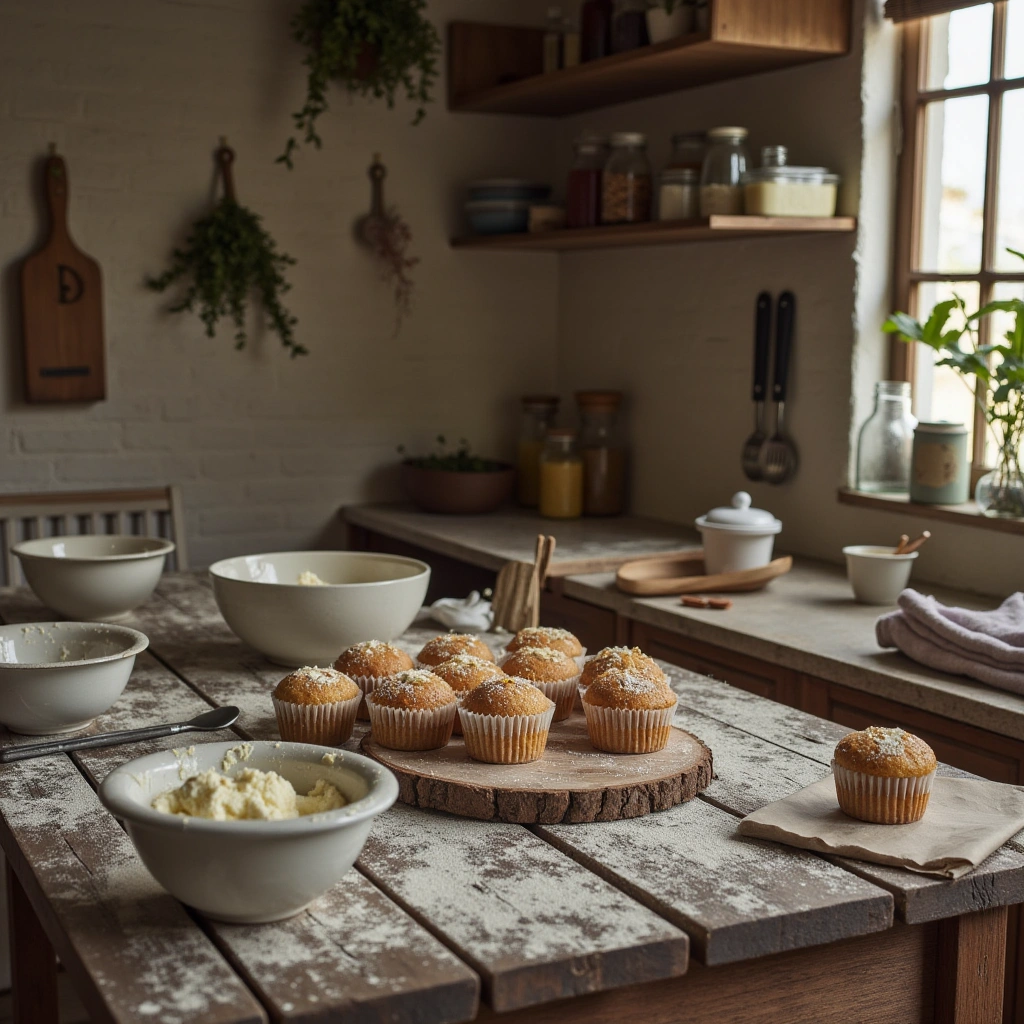
Making homemade dog cupcakes is a delightful way to treat your pup while ensuring they’re eating healthy, vet-approved ingredients. Remember to keep portions small, avoid harmful ingredients, and incorporate variety to keep your dog excited about treats. With a little baking magic, you can create adorable, nutritious cupcakes perfect for any occasion or just because you want to say “I love you” to your furry friend.
So grab your ingredients, get baking, and watch your dog enjoy every bite of their special homemade cupcake!
Happy baking, and here’s to many happy, healthy treats for your beloved pup!