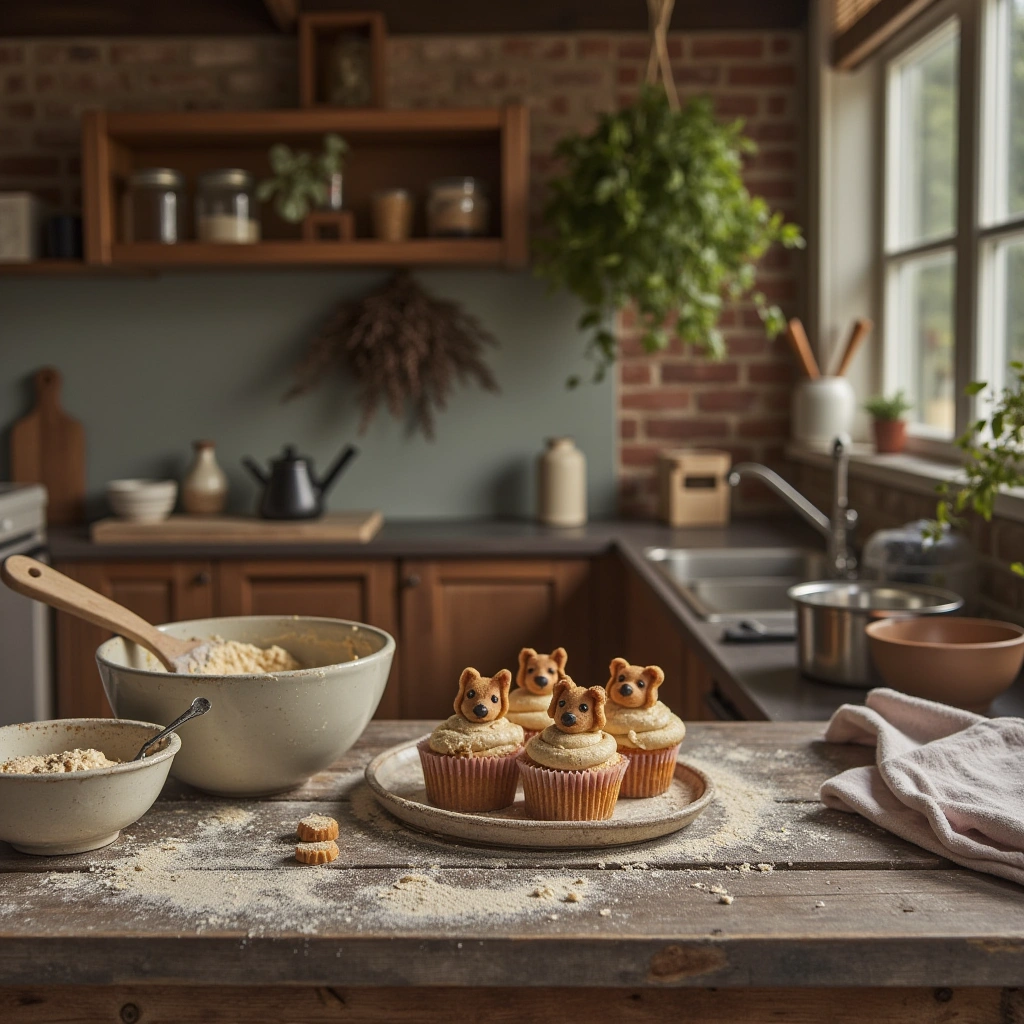
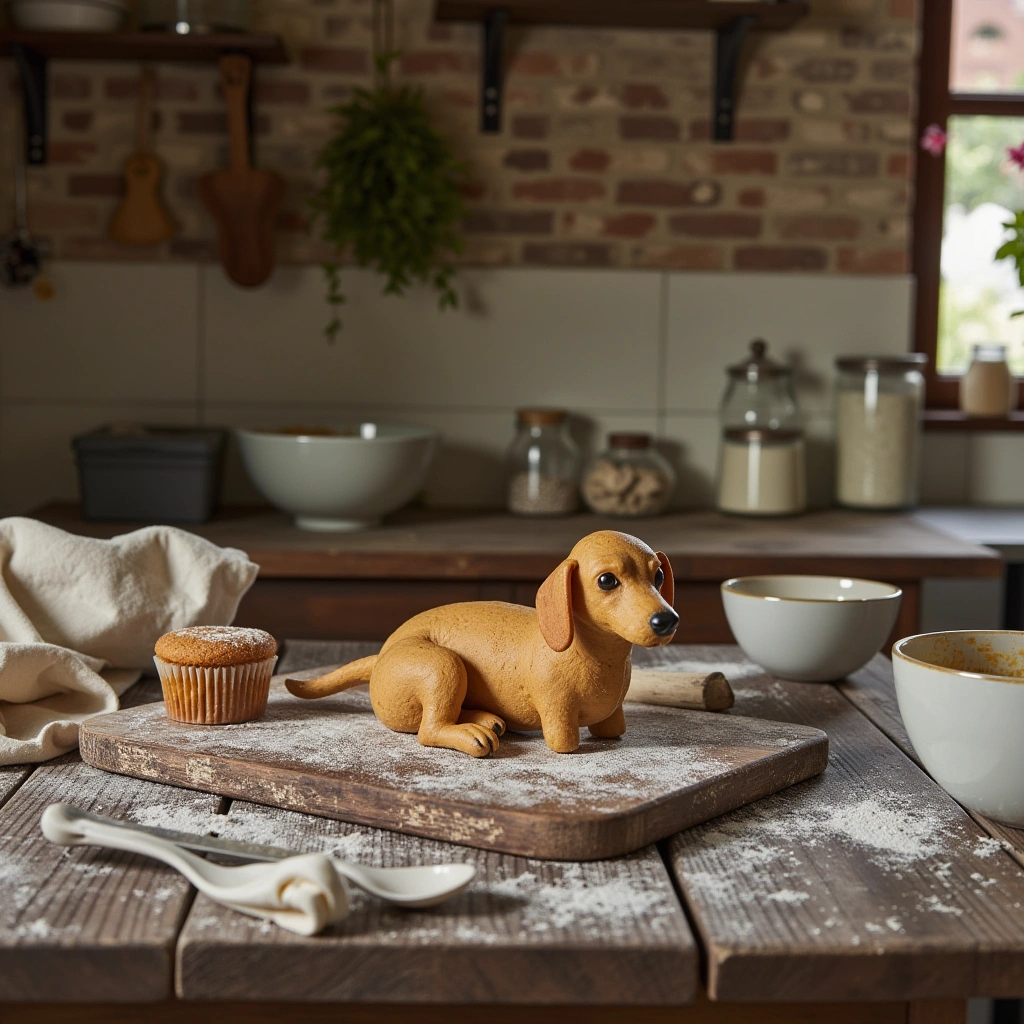
Are you looking for a fun, healthy way to spoil your furry friend? If so, you’re in the right place! Homemade peanut butter dog cupcakes are not only adorable but also a wholesome treat that your pup will love. Making them at home allows you to control the ingredients, ensuring your pet gets a tasty snack free from artificial preservatives and harmful additives.
In this comprehensive guide, I’ll walk you through everything you need to know—step-by-step instructions, tips for success, common mistakes, and creative variations. Let’s get started on baking some tail-wagging delights!
What Are Homemade Peanut Butter Dog Cupcakes?
Definition:
Homemade peanut butter dog cupcakes are small, single-serving baked treats made with dog-friendly ingredients, topped with a tasty frosting (usually peanut butter-based). They’re designed to resemble human cupcakes but are safe and nutritious for dogs.
Why Make Them at Home?
- Control over ingredients
- No artificial preservatives or fillers
- Fun activity to bond with your pet
- Customized to your dog’s dietary needs
Ingredients and Materials Needed
Creating the perfect dog cupcake starts with quality ingredients and proper tools. Here’s what you’ll need:
Materials Needed
| Item | Description | Quantity/Size | Notes |
|---|---|---|---|
| Dog-friendly flour | Whole wheat, oat, or rice flour | 1 cup | Avoid wheat if your dog has allergies |
| Baking powder | Ensures cupcakes rise slightly | 1 teaspoon | Use aluminum-free baking powder |
| Peanut butter | Natural, unsweetened, xylitol-free | 1/2 cup | Check labels—xylitol is toxic to dogs |
| Eggs | For binding and moisture | 2 large | Use fresh eggs |
| Unsweetened applesauce | Adds moisture and sweetness | 1/4 cup | Optional, can substitute mashed banana |
| Carrots (optional) | Adds crunch and nutrients | 1/4 cup shredded | Use fresh carrots, finely shredded |
| Dog-safe frosting | Peanut butter or yogurt-based frosting | 1/4 cup | Ensure no xylitol or artificial sweeteners |
| Cupcake liners | For easy baking and serving | As needed | Silicone or paper liners |
Additional Tools
- Muffin tin or cupcake pan
- Mixing bowls
- Measuring cups and spoons
- Grater (for carrots)
- Cooling rack
- Piping bag or spatula (for frosting)
Step-by-Step: How to Make Peanut Butter Dog Cupcakes
Baking these treats is straightforward, but paying attention to detail ensures the best results. Follow these steps:
1. Preheat the Oven
Set your oven to 350°F (175°C). Line your cupcake pan with liners or lightly grease with dog-safe spray.
2. Mix the Dry Ingredients
In a large bowl, whisk together:
- 1 cup of dog-friendly flour
- 1 teaspoon of baking powder
This ensures even distribution and prevents lumps.
3. Prepare the Wet Ingredients
In another bowl, combine:
- 1/2 cup of natural peanut butter
- 2 eggs
- 1/4 cup of unsweetened applesauce
Mix thoroughly until smooth. If using carrots, fold in the shredded carrots at this stage.
4. Combine Wet and Dry
Gradually add the wet mixture to the dry ingredients, stirring gently until just combined. Do not overmix—overworking the batter can make cupcakes dense.
5. Fill the Cupcake Liners
Spoon the batter into each liner, filling about 2/3 full. This allows space for rising.
6. Bake
Place the tray in the oven and bake for 15-20 minutes or until a toothpick inserted in the center comes out clean.
7. Cool
Remove the cupcakes from the oven and transfer to a cooling rack. Let them cool completely before frosting.
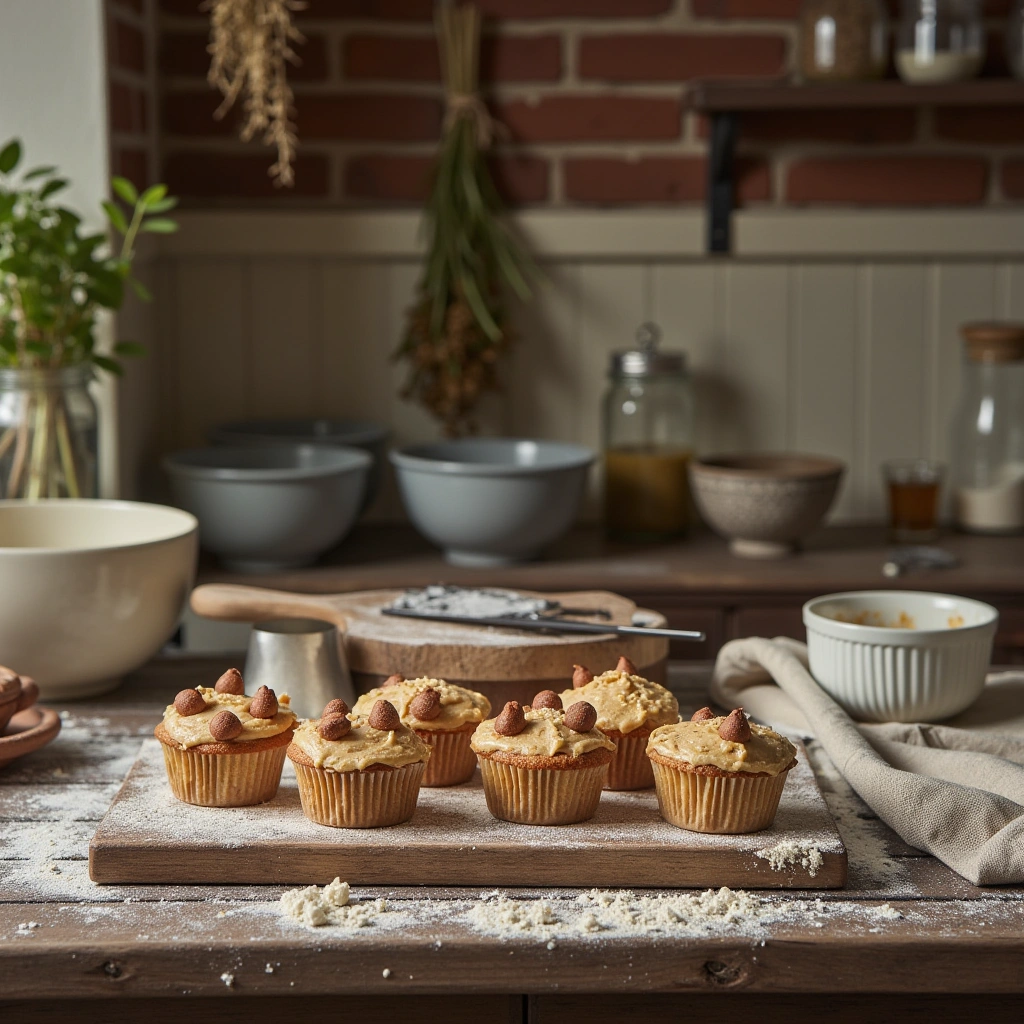
8. Decorate with Dog-Friendly Frosting
Spread or pipe a small amount of peanut butter or yogurt-based frosting on top. Keep the frosting minimal to avoid excess calories.
Tips for Success
- Use natural ingredients: Always choose natural, unsweetened, and xylitol-free products.
- Adjust ingredients: If your dog has allergies, swap ingredients accordingly (e.g., gluten-free flour).
- Don’t overbake: Keep an eye on the cupcakes; overbaking can dry them out.
- Portion control: Keep treats small—about the size of a postage stamp—especially if giving multiple at once.
- Storage: Store cupcakes in an airtight container in the fridge for up to 5 days or freeze for longer shelf life.
Common Mistakes and How to Avoid Them
| Mistake | Prevention | Why It Matters |
|---|---|---|
| Using xylitol-laced peanut butter | Always read labels carefully before buying | Xylitol is highly toxic to dogs |
| Overmixing batter | Mix until just combined | Prevents dense, tough cupcakes |
| Overbaking | Check cupcakes around 15 minutes; do the toothpick test | Keeps cupcakes moist and fresh |
| Not cooling completely before frosting | Patience is key; wait until cupcakes are room temperature | Prevents melting frosting |
| Using human frosting ingredients | Stick to dog-safe options like peanut butter or yogurt | Avoid harmful additives |
Variations and Creative Twists
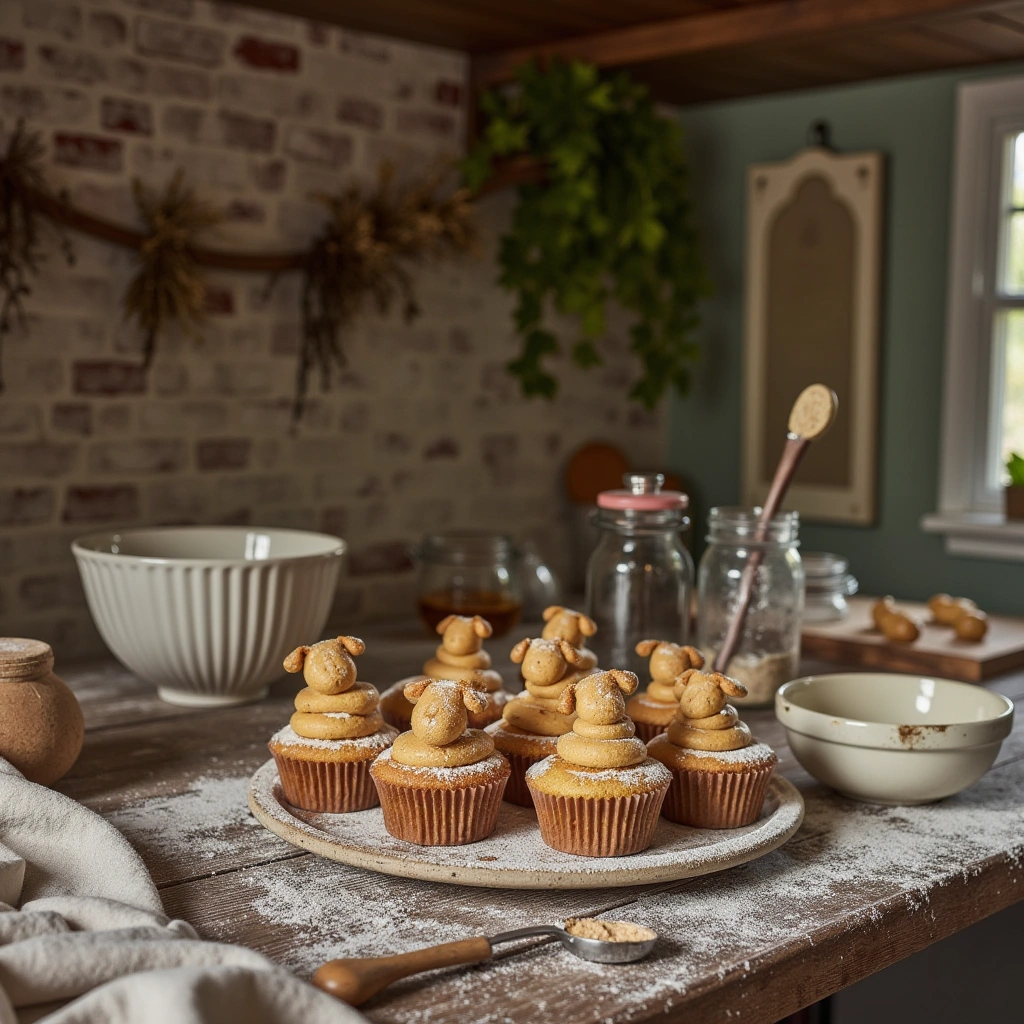
Want to make these treats even more exciting? Here are some fun variations:
- Banana Peanut Butter Cupcakes: Replace applesauce with mashed banana for extra flavor.
- Pumpkin Delight: Add 2 tablespoons of pure pumpkin puree for added fiber.
- Sweet Potato Version: Mix in cooked, mashed sweet potato for natural sweetness.
- Frosting Fun: Top with a dollop of plain Greek yogurt or a thin layer of peanut butter.
- Add Superfoods: Mix in blueberries or cranberries (unsweetened and safe for dogs).
Final Thoughts
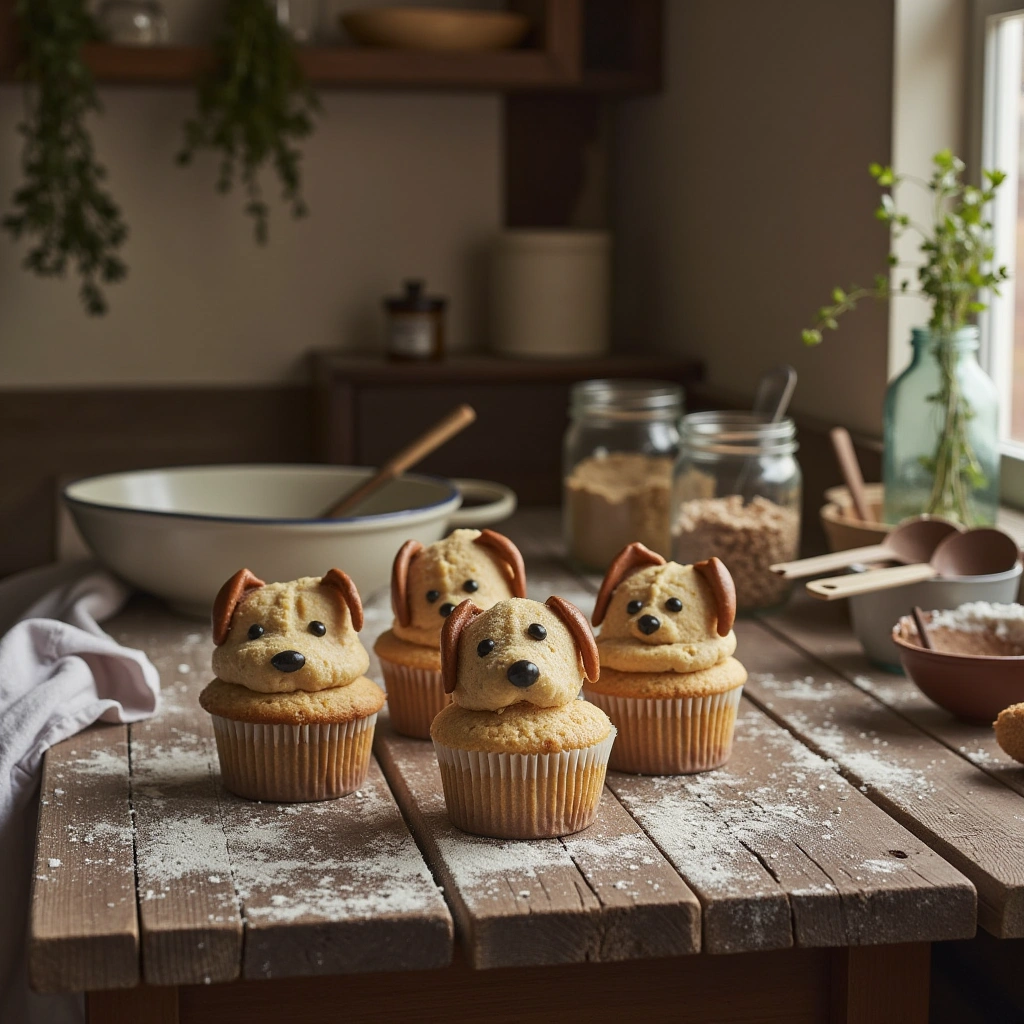
Making homemade peanut butter dog cupcakes is a delightful way to treat your pup while ensuring they’re eating wholesome ingredients. Remember to keep portions appropriate, choose safe ingredients, and enjoy the baking process as a bonding activity. Your furry friend will love the love you put into these treats, and you’ll love knowing exactly what’s going into their snack.
Ready to start baking? Grab your materials and get into the kitchen! Your dog’s tail will wag with joy, and you’ll have a healthy, tasty, homemade treat ready in no time.
Enjoy baking these wholesome peanut butter dog cupcakes and watch your pup’s eyes light up with happiness! For more healthy dog treat recipes, stay tuned.