Are you tired of buying processed dog treats packed with fillers and artificial ingredients? Want to spoil your furry friend with healthy, tasty snacks? Well, you’re in the right place! Today, I’ll walk you through everything you need to know about making homemade cheese dog treats — a simple, nutritious, and delicious way to show your pup some love.
In this guide, we’ll cover the basics, delve into detailed recipes, tips for success, common pitfalls, and creative variations. So, grab your apron and let’s get started on crafting the perfect cheese treats for your canine companion!
Why Make Homemade Cheese Dog Treats?
Homemade treats are a fantastic way to control what your dog consumes. Commercial treats often contain preservatives, artificial flavors, and unnecessary fillers. By making your own, you can ensure that your pup gets wholesome, natural ingredients. Plus, cheese is a favorite among dogs — packed with protein and calcium, it makes for an irresistible treat.
Benefits of Homemade Cheese Dog Treats:
- Healthy Ingredients: No artificial additives or preservatives
- Customizable: Adjust flavors, ingredients, and sizes
- Cost-Effective: Cheaper than store-bought treats over time
- Fun to Make: A rewarding activity that strengthens your bond
Ingredients and Materials Needed
Before diving into the recipe, let’s review the essential ingredients and tools. Having everything ready will make the process smoother.
Ingredients
| Ingredient | Quantity | Notes |
|---|---|---|
| Cheddar cheese | 1 cup (shredded) | Use real cheese for flavor and nutrition |
| Whole wheat flour | 2 cups | Or gluten-free alternative if needed |
| Egg | 1 large | Helps bind the mixture |
| Unsweetened applesauce | 1/4 cup | Optional for added moisture and flavor |
| Water or chicken broth | 1/4 cup (as needed) | To adjust dough consistency |
| Optional herbs or spices | A pinch of parsley or turmeric | For added health benefits and flavor |
Materials Needed
| Item | Quantity/Size | Purpose |
|---|---|---|
| Mixing bowls | 2 large bowls | For combining ingredients |
| Baking sheet | 1 standard size | To bake the treats |
| Parchment paper or silicone mat | 1 sheet | Prevents sticking |
| Rolling pin | 1 | To flatten dough |
| Cookie cutter or knife | Various sizes | To shape treats |
| Oven | Preheated to 350°F (175°C) | For baking |
| Cooling rack | 1 | To cool treats after baking |
Step-by-Step Guide to Making Cheese Dog Treats
Making these treats is straightforward and fun. Let’s break it down into simple steps.
1. Prepare Your Workspace
- Gather all ingredients and tools.
- Preheat your oven to 350°F (175°C).
- Line your baking sheet with parchment paper or a silicone mat.
2. Mix the Wet Ingredients
- In a large bowl, combine the shredded cheese, egg, and applesauce.
- Mix well until evenly incorporated.
3. Add the Dry Ingredients
- Gradually add the whole wheat flour.
- Mix until the dough begins to come together.
- If the dough is too dry, add water or chicken broth a tablespoon at a time until it reaches a manageable consistency.
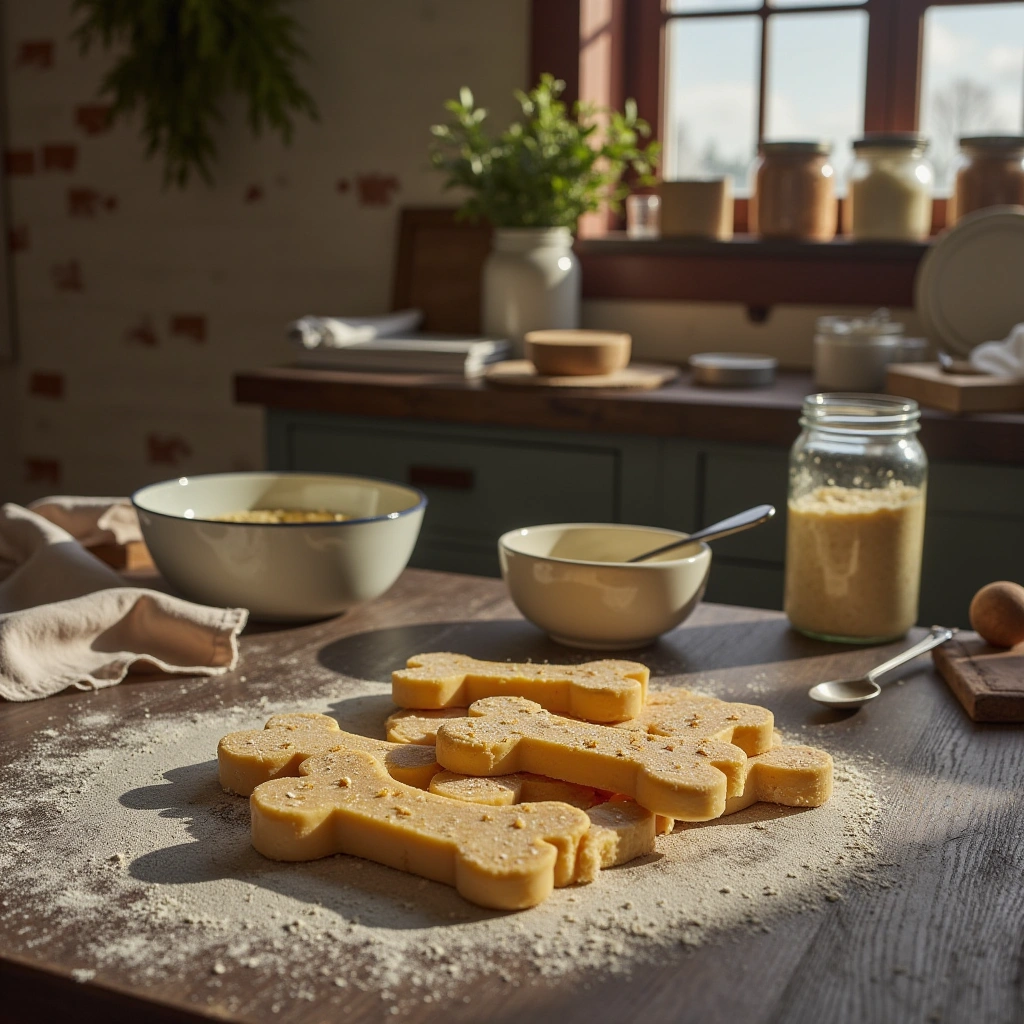
4. Knead and Roll the Dough
- Turn the dough onto a lightly floured surface.
- Knead briefly until smooth.
- Use a rolling pin to flatten the dough to about 1/4-inch thickness.
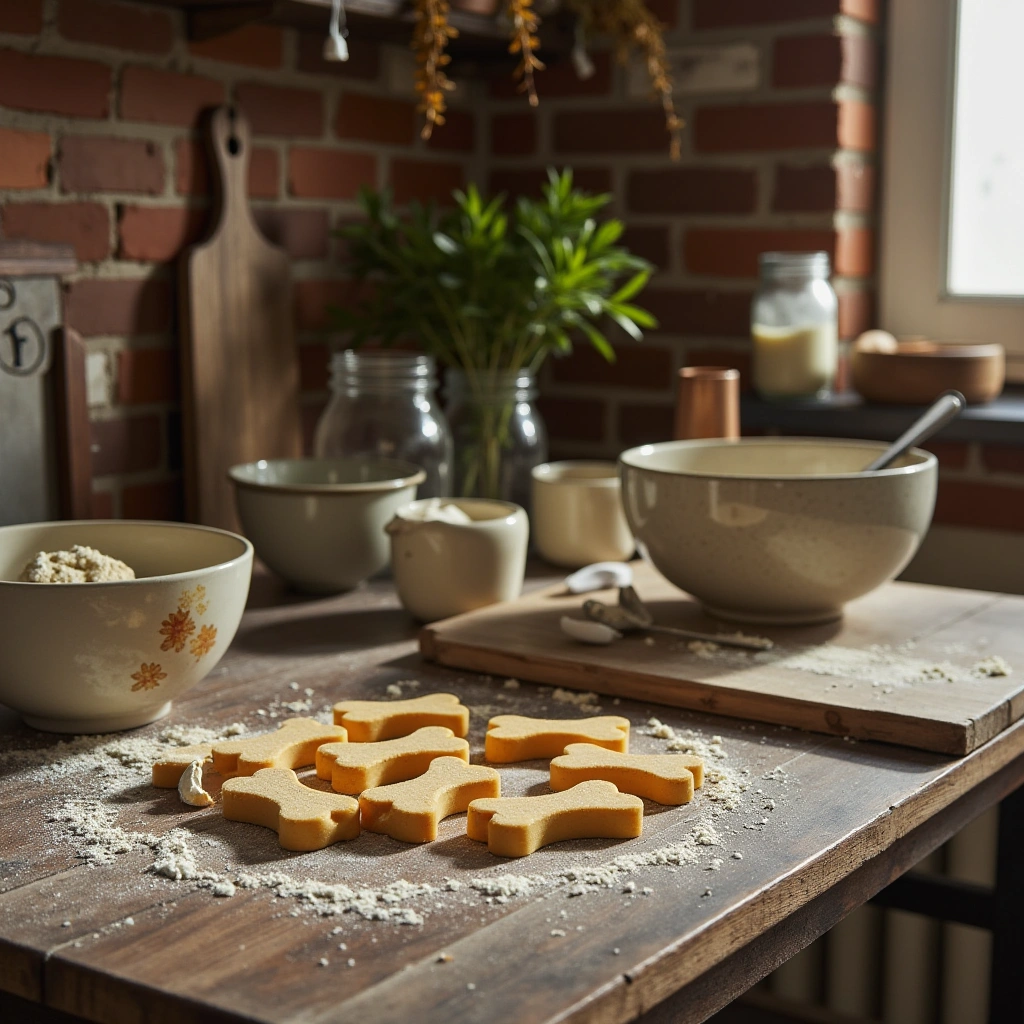
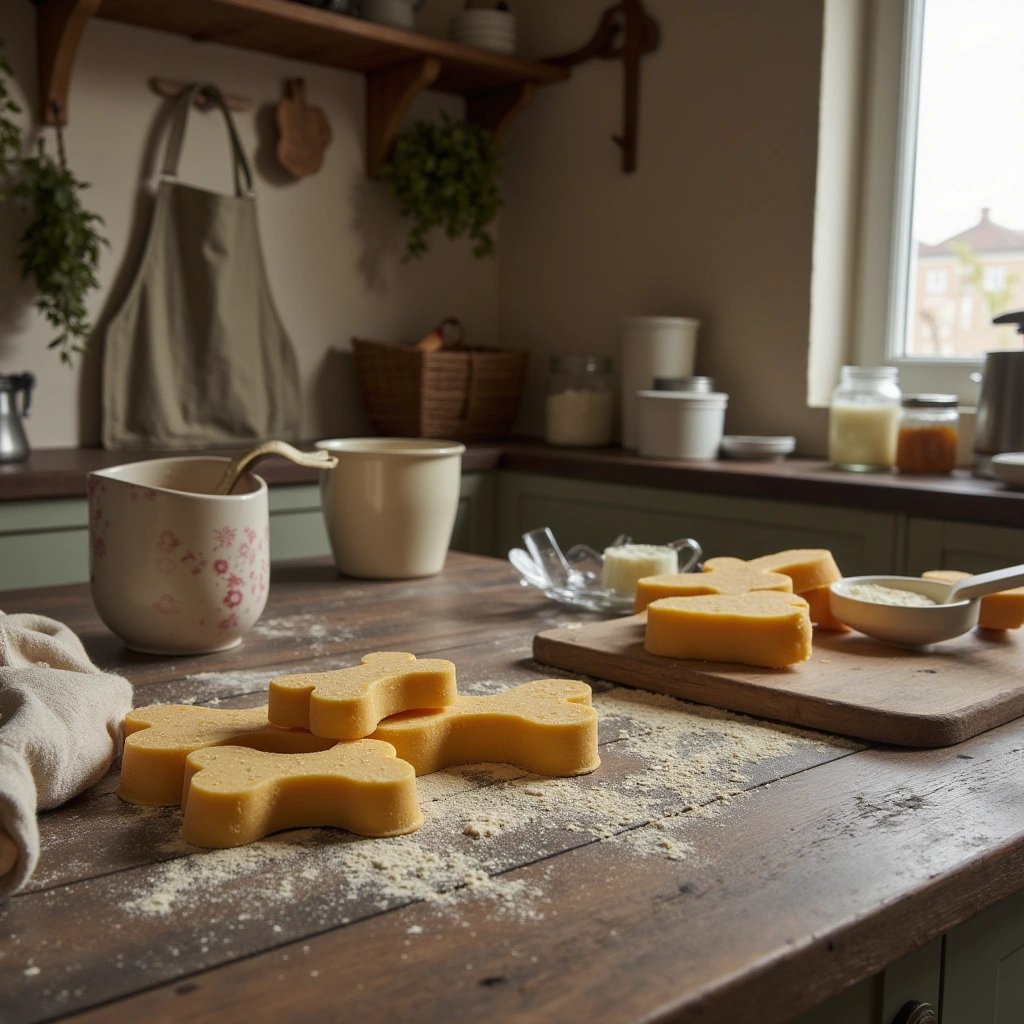
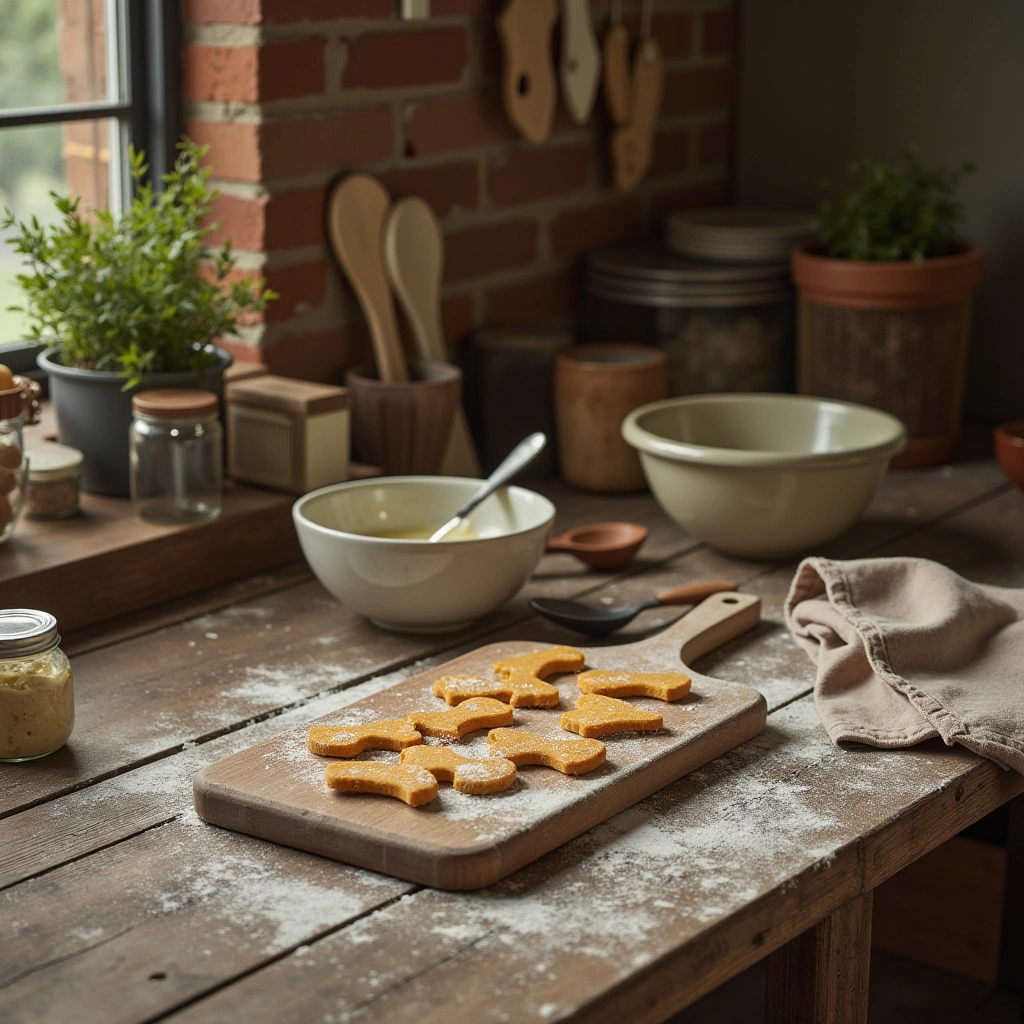
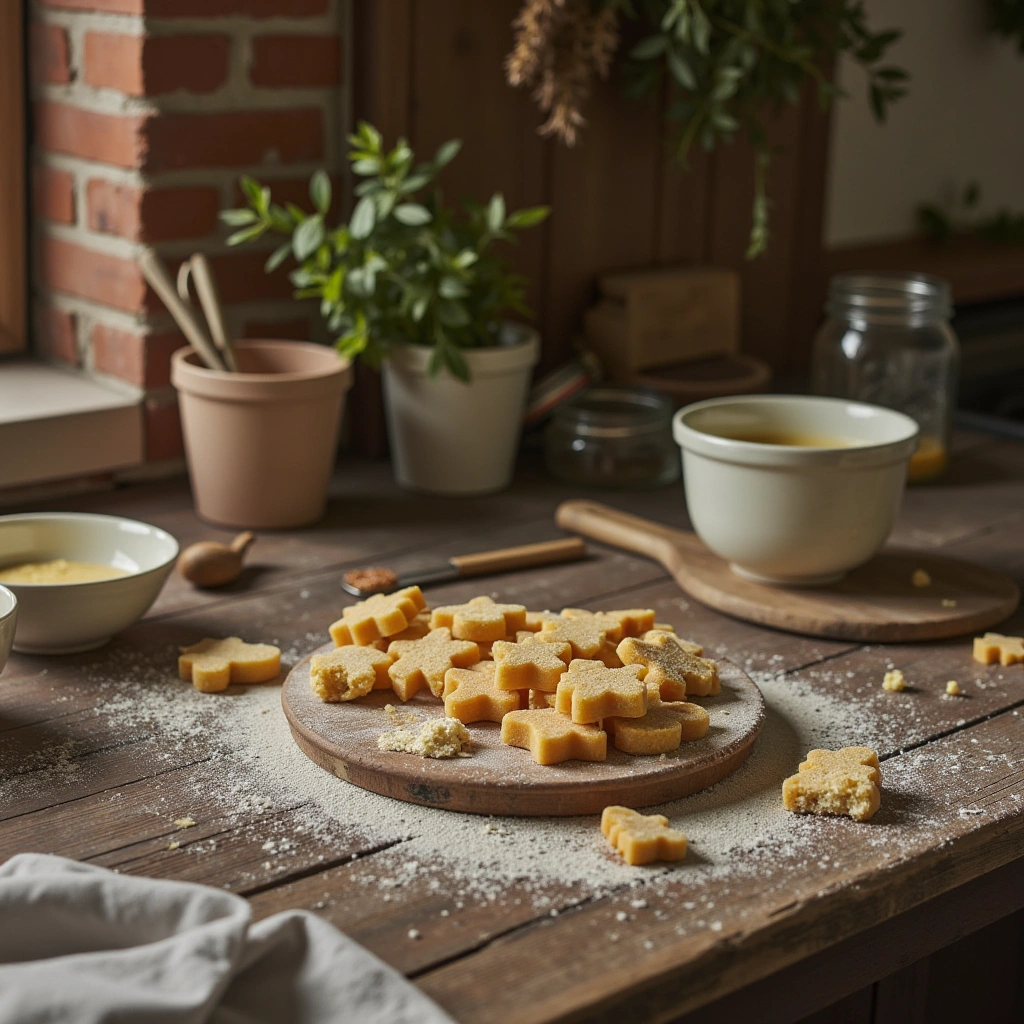
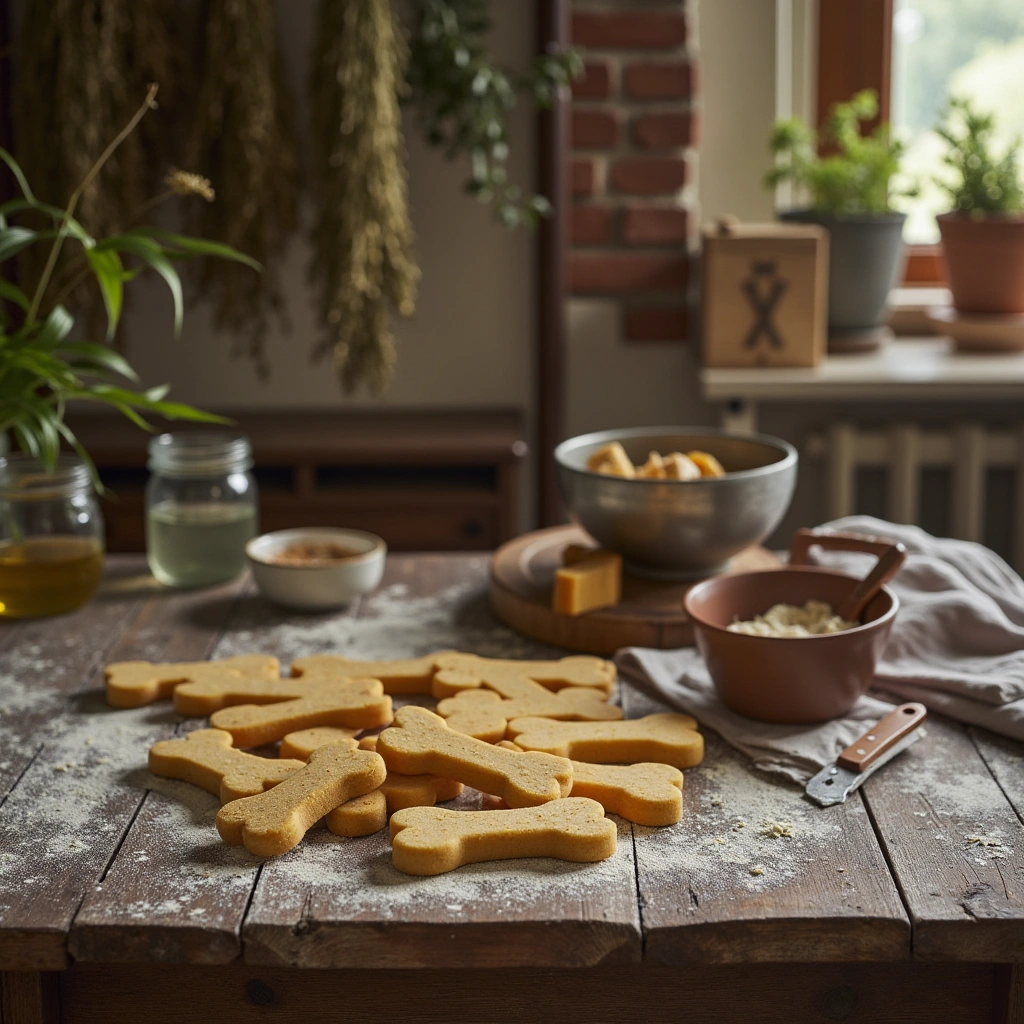
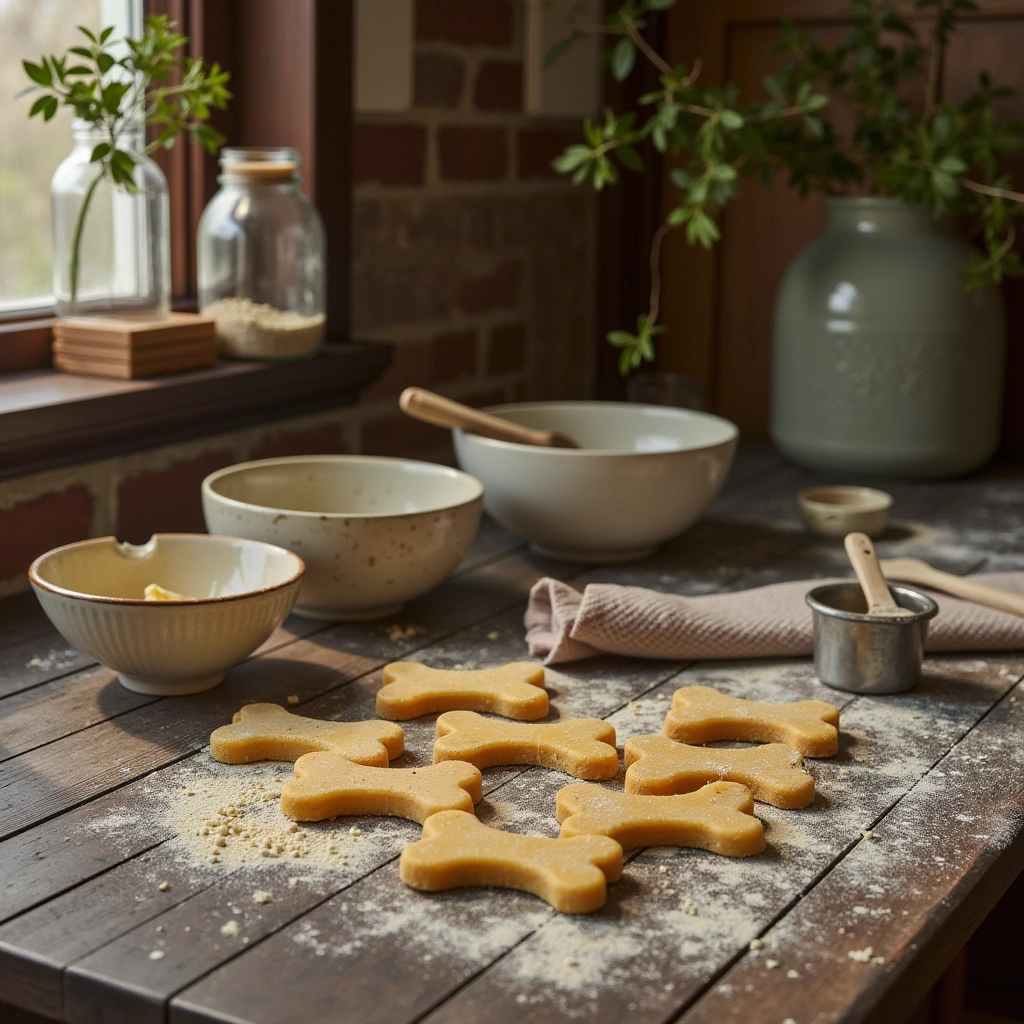
5. Cut Out Treats
- Use a cookie cutter or knife to cut dough into your desired shapes.
- Place the cutouts onto the prepared baking sheet, spacing them about 1 inch apart.
6. Bake
- Place the tray in the preheated oven.
- Bake for 15-20 minutes or until golden brown and firm.
7. Cool and Store
- Remove from oven and let the treats cool on a wire rack.
- Once cooled, store in an airtight container at room temperature for up to a week, or refrigerate for longer freshness.
Tips for Success
- Use Fresh Cheese: Fresh, high-quality cheese enhances flavor and nutrition.
- Adjust Consistency: If dough is too sticky, add more flour; if too dry, add a splash of water.
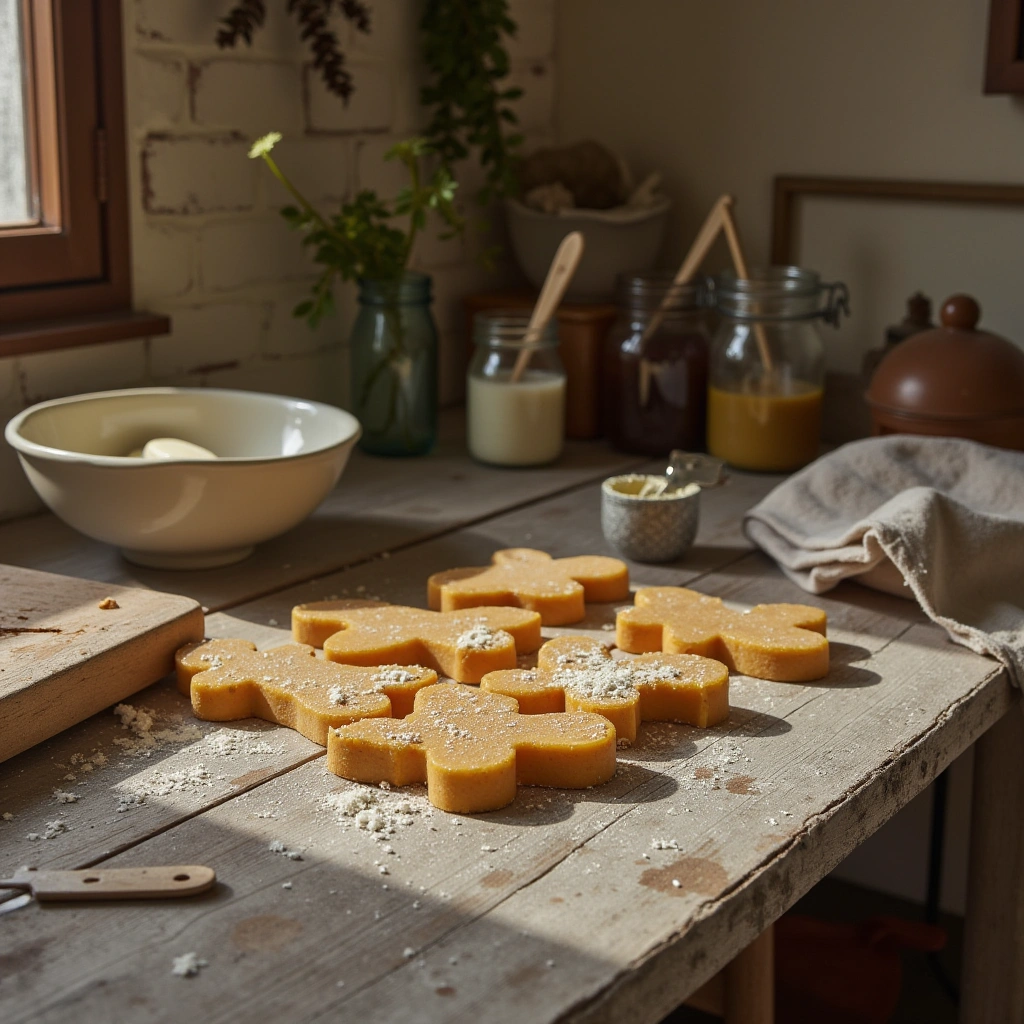
- Shape Variations: Use different cookie cutters for fun shapes—bones, hearts, stars.
- Add Nutrients: Mix in shredded carrots or spinach for extra vitamins.
- Portion Control: Make treats bite-sized for smaller dogs, larger for bigger breeds.
Common Mistakes and How to Avoid Them
| Mistake | Solution |
|---|---|
| Overworking the dough | Mix until just combined; over-kneading can toughen treats |
| Baking at wrong temperature | Use a reliable oven thermometer to ensure accurate heat |
| Not cooling treats enough | Allow treats to cool completely to prevent sogginess |
| Using low-quality cheese | Always opt for real, good-quality cheese for flavor and health benefits |
Creative Variations to Try
Looking to spice things up? Here are some fun twists on the basic cheese treat:
- Peanut Butter & Cheese: Add 2 tbsp of natural peanut butter for extra flavor.
- Herb Infused: Incorporate chopped parsley, rosemary, or turmeric for added health perks.
- Sweet & Savory: Mix in diced cooked sweet potatoes or apples for a unique flavor combo.
- Grain-Free Version: Substitute whole wheat flour with almond or coconut flour for grain-free treats.
Summary and Final Thoughts
Making homemade cheese dog treats is a simple, cost-effective way to pamper your pup with healthy snacks. By controlling ingredients and customizing flavors, you ensure your dog gets nutritious, delicious treats without harmful additives. Remember to follow steps carefully, avoid common mistakes, and get creative with variations.
Now that you know how to whip up these cheesy delights, why not give it a try? Your furry friend will thank you with wagging tails and happy barks. Keep experimenting, and soon, homemade treats will be a regular part of your dog’s diet!
Ready to spoil your pup? Start baking these homemade cheese dog treats today and enjoy the joy of giving healthy, tasty snacks made with love!