
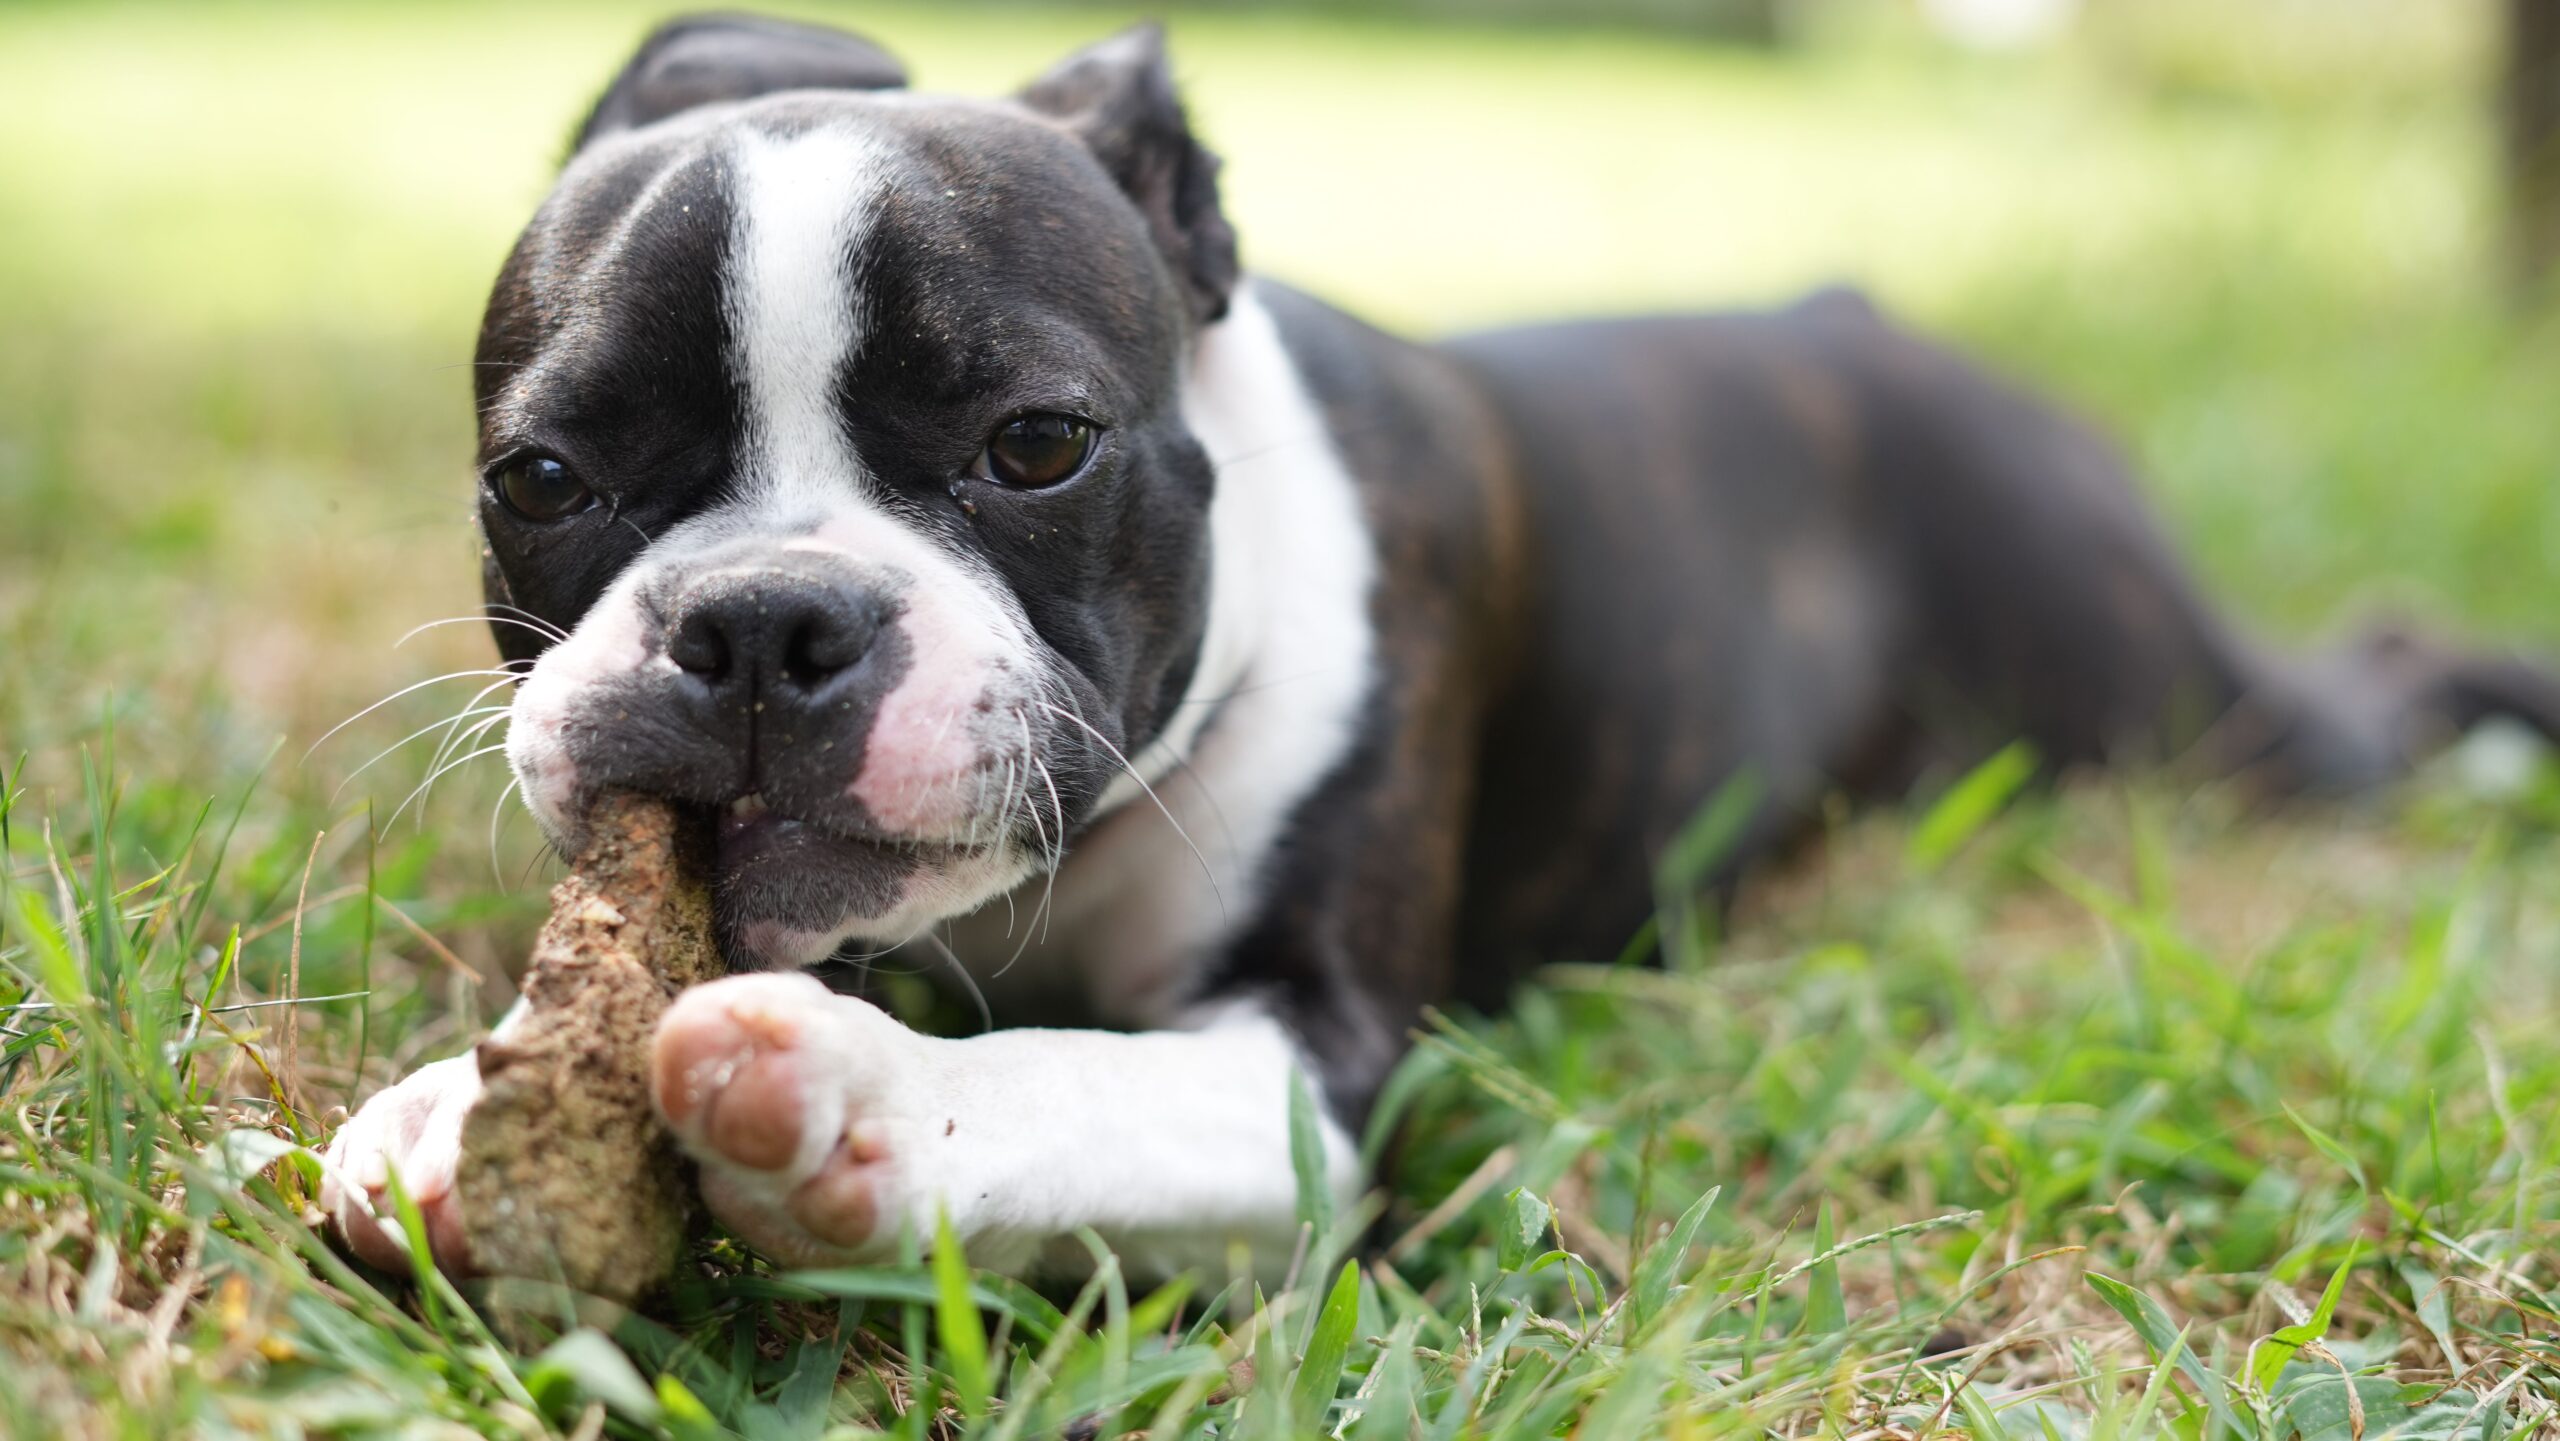
Ever caught your dog staring at you with those big, hopeful eyes while you’re chopping veggies in the kitchen? I have. That’s exactly how my journey into making Pumpkin Carrot Chews for my dog started. One day, I got tired of reading confusing ingredient labels on store-bought treats, and I decided enough was enough.
If you’ve been searching for a healthy, easy-to-make treat that your dog will actually love (and that won’t wreck their stomach or your wallet), you’re in the right place. I’m going to walk you through everything—the good, the tricky parts, and the mistakes I made so you don’t have to.
Let’s get into it.
What Are Pumpkin Carrot Chews, Anyway?
Think of these chews as nature’s candy for dogs. They’re soft, chewy treats made from real pumpkin and carrots, baked low and slow until they turn into little bites of goodness. No fillers. No mystery preservatives. Just wholesome ingredients your dog’s body can actually recognize and digest.
I love these chews because they hit that sweet spot between healthy and delicious. Pumpkin is packed with fiber, which is great for digestion. Carrots bring in beta-carotene and a natural crunch (before baking, that is). Together, they create a treat that’s gentle on sensitive tummies and gentle on your conscience too.
Unlike crunchy biscuits, these chews have a softer, jerky-like texture. That makes them perfect for senior dogs, puppies who are still working on their chewing skills, or any pup who prefers a softer bite.
Key Terms You Should Know
Puree
: A smooth, blended mixture made by cooking and mashing fruits or vegetables until there are no lumps left.
Dehydration
: The process of removing moisture from food using low heat over a long period, which helps treats last longer without spoiling.
Binder
: An ingredient (like oat flour or eggs) that holds the mixture together so it doesn’t fall apart during baking.
Xylitol
: A sugar substitute that’s extremely toxic to dogs. Always double-check ingredient labels, especially on peanut butter or applesauce, before using them in dog treats.
Beta-carotene
: A natural pigment found in orange vegetables like carrots and pumpkin. It converts into vitamin A in your dog’s body and supports eye health.
What You’ll Need
Before you start, gather these ingredients. I always recommend organic when possible, but it’s not a dealbreaker.
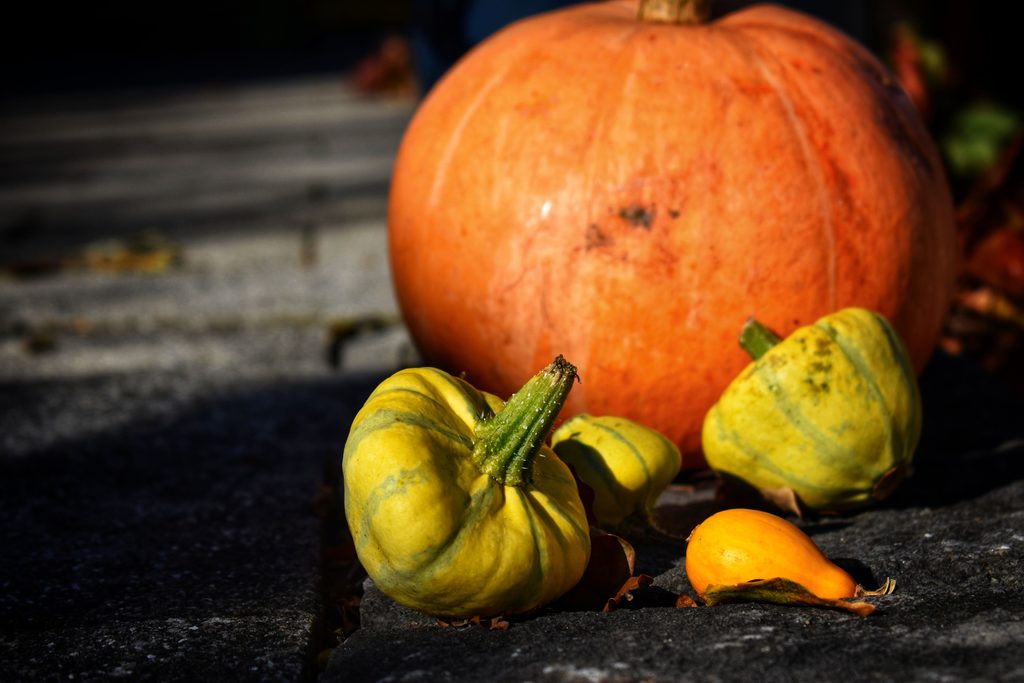
- 1 cup pure pumpkin puree (not pumpkin pie filling—that stuff has added sugar and spices)
- 1 cup finely grated carrots
- 1 ½ cups oat flour (you can grind rolled oats in a blender if you don’t have oat flour on hand)
- 1 egg
- 1 tablespoon coconut oil (optional, but it adds a nice texture)
- A pinch of cinnamon (optional, dogs seem to enjoy the smell)
That’s it. No weird additives, no hard-to-pronounce ingredients.
Tools You’ll Want on Hand
- Mixing bowl
- Grater or food processor for the carrots
- Baking sheet
- Parchment paper
- Small cookie cutters (optional, but fun)
- Measuring cups and spoons
Step-by-Step: How to Make Pumpkin Carrot Chews
Here’s exactly how I make these at home. Follow along, and don’t worry if your dough looks a little sticky at first—that’s normal.
Preheat your oven to 300°F (150°C). Low and slow is the name of the game here since we want a chewy texture, not a crispy one.
Grate your carrots finely. The smaller the pieces, the easier they’ll blend into the dough and the safer they’ll be for smaller dogs to chew.
Mix the wet ingredients. In a large bowl, combine the pumpkin puree, grated carrots, egg, and coconut oil. Stir until everything looks well combined.
Add the oat flour gradually. Pour it in a little at a time, mixing as you go. You’re looking for a dough that’s thick but still slightly sticky—not runny, but not dry and crumbly either.
Shape your chews. Roll the dough into small balls, about the size of a walnut, then flatten them slightly with your palm. Or use cookie cutters if you want to get fancy. I usually go for simple shapes since my dog doesn’t care what they look like.
Place on a lined baking sheet. Leave a little space between each chew so they bake evenly.
Bake for 40-45 minutes. Flip them halfway through to help them dry out evenly on both sides.
Cool completely before serving. This step matters more than people think. Chews that are still warm can be too soft and may fall apart when your dog takes a bite.
Store properly. Keep them in an airtight container in the fridge for up to a week, or freeze them for up to three months.
Tips for Success
- Don’t skip the grating step. Chunky carrot pieces can be a choking hazard, especially for small breeds.
- Watch the dough consistency. Too wet, and your chews won’t hold their shape. Too dry, and they’ll crumble apart.
- Use a food scale if you’re serious about consistency. I started weighing my dough portions once I noticed my dog was getting bigger chews than his brother (oops).
- Let them cool on a wire rack, not directly on the baking sheet. This keeps the bottoms from getting soggy.
- Test one chew before storing the whole batch. Make sure the texture is right—chewy but not mushy—before committing to a storage method.
Common Mistakes and How to Avoid Them
Mistake: Using pumpkin pie filling instead of pure pumpkin puree
: This one trips up almost everyone at least once. Pie filling has added sugar, salt, and spices like nutmeg, which isn’t great for dogs. Always read the label twice.
Mistake: Skipping the flattening step
: If you leave the chews as round balls, the inside won’t cook properly, and you’ll end up with a raw center. Flatten them out for even baking.
Mistake: Overbaking
: I once left a batch in for an extra 15 minutes because I got distracted, and they turned into rock-hard biscuits. If you want soft chews, keep a close eye on the clock.
Mistake: Not cooling them fully before storage
: Storing warm chews traps moisture inside the container, which can lead to mold. Patience pays off here.
Mistake: Adding honey or peanut butter without checking for xylitol
: Some brands sneak xylitol into their “natural” peanut butter. It’s deadly for dogs, so this is a step you can’t afford to skip.
Variations You Can Try
Once you’ve nailed the basic recipe, feel free to get creative. Here are a few variations I’ve tried myself:
- Apple Pumpkin Chews: Swap out half the carrots for finely grated apple (seeds removed, of course).
- Peanut Butter Pumpkin Carrot Chews: Add a tablespoon of xylitol-free peanut butter for extra flavor.
- Blueberry Boost: Mash a handful of blueberries into the mixture for added antioxidants.
- Grain-Free Version: Replace the oat flour with chickpea flour or coconut flour if your dog has grain sensitivities.
- Frozen Chews for Summer: Skip the baking step entirely and freeze the raw mixture in silicone molds for a cool, refreshing treat on hot days.
How Often Can Dogs Eat These?
This is something a lot of recipes skip, but it’s important. Treats—even healthy ones—should only make up about 10% of your dog’s daily calorie intake. For an average-sized dog, that usually means one to two chews a day is plenty. If your dog has any health conditions like diabetes or kidney issues, check with your vet before adding pumpkin or carrots regularly, since both contain natural sugars and should be given in moderation.
Storage Guide
Refrigerator
: Store in an airtight container for up to 7 days.
Freezer
: Freeze in a freezer-safe bag or container for up to 3 months. Thaw a few chews at a time as needed.
Room Temperature
: Not recommended. Because these chews contain fresh produce and egg, leaving them out invites bacteria growth.
Final Thoughts
Making treats at home isn’t just about saving money, though that’s a nice bonus. It’s about knowing exactly what’s going into your dog’s body. When I started making my own Pumpkin Carrot Chews, I stopped worrying about mystery ingredients and started enjoying the process of spoiling my dog the right way.
So go ahead, grab that pumpkin puree sitting in your pantry, and give this recipe a shot. Your dog’s tail will do all the talking once they get their first bite.