Hey there, fellow dog lovers! Are you tired of buying expensive treats at the pet store that are packed with fillers and artificial ingredients? Want to spoil your pup with something healthy, tasty, and easy to make? If so, you’re in the right place! Today, I’ll walk you through a step-by-step recipe for making delicious peanut butter applesauce dog treats right in your own kitchen. Not only are these treats super simple, but they’re also packed with wholesome ingredients your dog will love.
In this detailed guide, I’ll cover everything from ingredients and materials needed to tips for success, common mistakes to avoid, and fun variations you can try. Let’s give your dog a treat they’ll drool over—made by you, with love!
Why Choose Homemade Dog Treats?
Before diving into the recipe, let’s talk about why homemade treats are a fantastic choice:
- Control Over Ingredients: You decide what goes in, avoiding preservatives, artificial flavors, and fillers.
- Healthier Options: Use natural, dog-friendly ingredients like applesauce and peanut butter.
- Cost-Effective: Save money compared to store-bought treats.
- Fun to Make: Get creative and involve your family or kids in the kitchen.
Peanut Butter Applesauce Dog Treats: What Are They?
These treats combine the rich, nutty flavor of peanut butter with the natural sweetness and moisture of applesauce. They’re soft, chewy, and perfect for dogs of all sizes, especially those with sensitive teeth or younger pups just starting to enjoy treats.
What Are the Main Ingredients?
| Ingredient | Description | Why It’s Good for Dogs |
|---|---|---|
| Natural Peanut Butter | Made without xylitol or added sugars | High in protein and healthy fats |
| Unsweetened Applesauce | No added sugar or artificial sweeteners | Provides fiber and natural sweetness |
| Whole Wheat Flour | Adds structure and fiber | Supports digestion, but optional for gluten-sensitive dogs |
| Egg | Binds ingredients together | Provides protein and moisture |
| Water or Broth | Adjusts dough consistency | Ensures proper dough texture |
Materials Needed
Having the right tools makes the process much smoother. Here’s what you’ll need:
| Material | Quantity / Size | Purpose |
|---|---|---|
| Mixing bowls | 2 large bowls | Combine ingredients |
| Measuring cups and spoons | Various sizes | Accurate ingredient measurement |
| Baking sheet | 1 | To bake the treats |
| Parchment paper or silicone baking mat | 1 sheet | Non-stick surface for baking |
| Rolling pin | 1 | Roll out dough |
| Cookie cutter or knife | 1 (optional) | Cut into fun shapes |
| Oven | 1 | Bake the treats |
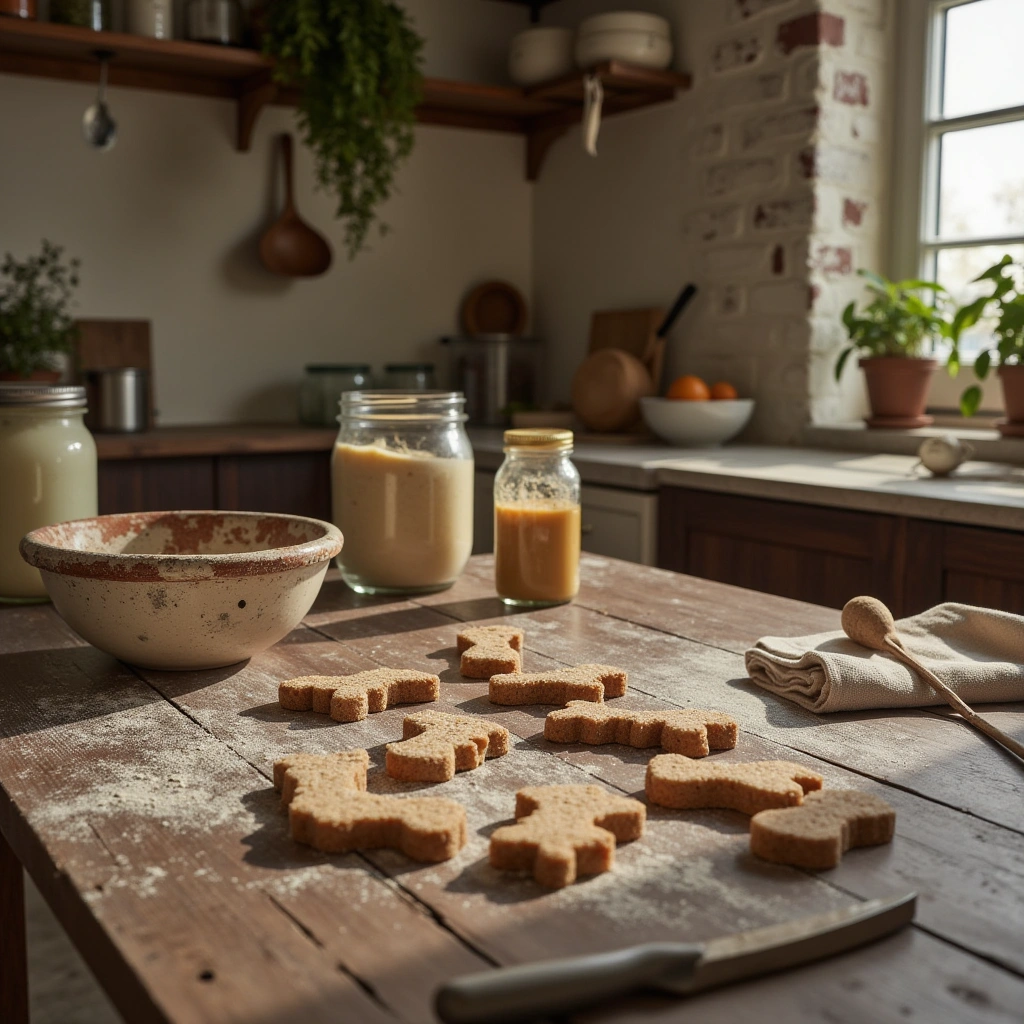
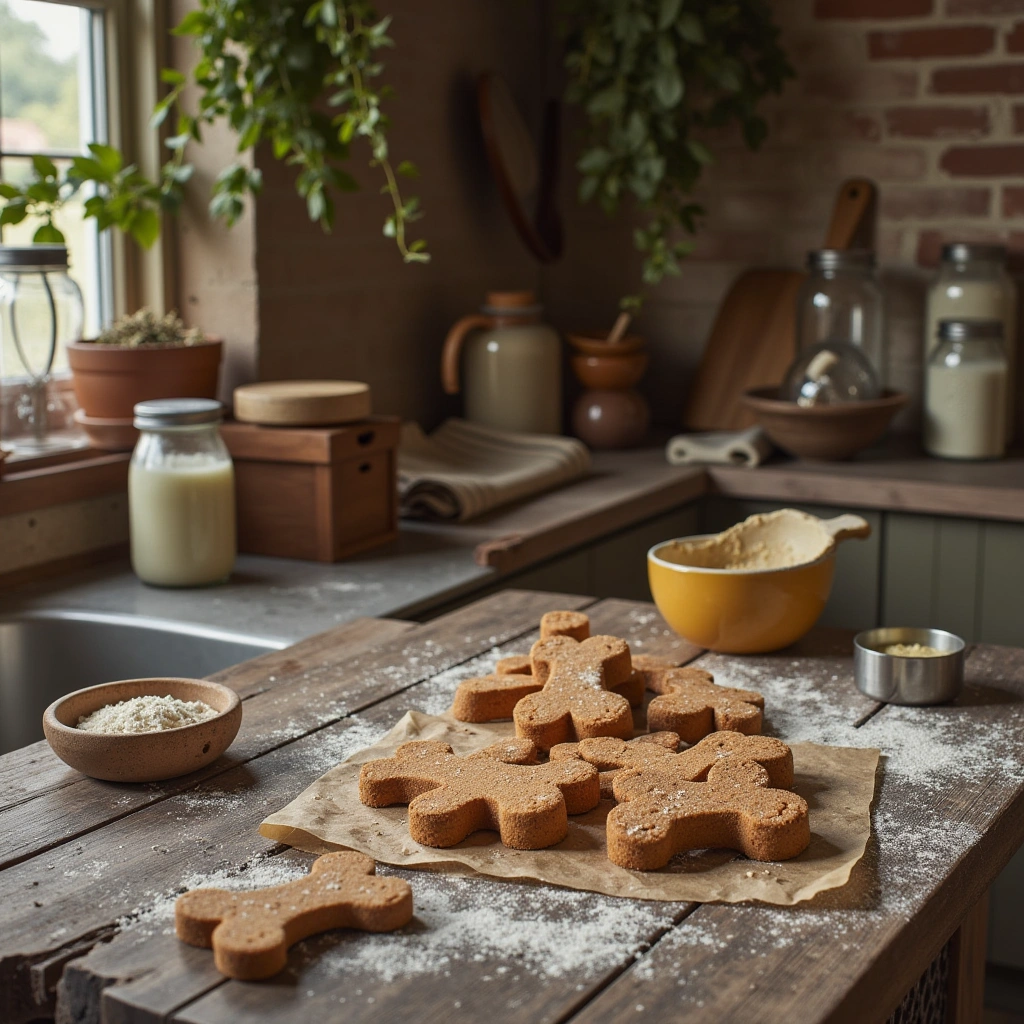
Step-by-Step Instructions
1. Preheat the Oven
Set your oven to 350°F (175°C). Line your baking sheet with parchment paper or a silicone baking mat to prevent sticking.
2. Mix Wet Ingredients
In a large mixing bowl, combine:
- 1 cup of natural peanut butter
- 1/2 cup of unsweetened applesauce
- 1 large egg
Mix until smooth and well incorporated.
3. Add Dry Ingredients
Gradually add:
- 1 1/2 cups of whole wheat flour (or a gluten-free alternative if your dog has sensitivities)
- 2-3 tablespoons of water or broth (add gradually until dough reaches a firm but pliable consistency)
Stir or knead the mixture until it forms a dough. If it’s too sticky, add more flour; if too dry, add a splash more water.
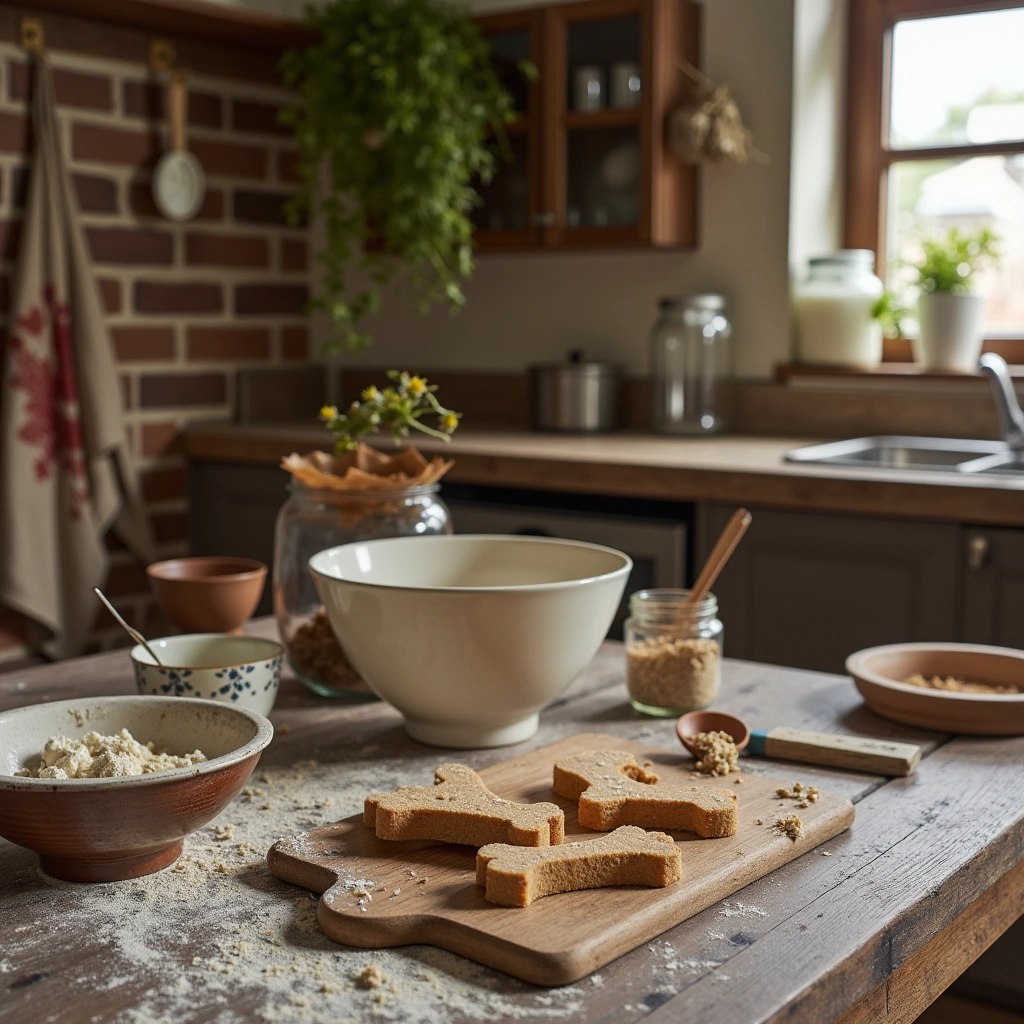
4. Roll Out the Dough
Lightly flour your surface and rolling pin. Roll the dough out to about 1/4-inch thickness.
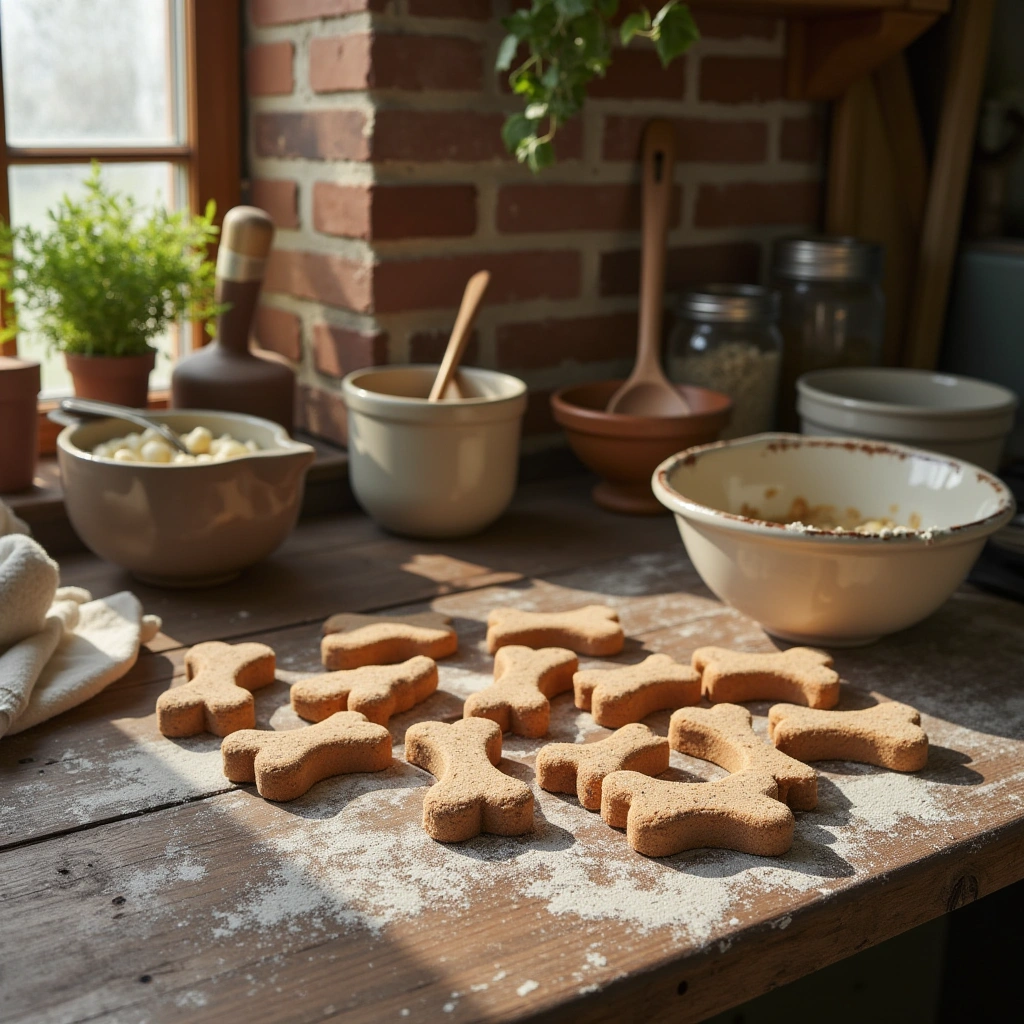
5. Cut Into Shapes
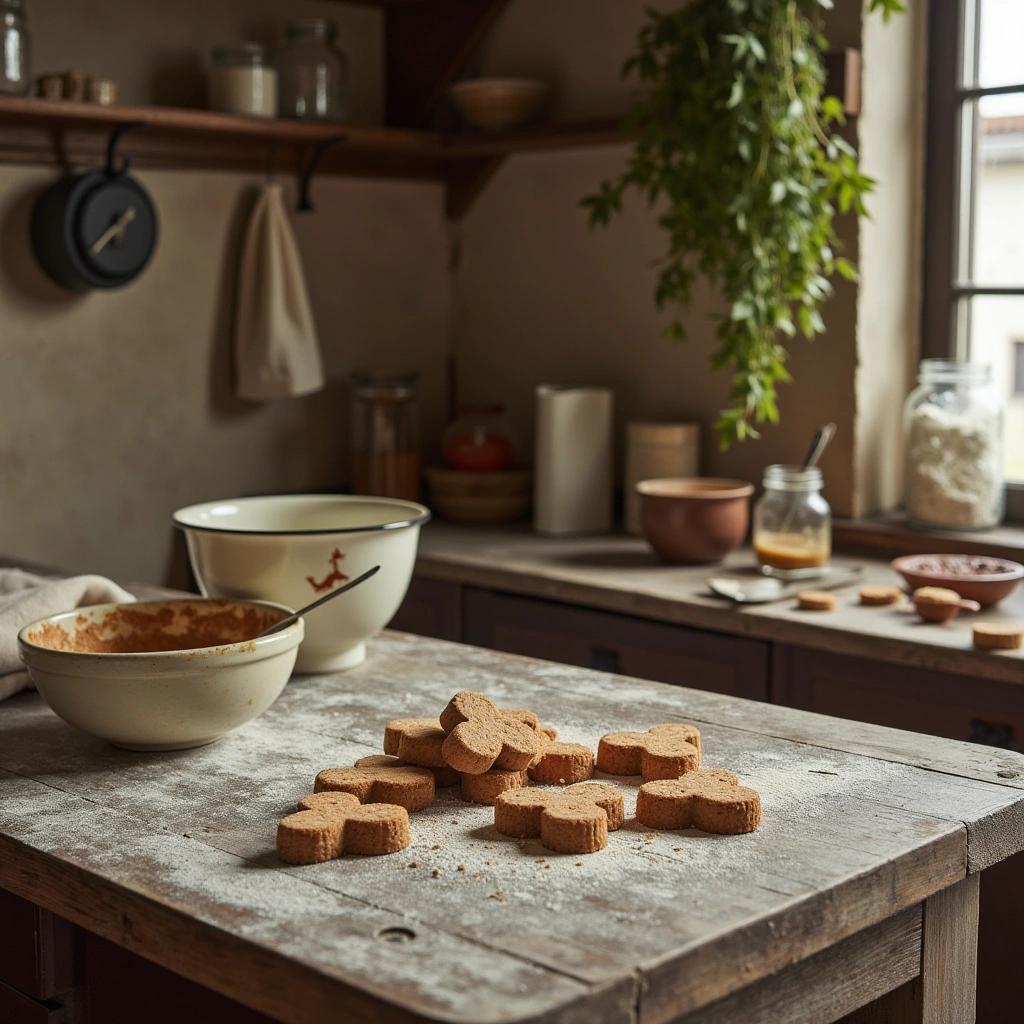
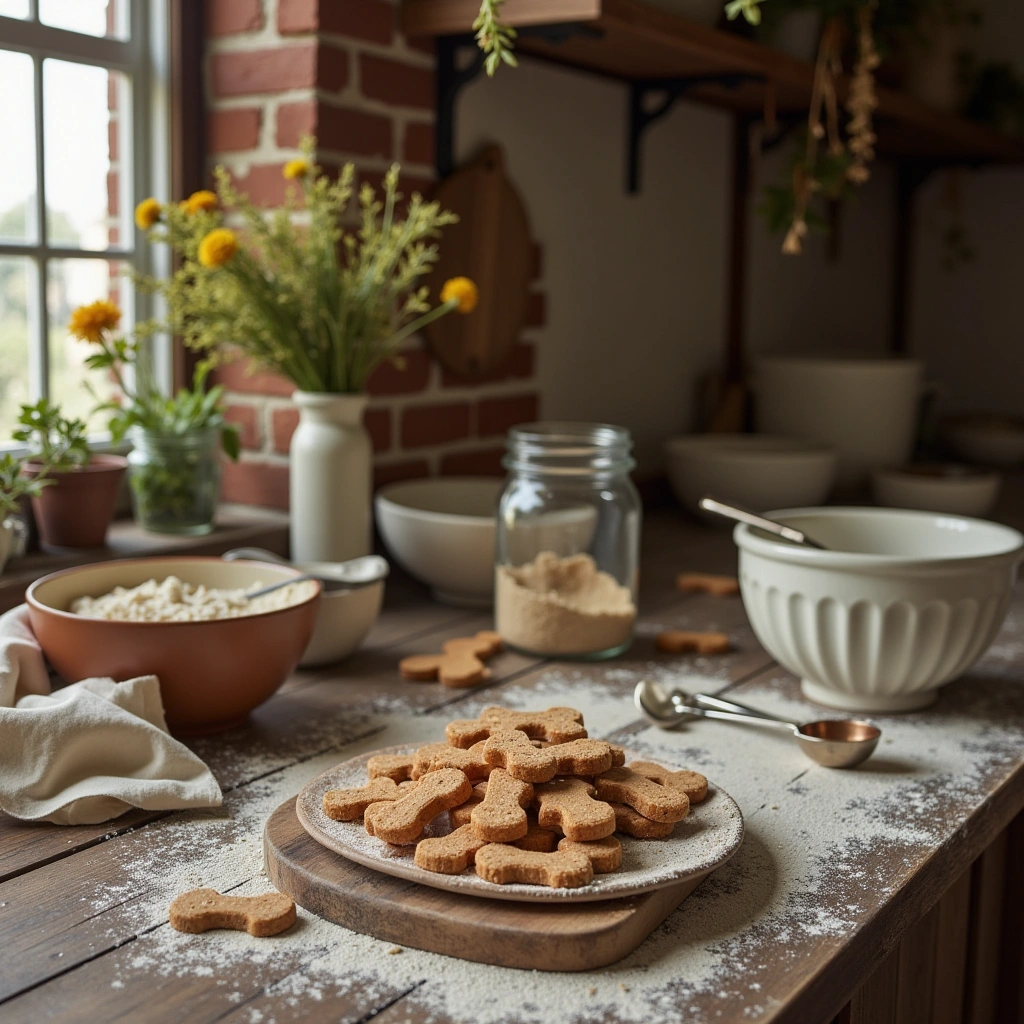
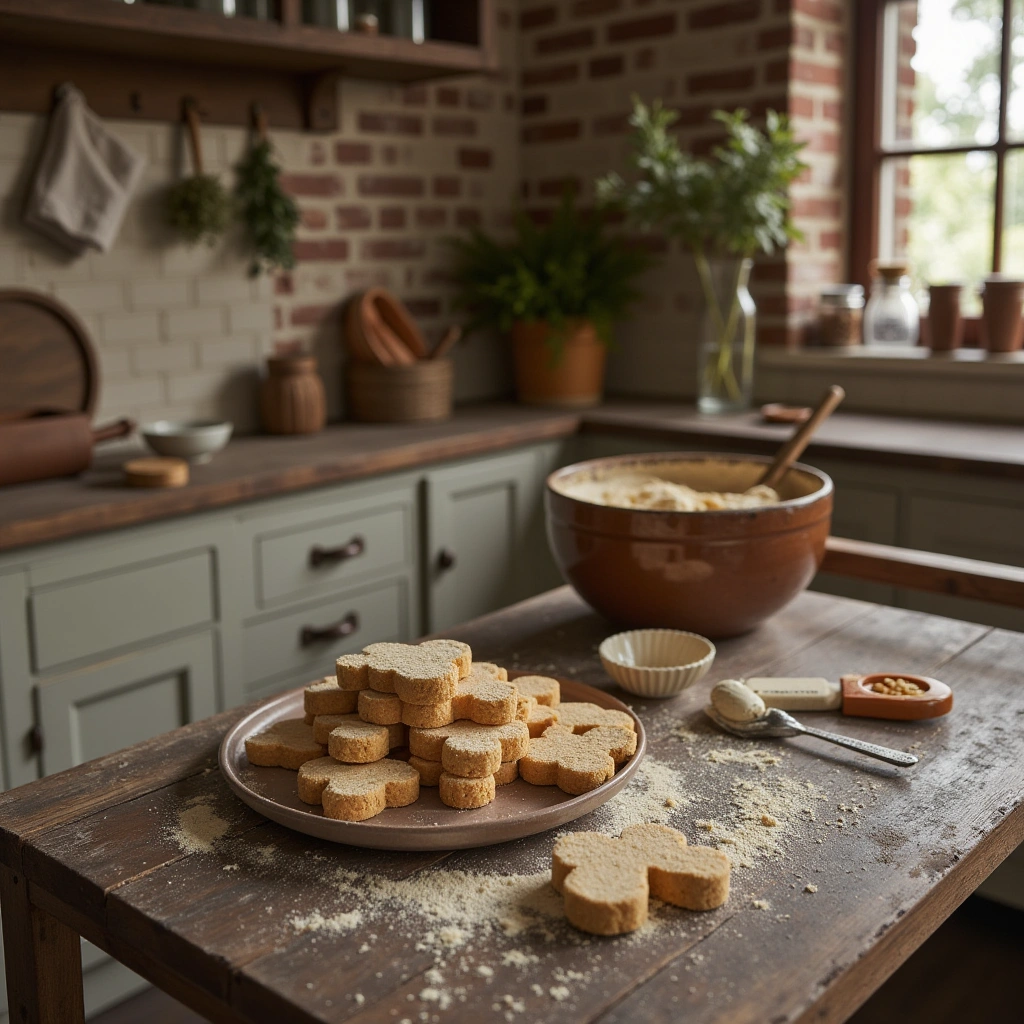
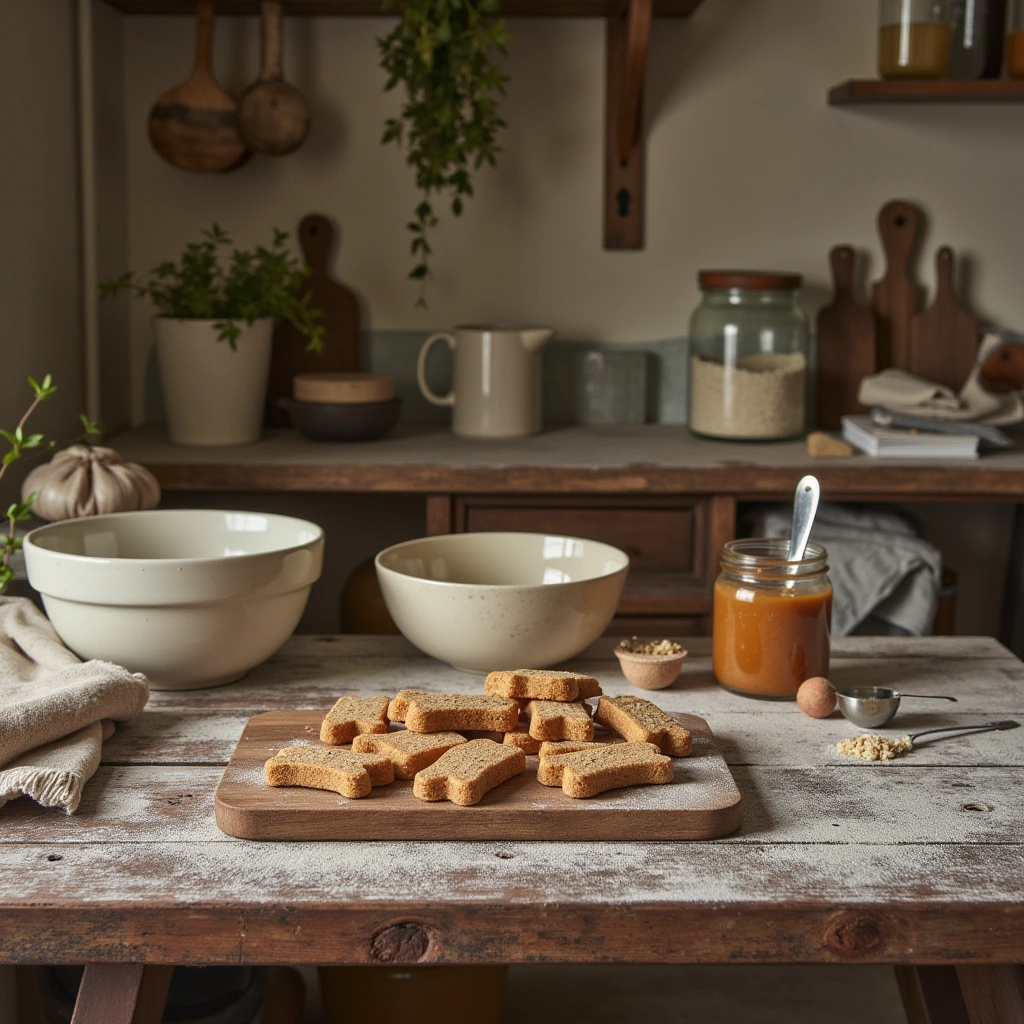
Use cookie cutters or a knife to cut the dough into fun shapes—bones, stars, hearts, or simple squares.
6. Bake
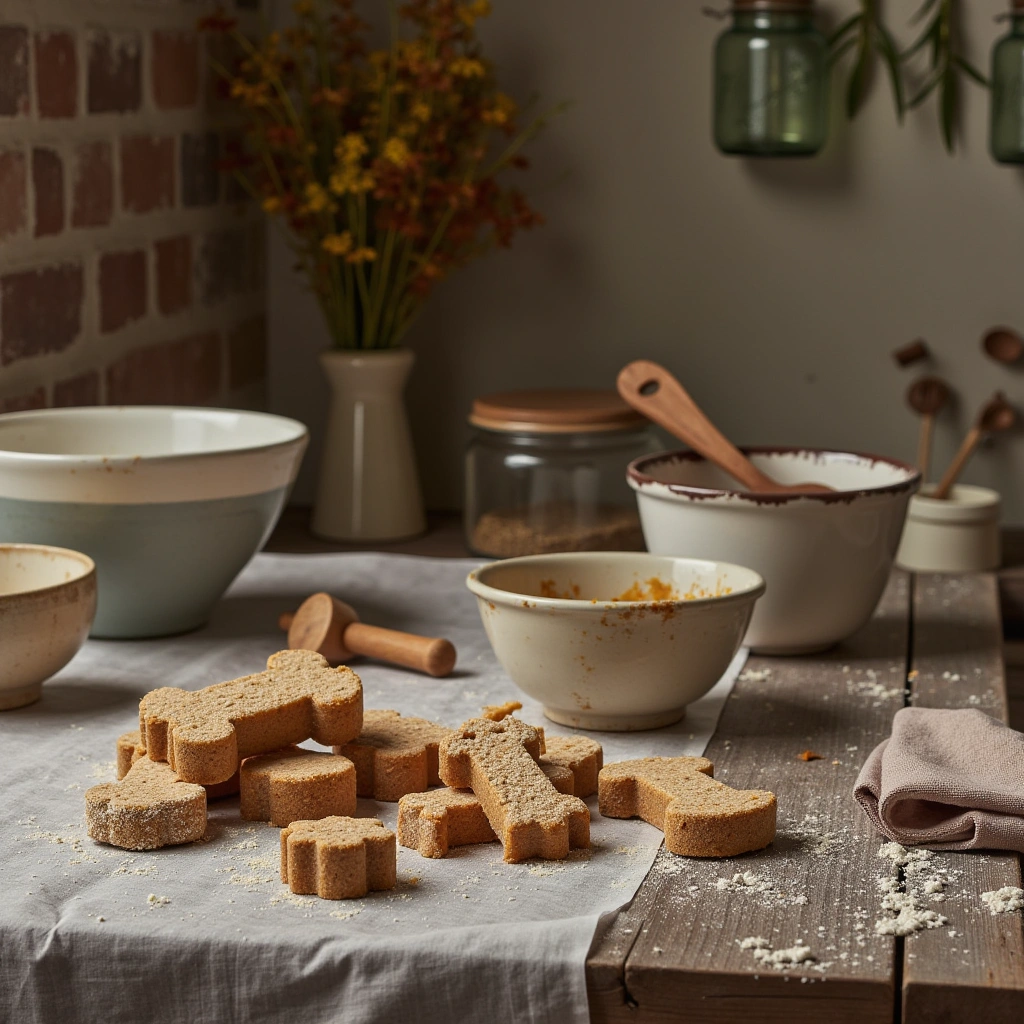
Place the treats on the prepared baking sheet. Bake for 15-20 minutes, or until the edges are golden brown.
7. Cool and Store
Let the treats cool completely on a wire rack. Once cooled, store in an airtight container for up to a week, or freeze for longer storage.
Tips for Success
- Use Natural Peanut Butter: Always check the label to ensure it doesn’t contain xylitol or added sugars.
- Adjust Consistency: If dough is too sticky, add more flour; if too dry, add a little water.
- Shape Fun: Get creative with cookie cutters to make treats more appealing.
- Test for Allergies: Make sure your dog isn’t allergic to ingredients like wheat or eggs.
- Smaller Treats for Puppies: Cut into smaller pieces for young or small dogs.
Common Mistakes and How to Avoid Them
| Mistake | Solution |
|---|---|
| Overbaking treats | Keep an eye on the edges; remove when golden brown |
| Using ingredients with additives | Always choose natural, plain peanut butter and applesauce |
| Not measuring ingredients accurately | Use proper measuring cups for consistency |
| Using overly sticky dough | Chill the dough for 30 minutes before rolling |
| Ignoring dog allergies | Check ingredient labels carefully |
Variations to Try
Want to switch things up? Here are some fun variations:
- Peanut Butter Banana Treats: Add mashed banana for extra flavor.
- Oatmeal Version: Substitute some of the flour with oats for added fiber.
- Pumpkin Delight: Mix in 2 tablespoons of pumpkin puree.
- Cheesy Treats: Add a sprinkle of grated cheese for a savory twist.
Summary and Final Thoughts
Making homemade peanut butter applesauce dog treats is a fantastic way to show your pup some love while keeping ingredients natural and healthy. These treats are super easy to prepare, customizable, and a much better alternative to store-bought options filled with fillers. Remember to use quality ingredients, measure carefully, and keep an eye on baking times to get perfect, chewy treats every time.
Now that you have this comprehensive guide, it’s time to roll up your sleeves and start baking! Your furry friend will thank you with wagging tails and happy barks. Happy treat-making!
Enjoy creating these wholesome, delicious treats for your dog. Remember, a little homemade love goes a long way in keeping your pup happy and healthy!