Ever caught your dog staring at you with those puppy eyes while you’re baking in the kitchen? I get it. My own dog acts like I’m hiding gold in the pantry every time I pull out flour. That’s exactly why I started making pumpkin dog biscuits at home. No weird preservatives. No mystery ingredients. Just four simple things you probably already have on hand.
These biscuits aren’t just easy—they’re actually good for your pup. Pumpkin helps with digestion. It’s packed with fiber. And dogs seem to genuinely love the taste. So today, I’m walking you through everything you need to know to make these treats, including a few things other recipes online tend to skip.
What Makes These Pumpkin Dog Biscuits Special
Let’s talk about why this recipe works so well. Most homemade dog treat recipes ask for a dozen ingredients. Half the time, you don’t even have them in your kitchen. That’s frustrating when you just want to whip up something quick for your furry friend.
This recipe strips things down. Four ingredients. That’s it. No fancy equipment. No trip to a specialty pet store. You’re looking at pantry staples that create a treat your dog will actually get excited about.
Here’s the thing though—simple doesn’t mean careless. There’s a right way and a wrong way to make these biscuits. Get the ratios wrong, and you’ll end up with rock-hard bricks or a sticky mess that won’t hold its shape. I’ll show you exactly how to avoid that.
Key Terms You Should Know
Before we jump into the steps, let’s clear up some terminology. Understanding these terms will help you follow the recipe without any confusion.
Pumpkin puree
: Plain, cooked pumpkin that’s been mashed into a smooth texture. Not pumpkin pie filling—that stuff has sugar and spices that aren’t great for dogs.
Whole wheat flour
: A flour made from the entire wheat grain, including the bran and germ. It’s more nutritious than white flour and adds a nice texture to the biscuits.
Peanut butter
: A creamy or crunchy spread made from ground peanuts. Always check that it’s free of xylitol, an artificial sweetener that’s toxic to dogs.
Rolled oats
: Oats that have been steamed and flattened. They add fiber and a slightly chewy texture to baked goods.
Ingredients You’ll Need
Here’s what goes into these pumpkin dog biscuits:
- 1 cup pumpkin puree (not pumpkin pie mix)
- 2 cups whole wheat flour
- 1/4 cup peanut butter (xylitol-free)
- 1 egg (optional, but helps binding—if using, adjust flour slightly)
Some recipes swap the egg out entirely and call it “4 ingredients” by counting water as a filler. I’ll be upfront with you here. Depending on your dough’s consistency, you might need a splash of water too. It’s not cheating—it’s just baking science.
Step-by-Step Instructions
Alright, let’s get into the actual process. I’ll walk you through each stage so there’s no guessing involved.
Step 1: Preheat your oven
Set your oven to 350°F (175°C). This gives it time to reach the right temperature while you prep the dough.
Step 2: Mix the wet ingredients
In a large bowl, combine the pumpkin puree and peanut butter. Stir until smooth. If you’re using an egg, crack it in now and whisk everything together.
Step 3: Add the flour gradually
Slowly mix in the whole wheat flour, about half a cup at a time. Stir after each addition. The dough will start out sticky, then firm up as you add more flour.
Step 4: Knead the dough
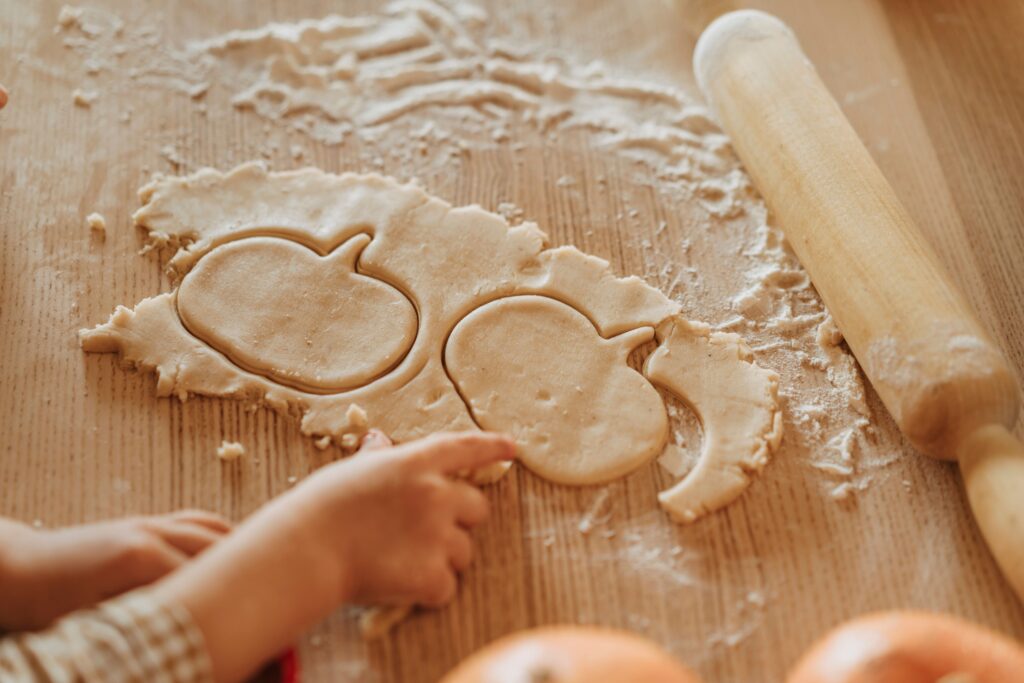
Once the dough comes together, transfer it to a lightly floured surface. Knead it for about two minutes. You’re looking for a consistency similar to play dough—firm but not crumbly.
Step 5: Roll it out
Use a rolling pin to flatten the dough to about 1/4 inch thickness. Thinner biscuits will bake up crunchier, which most dogs prefer for dental health.
Step 6: Cut into shapes
Grab a cookie cutter—bone shapes are classic, but honestly, any shape works. Even a simple knife cutting squares does the job just fine.
Step 7: Place on a baking sheet
Line a baking sheet with parchment paper. Arrange the biscuits with a little space between each one.
Step 8: Bake
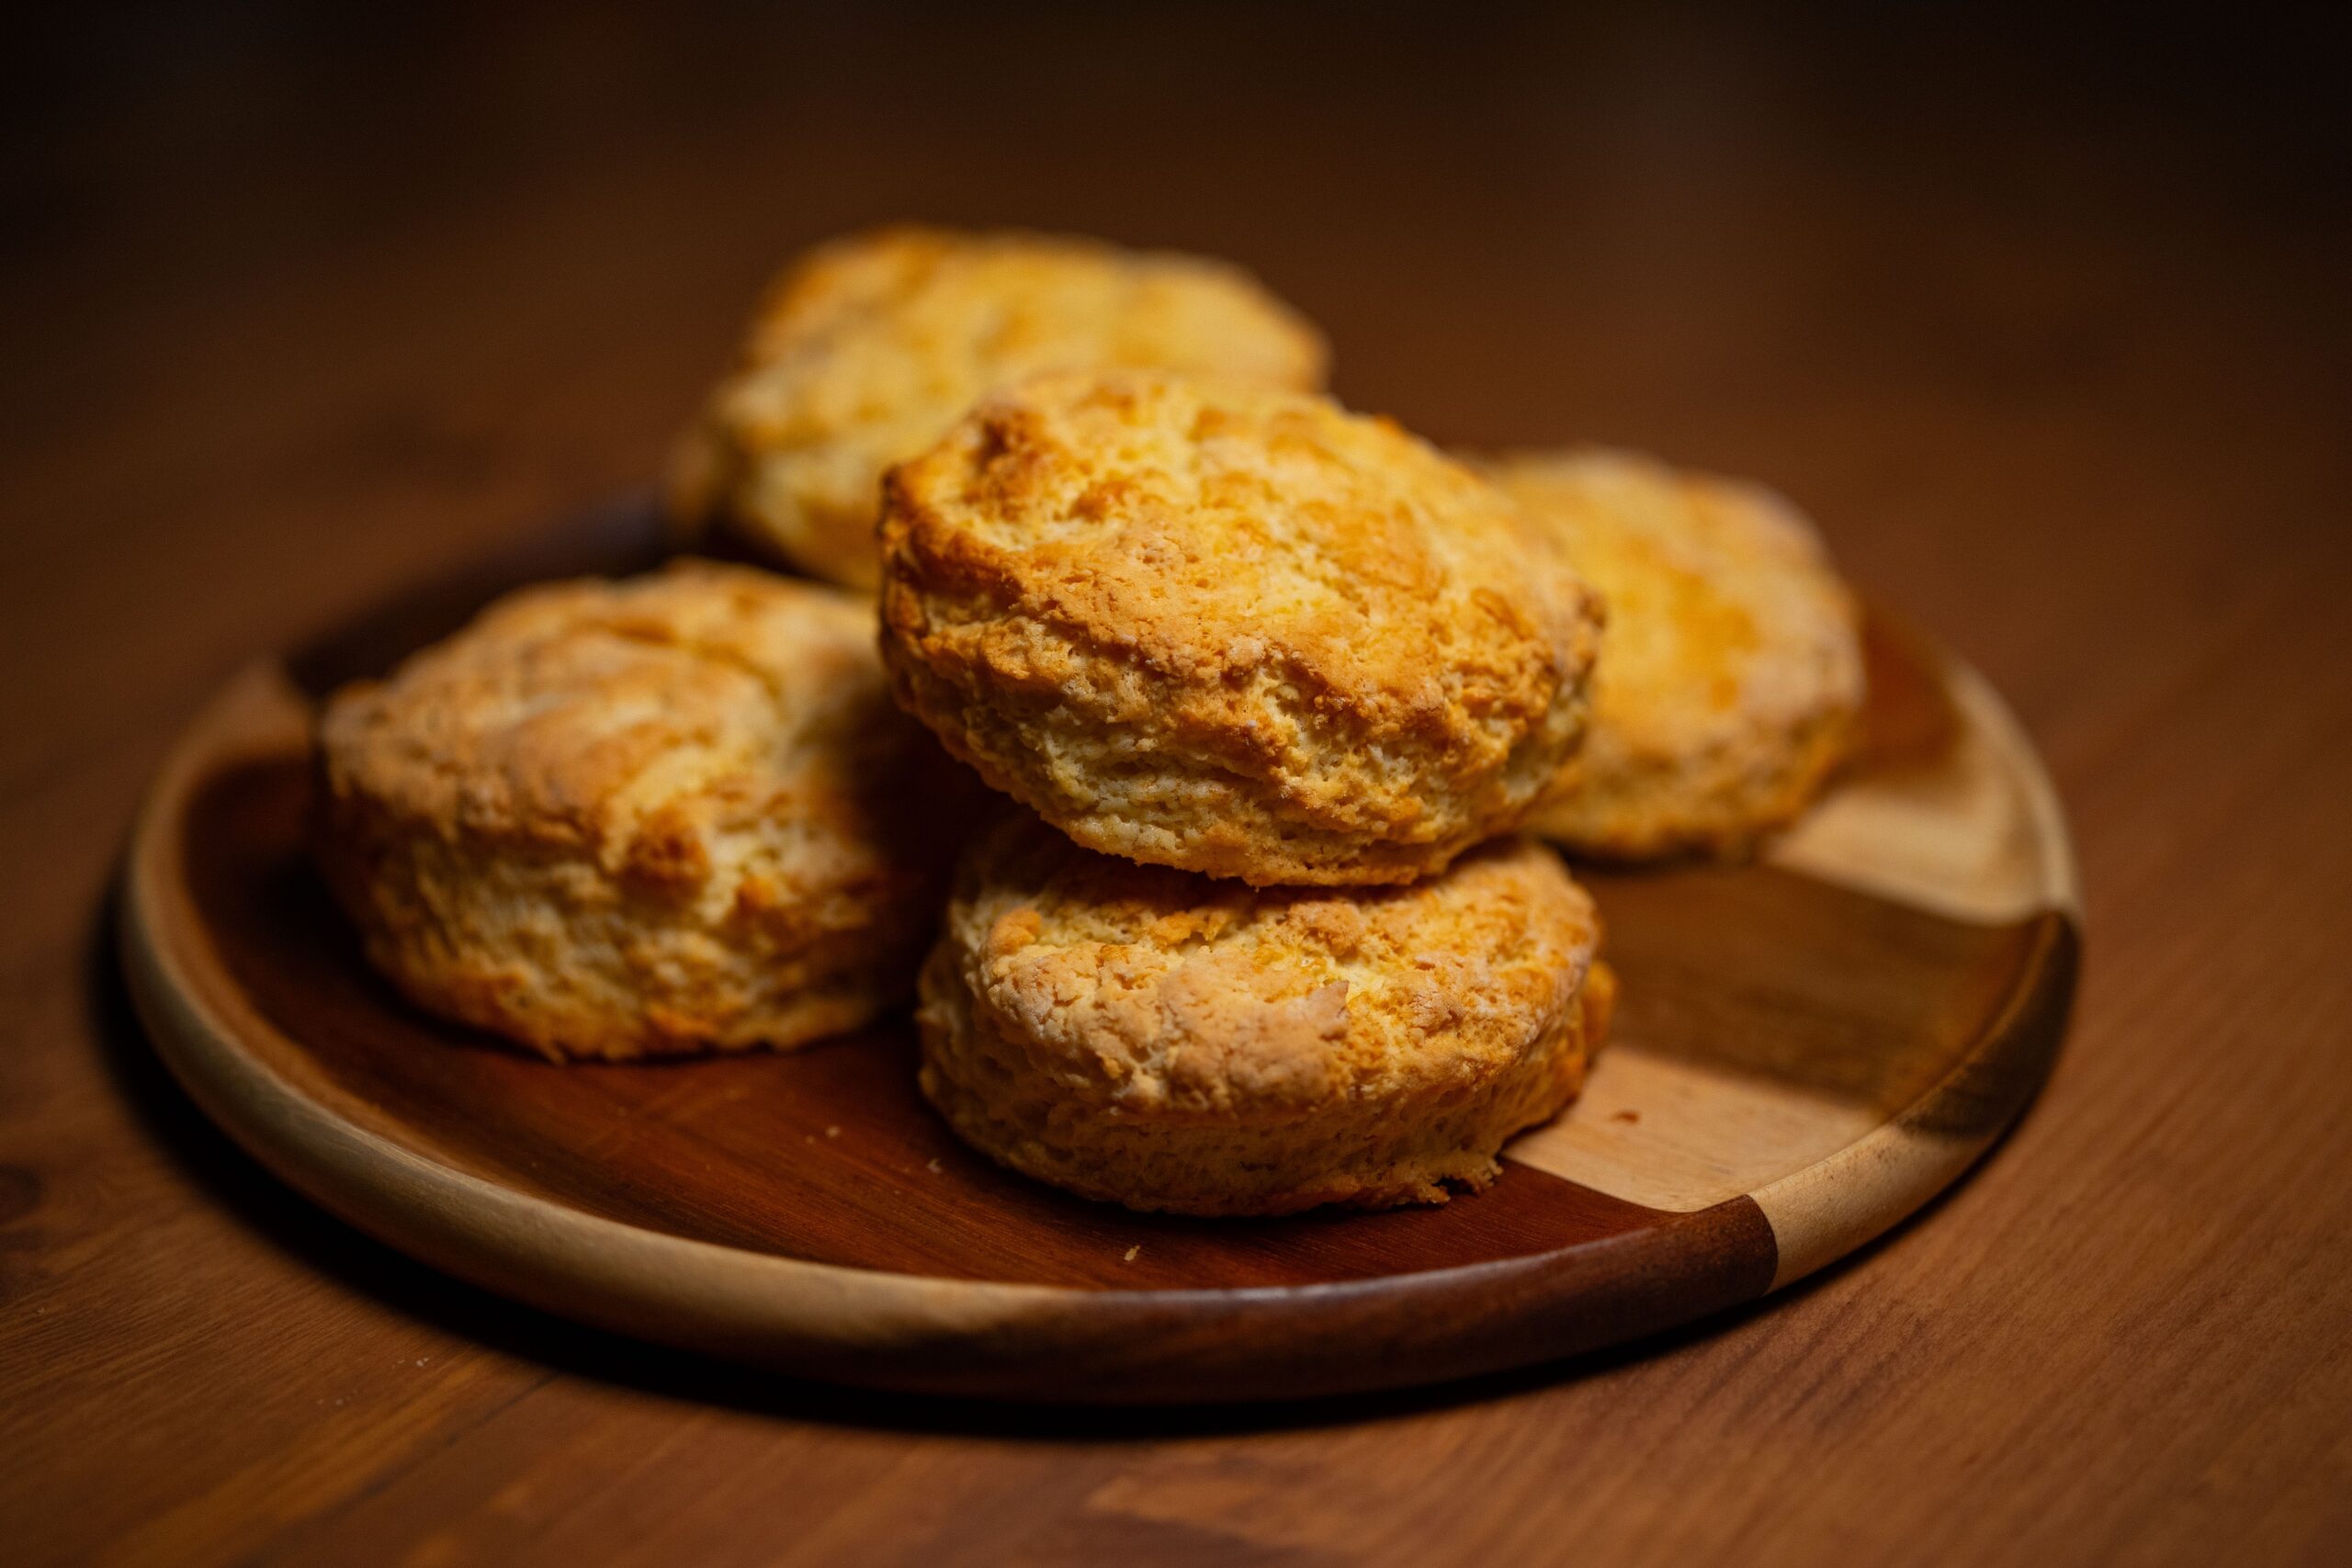
Pop the tray into the oven for 20-25 minutes. You want the edges to turn a light golden brown.
Step 9: Cool completely
This step matters more than people think. Biscuits continue to harden as they cool. Pulling them too early means they’ll be softer than intended. Let them sit on the tray for at least 30 minutes before handling.
Step 10: Store properly
Once fully cooled, transfer the biscuits to an airtight container.
Storage and Shelf Life
This is where a lot of recipes drop the ball. They tell you how to bake the treats but leave you guessing about what happens next. Here’s the breakdown:
- Room temperature: Store in an airtight container for up to 1 week.
- Refrigerator: Keeps well for up to 2 weeks when sealed properly.
- Freezer: Freeze for up to 3 months. Just thaw before serving.
Pro tip: If your biscuits feel soft after cooling, they probably need more baking time or less liquid next round. Moisture is the enemy of shelf life here.
Tips for Success
Making these biscuits isn’t complicated, but a few small details can make a big difference in how they turn out.
- Use canned pumpkin labeled “100% pure pumpkin,” not pumpkin pie filling.
- Always double-check peanut butter labels for xylitol—even “natural” brands sometimes sneak it in.
- Roll the dough thin for a crunchier biscuit, which is better for your dog’s teeth.
- Let the dough rest for five minutes before rolling if it feels too sticky to handle.
- Bake one test biscuit first if you’re unsure about texture. It saves you from ruining a whole batch.
- Cool biscuits completely before storing to prevent mold from trapped moisture.
Common Mistakes and How to Avoid Them
Even a simple recipe has room for error. Here’s what tends to trip people up, and how you can dodge these problems.
Mistake: Using pumpkin pie filling instead of puree
Pie filling contains added sugar, spices like nutmeg, and sometimes salt—all things that aren’t dog-friendly. Always grab plain pumpkin puree.
Mistake: Skipping the peanut butter label check
Xylitol is deadly to dogs, even in small amounts. It’s found in some sugar-free products, including certain peanut butters. Read every label, every time.
Mistake: Rolling the dough too thick
Thick biscuits take longer to bake and often end up chewy in the middle instead of crunchy throughout. Stick to that 1/4 inch guideline.
Mistake: Not adjusting for humidity
Flour absorbs moisture differently depending on where you live. If your dough feels too wet, add flour a tablespoon at a time until it firms up.
Mistake: Pulling biscuits out too early
They might look done, but the inside could still be soft. When in doubt, bake a couple minutes longer. Overbaked is safer than underbaked here.
Mistake: Storing biscuits before they’re fully cool
Sealing warm biscuits in a container traps steam, which leads to mold. Patience pays off.
Similar Variations You Can Try
Once you’ve nailed the basic recipe, it’s fun to switch things up. Here are a few variations worth trying:
- Banana pumpkin biscuits: Swap half the pumpkin puree for mashed banana. Adds natural sweetness dogs love.
- Cinnamon pumpkin biscuits: Add a pinch of cinnamon (safe for dogs in small amounts) for extra flavor.
- Oat flour version: Replace whole wheat flour with oat flour for dogs with wheat sensitivities.
- Coconut oil boost: Add a tablespoon of coconut oil for a shinier coat and extra flavor.
- Carob chip biscuits: Mix in dog-safe carob chips (never chocolate) for a fun twist your dog will notice immediately.
- Sweet potato swap: Replace pumpkin with sweet potato puree for dogs who might not love pumpkin’s texture.
When to Talk to Your Vet
I know this sounds like an odd addition to a treat recipe, but it matters. If your dog has food allergies, diabetes, or digestive issues, check with your vet before introducing new treats—even homemade ones. Pumpkin is generally safe, but every dog is different. Some pups react to whole wheat flour or peanut butter differently than others.
If you notice any unusual symptoms after giving your dog these biscuits—upset stomach, itching, or lethargy—stop feeding them the treat and reach out to your vet.
Wrapping It Up
Making pumpkin dog biscuits at home doesn’t have to be complicated. With just four ingredients and a little patience, you can whip up treats that are healthier and cheaper than most store-bought options. Your dog gets something delicious. You get peace of mind knowing exactly what went into it.
I’ve walked you through every step, from mixing the dough to storing the final product, plus the mistakes to dodge along the way. Give this recipe a try, experiment with the variations, and watch your dog’s tail wag with every crunchy bite. These pumpkin dog biscuits might just become a regular thing in your kitchen—mine sure did.